Spanker Boom and Gaff
(spank her boom and gaff ?) [groan!]
This is probably premature in the process, but I could not see a strong reason not to go ahead and rig the spanker boom and gaff and put up a visible goal line so to speak
I followed the BlueJacket plans of course, and replaced both kit pieces w/ scratch built wood ones.
The hardest part was fabricating the throats of each piece. According to the plans I needed to taper the yards then 'flatten' the ends (ensuring that they are parallel was tricky) and laminate additional wood to the flattened pieces to form the throat.
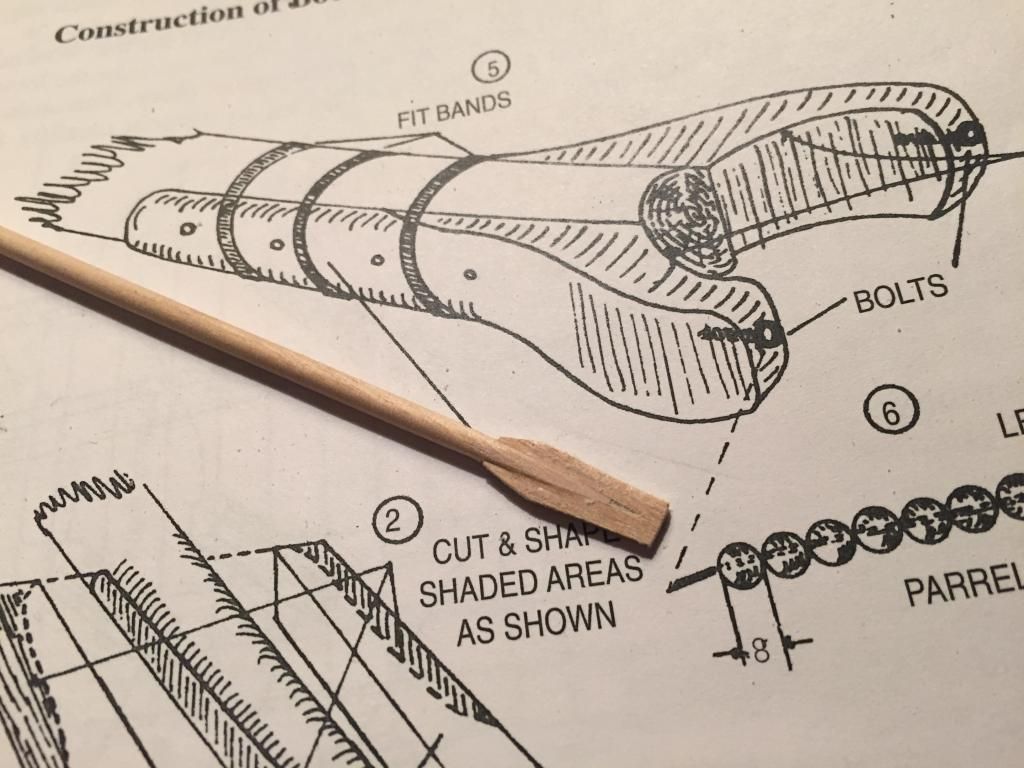
Once that was done, I had to form the throat by drilling a pilot hole in the correct location and then use successively larger bits until I got a hole 1/8" in diameter to fit the tri-sail mast that I replaced the kit part w/ a 1/8" dowel, after which I used a rat tail file to shape and finish the hole. That done, I cut off the excess at the ends to open the throat.
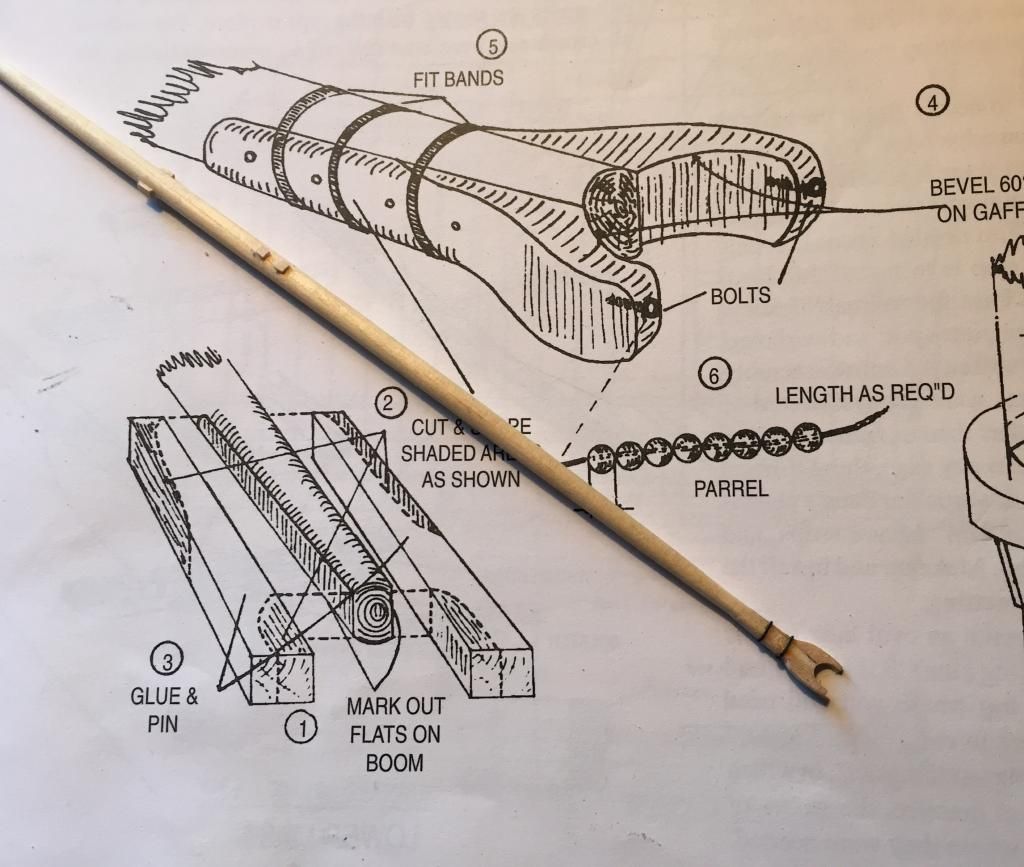
I used .08 in. line for the bandings. All things considered, they came out pretty good. I originally wanted to leave them stained like the masts to further showcase the wood, but they are in fact yards, not masts, and all the yards are black.
Here is a side by side of the kit pieces w/ the scratch pieces before I painted them black. The kit pieces were so flimsy, and the spanker was warped on the sprue.

And the final product.

The rigging proved to be a little bit tricky. You can see that I had to use some ingenuity and balance w/ my clips to get the gaff rigged. The small copper clips I picked up from RadioShack for a pittance. They are non serrated, tiny, and really quite strong. Can't tell you how handy they have proven to be.
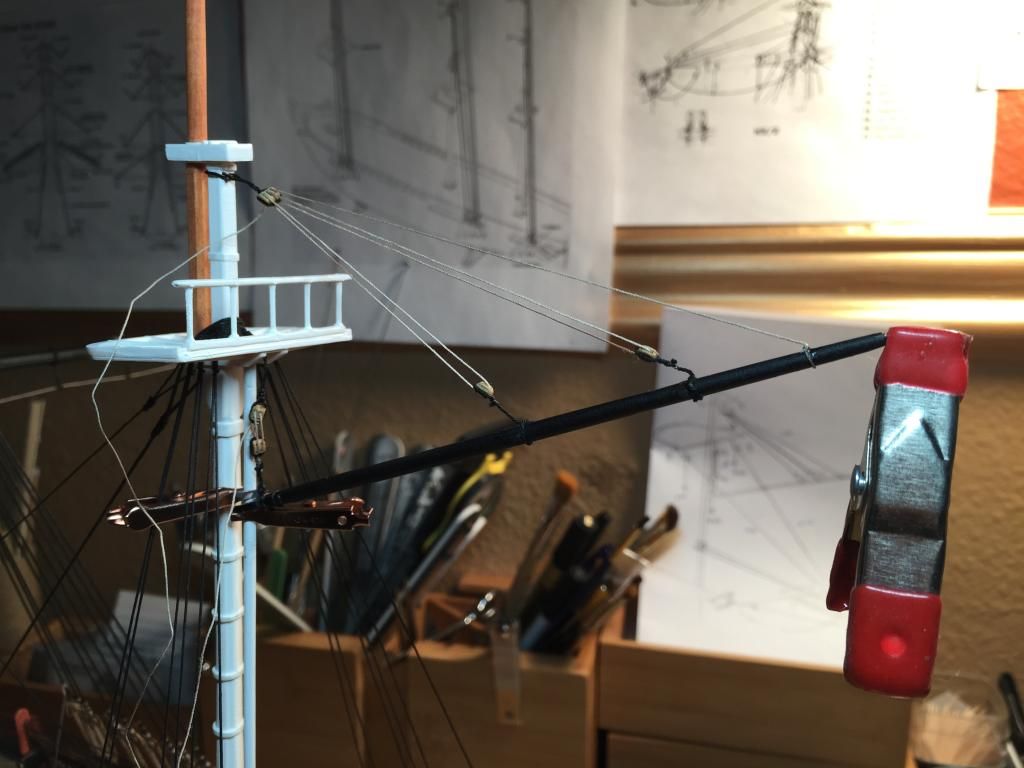
One aspect of the gaff is that it needs to be set at a 60 degree angle to the mast, meaning the throat had to to angled accordingly. There is no way in hell to tell if you are filing something at 60 degrees by sight alone, so I had to file some, fit and test, using a 30/60 triangle to approximate by. It came out close enough in the end.
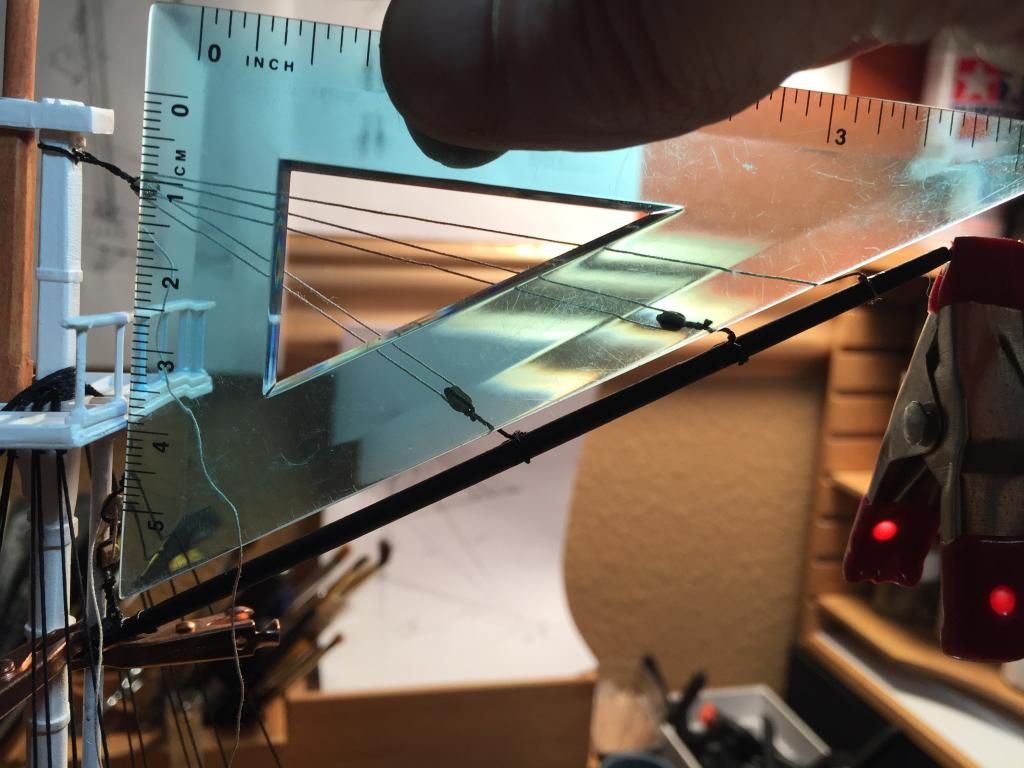
Rigging the spanker top lifts had some quirks as well. Got out the big boys for this. The clip at the end of the spanker is from Home Depot, and I use these and the cooper ones more than any of the plastic ones I picked up from the LHS for three times the cost.
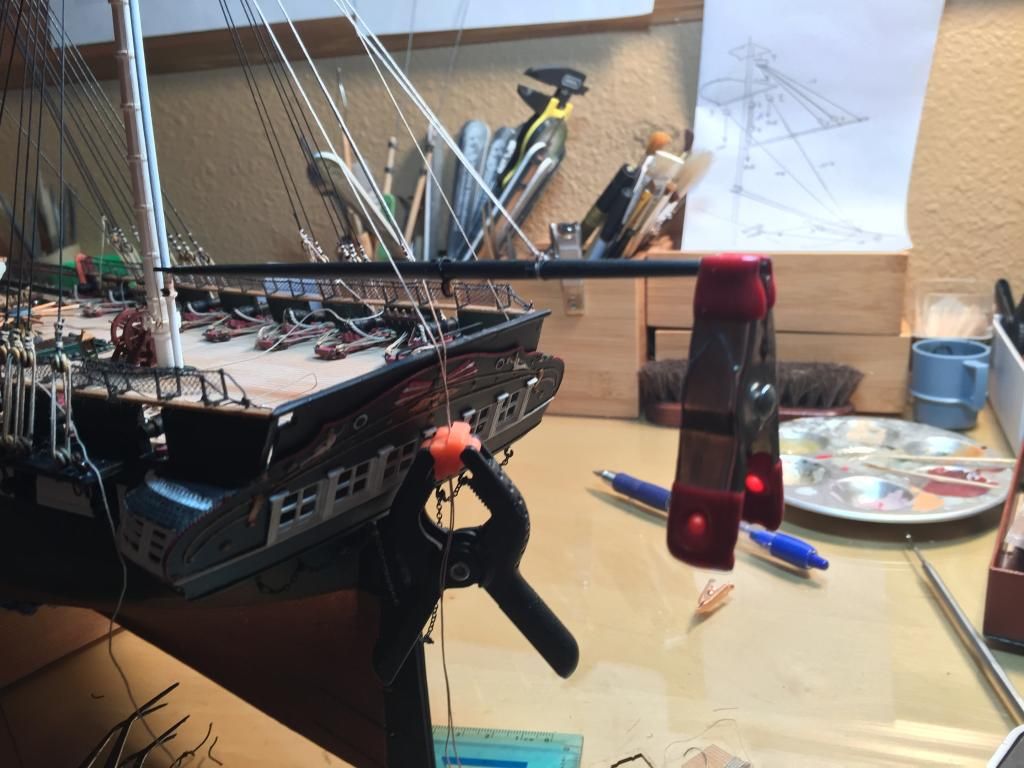
And finally, rigged, and all in place. [ I have been continually surprised at how closely the Revell rigging instructions mirror the instructions from Blue Jacket, so if you went with Revell alone, you would be well within the "correct" rigging. (caveat: I haven't compared it to the rigging for the sails since I am not bothering w/ any of it)]
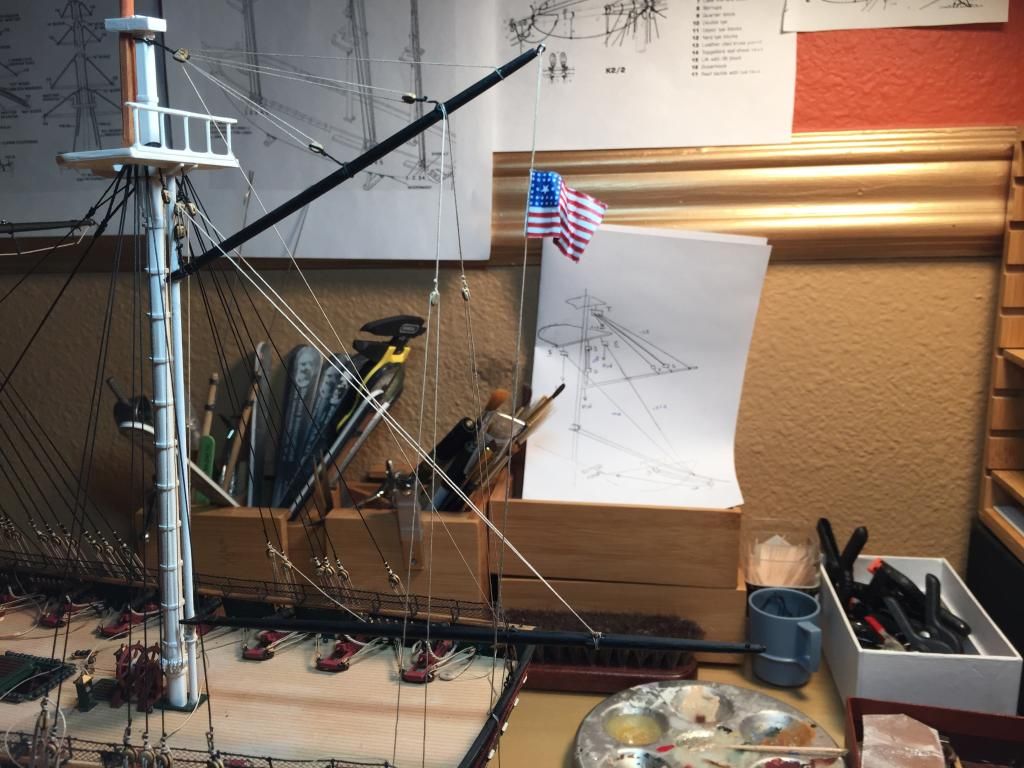
I am continually enraptured w/ all the geometry that occurs here. [You can see the rigging diagram I made from the BJ instructions in the background.]
The flag was an interesting adventure in discovery as well.
I have said that I plan on staging her after her 1856 overhaul, so I had to do a little research about flags for that period. And there are, as it turns out, just about as many different styles of American flags for the period, and so many other periods also, as there are stars (and stripes) in the sky.
The flag I chose here is one that was used by the Navy from around 1778 - 1780. This particular style is called Trumbell with the large center star in a square canton. In the 1850s there were a total of 31 stars.
I picked up a very cool trick from somewhere, which I wish I could take credit for, on how to make flags that look more realistic, and finally got the chance to try it.
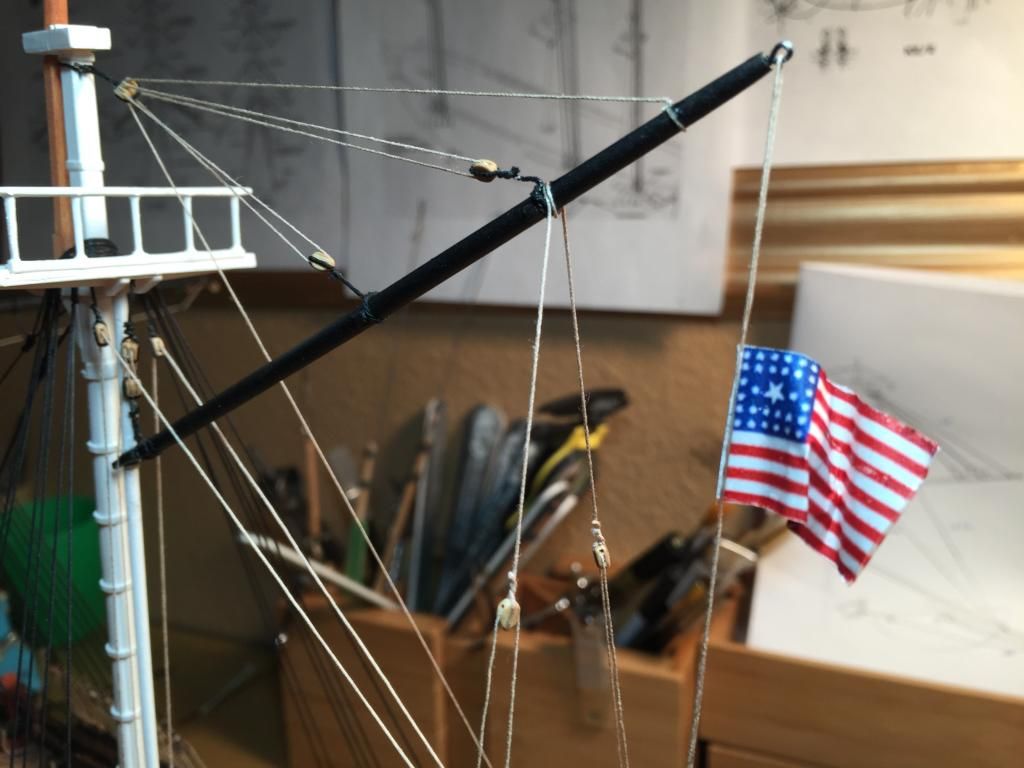
The trick here is aluminum foil if you hadn't guessed or didn't already know.
This was just sheer genius from my perspective, since it's so simple.
Make a set of mirror image decals. Attach one to each side of a piece of tin foil. Shape as you like.
Well... there was one problem that has been belabored to death. The stripes are white, and you can't print white from a printer, so you get a flag w/ red and clear stripes, which would give you red and silver stripes once attached to the foil.
Solution. Spray a light coat of white on the foil before applying the decals.
I am going to have to redo this one, since dull-coat really is not the right way to set decals for transfer, and you can see its a bit ratty.
Anyway... that's about it for now. Hope some of this may have helped and/or edified.