Installing the hammock cranes
I started working on the channels and realized that the deadeyes were too large, so while waiting for new ones to arrive i set to work on the hammock cranes, which I was going to leave until nearly last, but decided what the heck.
I had figured this was going to be a quick and easy install, but of course it proved to be more difficult than I had thought.
I fortuanately had the BlueJacket PE for the stanchions so i did not have to worry about working w/ delicate plastic parts.
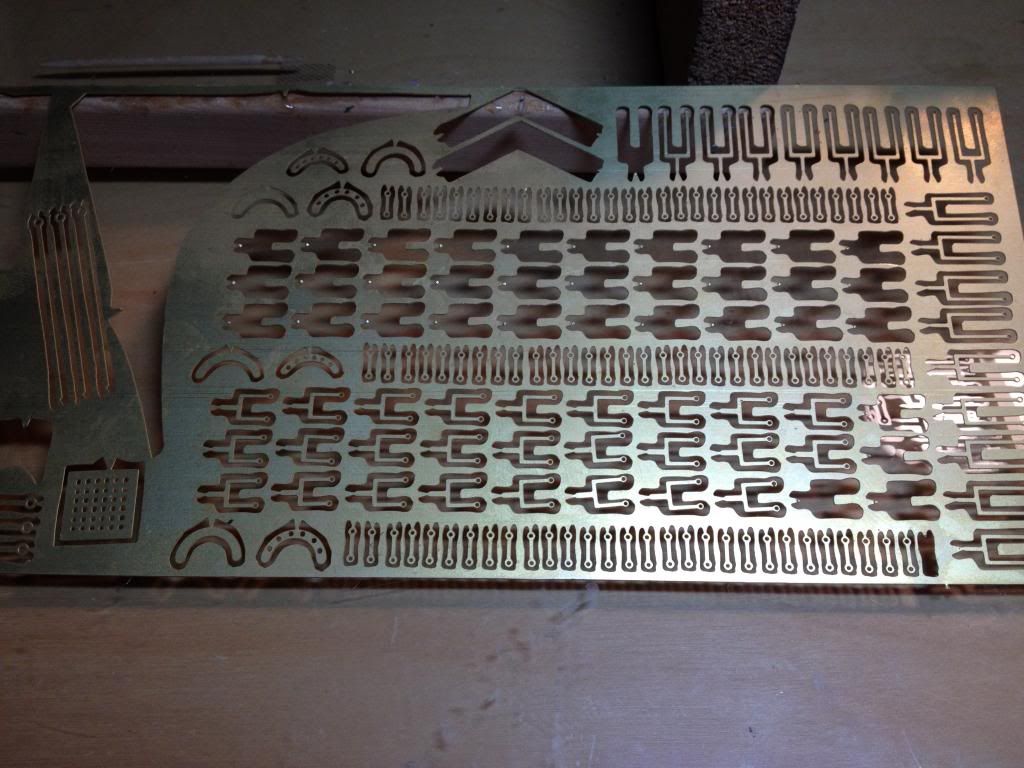
Installing the stanchions went pretty smoothly. I used the original plastic rails to mark out where they should be placed and drilled new holes for them.
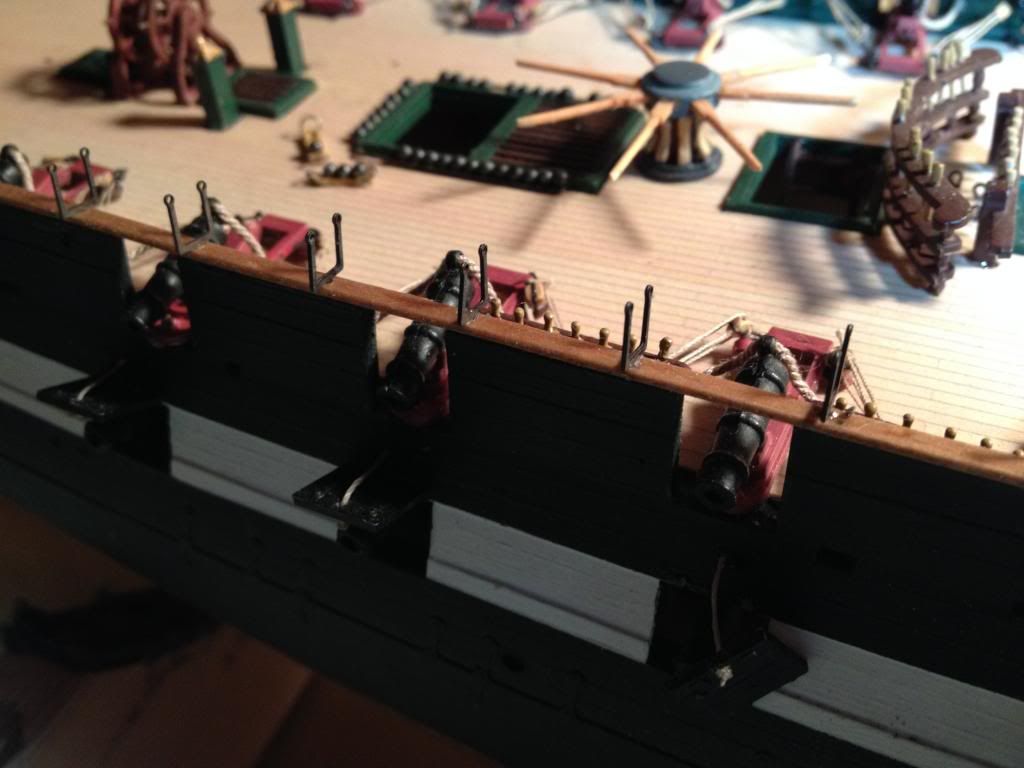
Rather than paint them, I used blacken-it on them, glued them in and then ran the "cables"
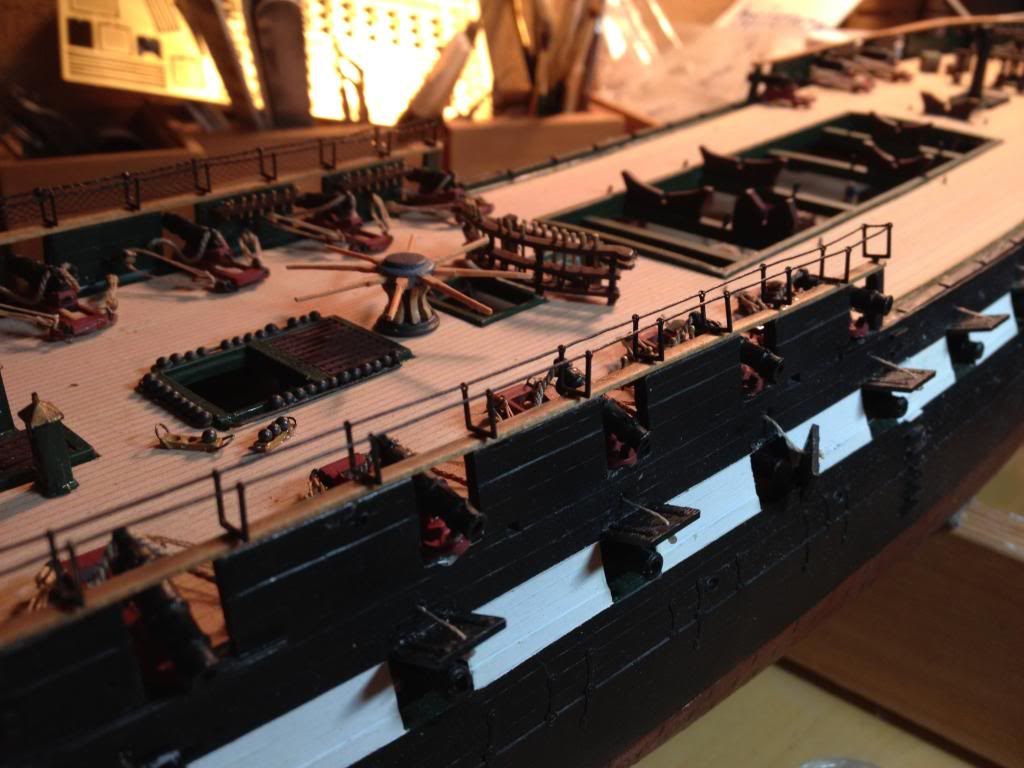
I looped the cable around the forward end and added an eyebolt to tie them down at the aft end. I did the same for the forward cranes except adding a tie down at the bow.
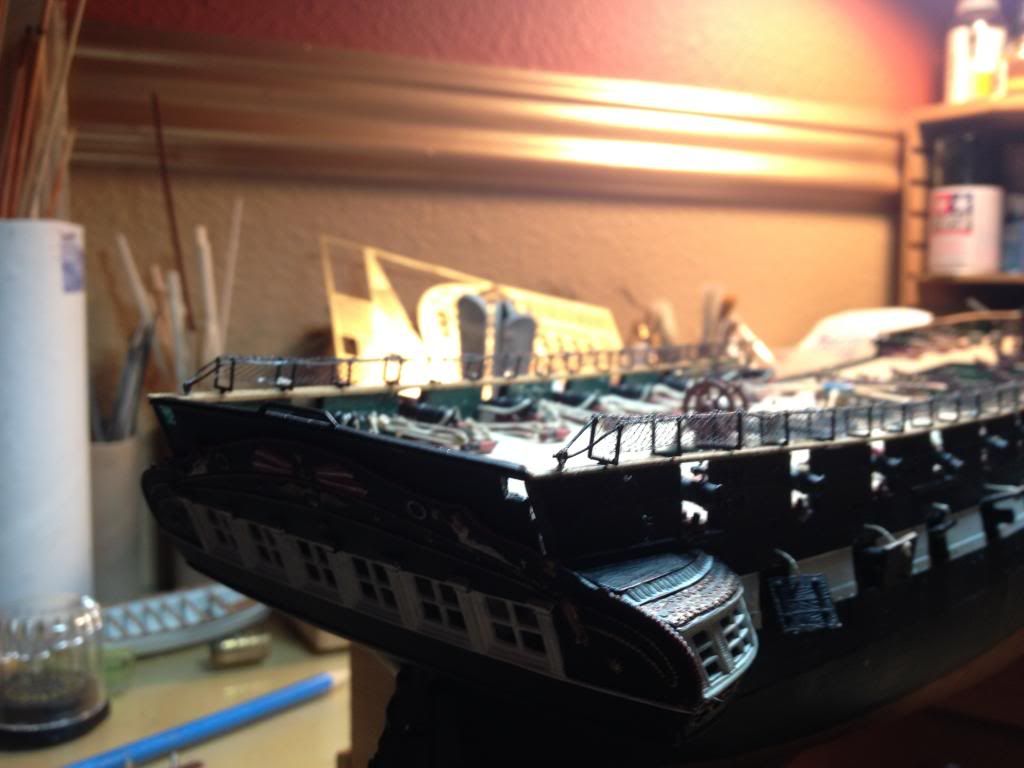
Adding the netting took some figuring and finegaling. I used some toile (pronounced twahl) that I pick up at a local fabric store. I got the smallest mesh that they carried and it seems to work well for this scale. What I ended up doing was using a ruler to cut a swath the same width as the ruler which proved to be plenty wide enough.
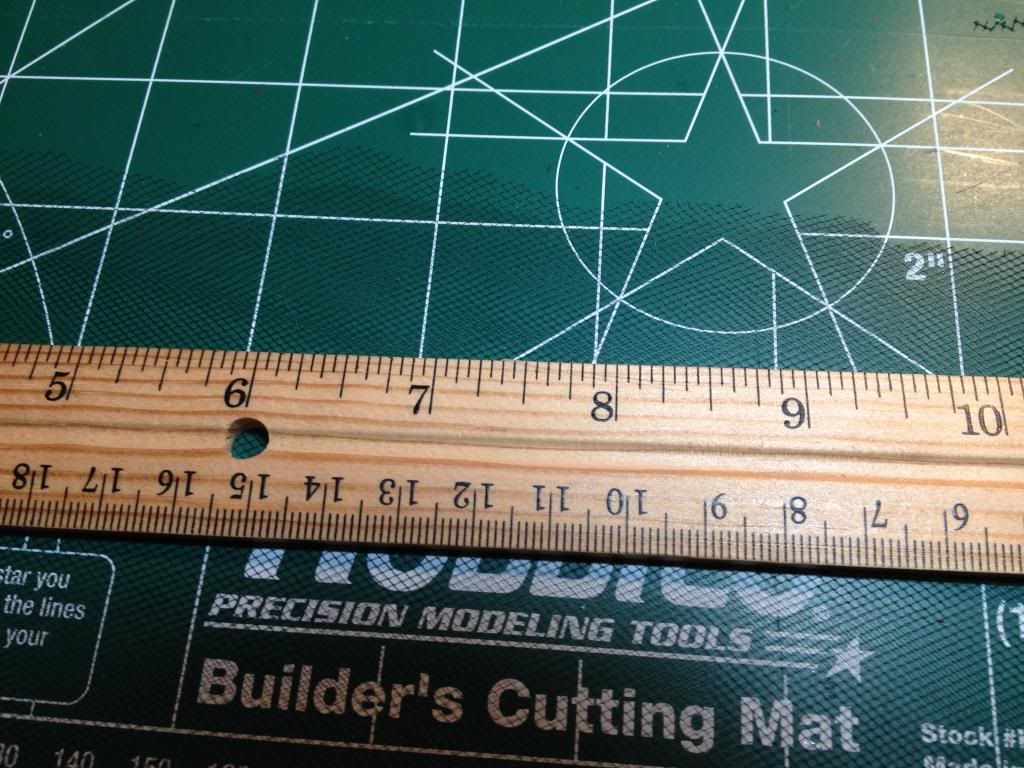
I then just laid it on top after running a thin coat of CA along the cable on one side
. The tricky part was then getting the mesh to stick to the cable. I found the best way was to use the back end of my tweezers to gently tap it down and then after it set to go back over it with another coat of CA.
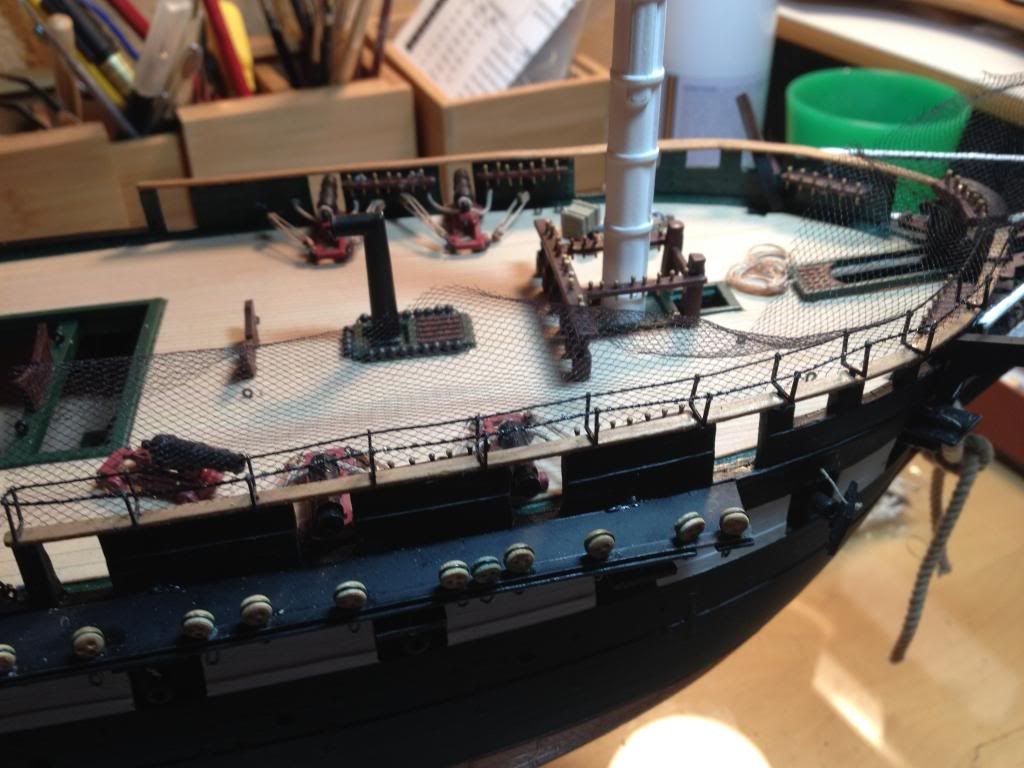
The next step was to use the back end of my tweezers again to gently and carefully push down the netting in between the stanchions. Using a piece of dowel to hold it down I then repeated the gluing process on the other side.
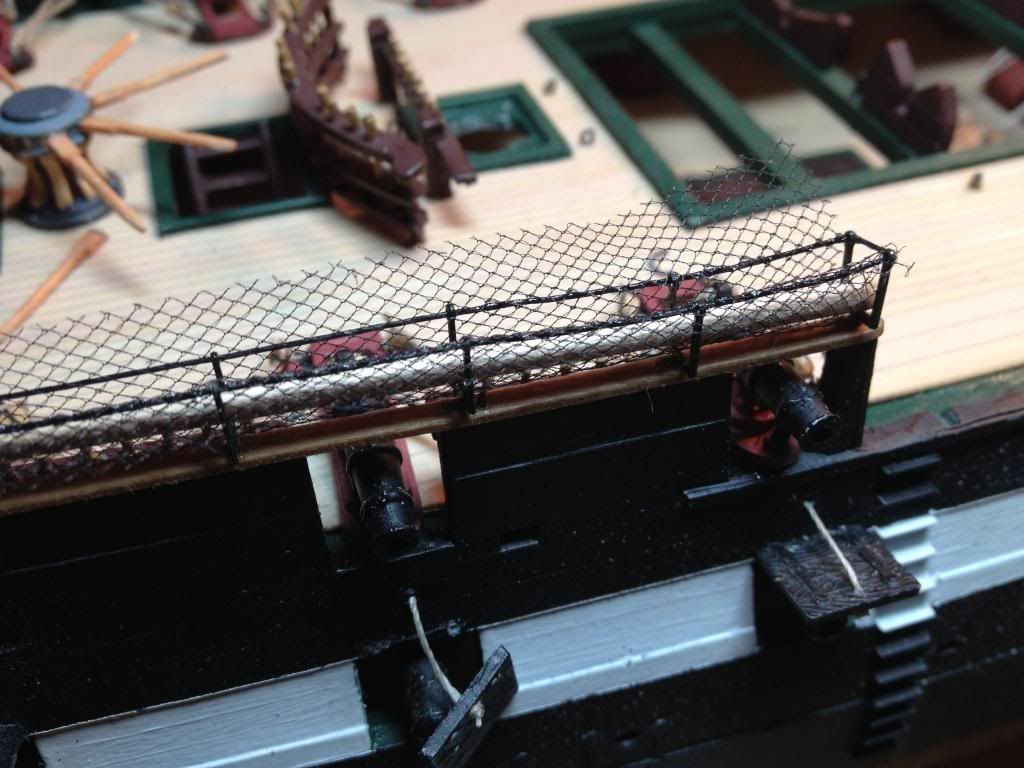
Once that set, I went back with my xacto knife and very very carefully trimmed off the excess. It did not come out as perfect as i would have liked, but the results are more than acceptable.
For the mid ships I had to find a way to deal w/ the "grooves" designed to hold the kits pieces.
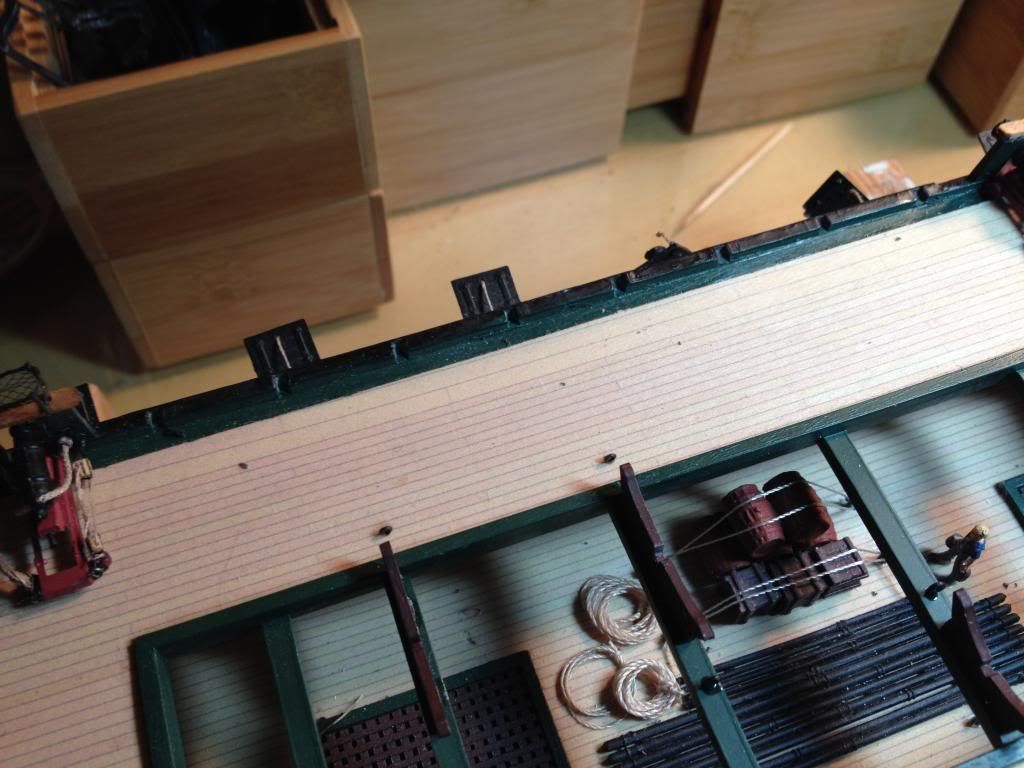
I had thought to putty them in but then came up w/ the idea to use some channel styrene that I had that was the right width, although I did have to shave one side off as it wouldn't completely straddle.
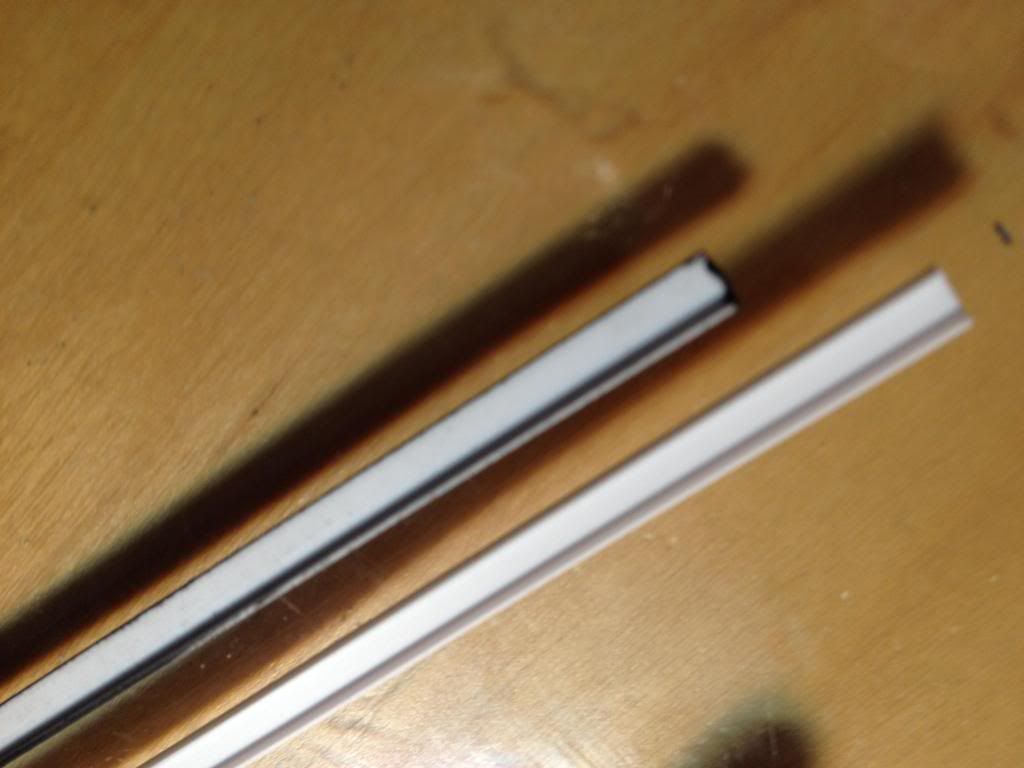
I painted them black, glued them on and drilled the holes to add the stanchions.. Once in place I added some bass wood "slats" and some gangway boards. The gangway boards are traditionally embellashed w/ some sort of carving or decoration, but I left them blank for the time being, If I can find some decent decals that might be appropriate, I may add them later. I still have to finish up the port side, but I have the process down pretty good now and that should go fairly quick.
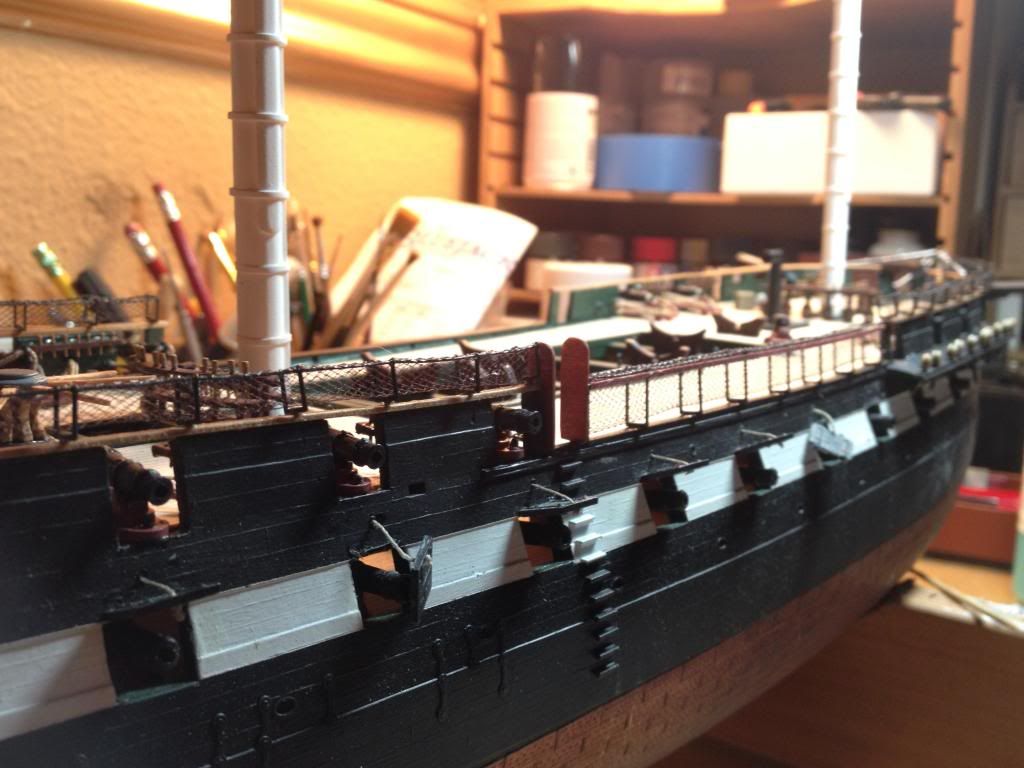
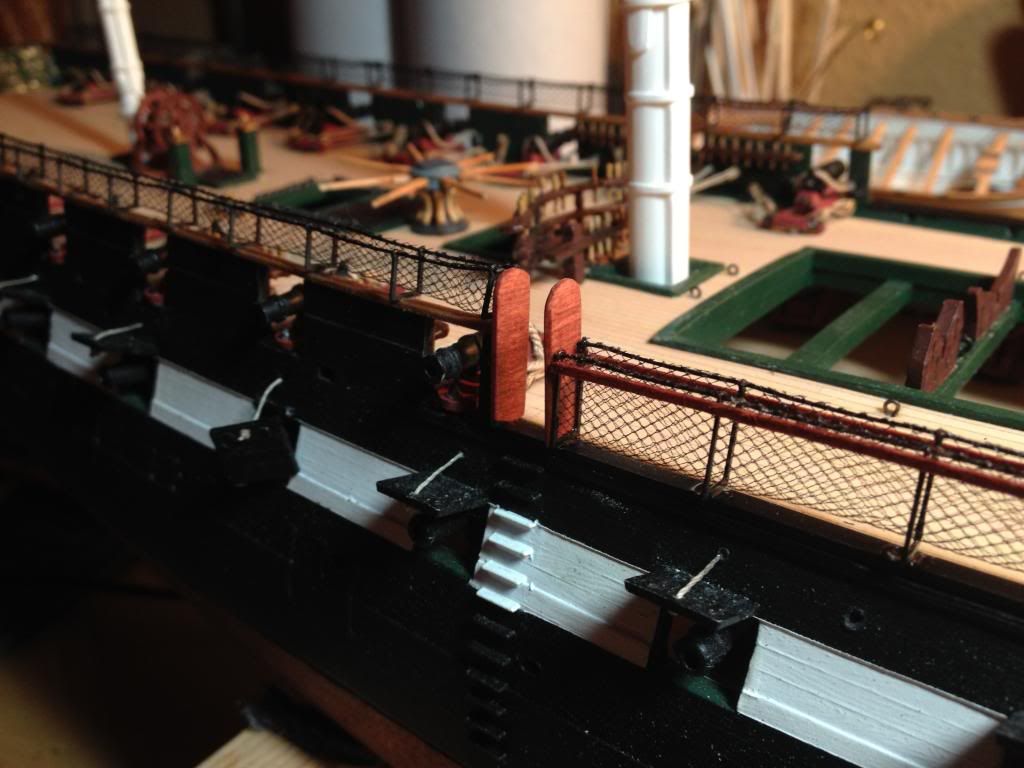
I am really glad I went ahead and did this now as it adds some real dimension and finish to the deck.