My evolving base.
Below: Mounting the lower base was a challenge. I thought about gluing it down, but I doubt that it would hold. I can screw it down, but all that I had to screw into was a piece of flimsy cardboard backing. I doubt that a piece of cardboard would hold. Ultimately, I figured I'd have to incorporate the plexiglass as part of the solution. The material is rigid, and so it should hold.
What is the problem with this? There isn't much plexiglass material to screw into. The screws would have to go through the glass in order to get a good bite. And having screws poke through the water dio is a big, fat, no.
My solution is to drill holes into the base, through the backing board, and into the plexiglass. From the top of the glass I countersink each hole leaving as much of a ledge that I could. Hex nuts will go into those holes, and the screws secure to them from the bottom via the hole drilled through the base, backing board, and the glass.
This was a hair-raising process. If I countersink too much I could lose the ledge that holds the hex nuts in place. Not only that, but, I had to grind down the thickness of each hex nut because their profiles were still too high. The thickness of the glass didn't give me much room to work with. At a minimum, I wanted the hardware flush with the glass. It was painstaking. I lost three hex nuts in that grinding process. They went a flying, to where, I don't know. Good that I bought extra.
You can see that I countersunk the lower base as well. I did not want the screwheads marring any furniture.
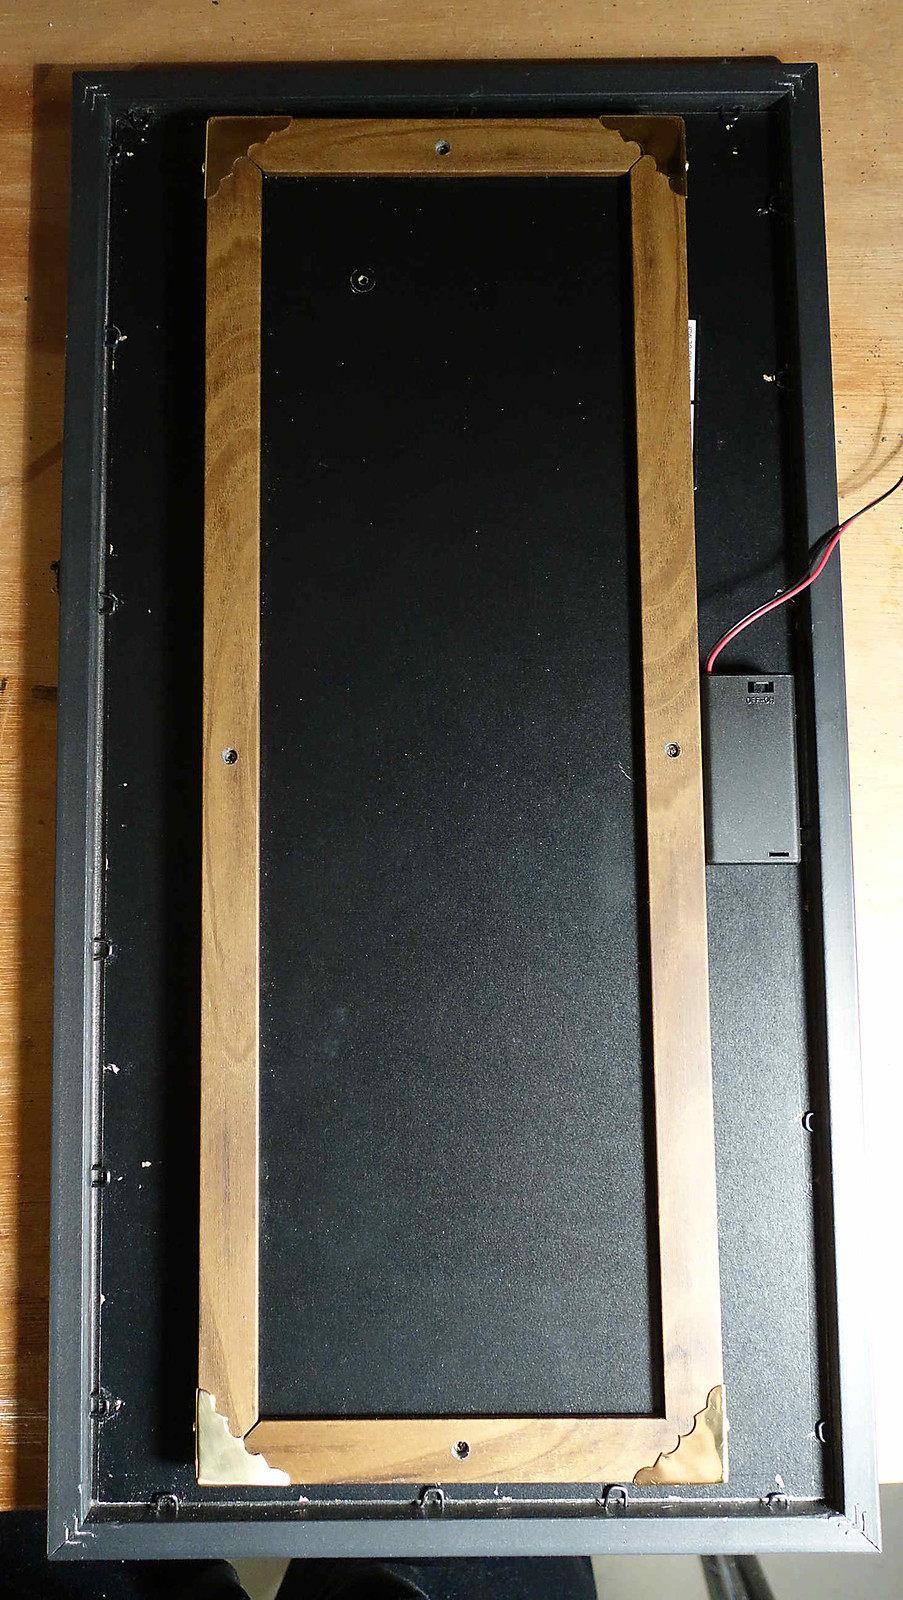
Below: You can see the captured hex nuts.
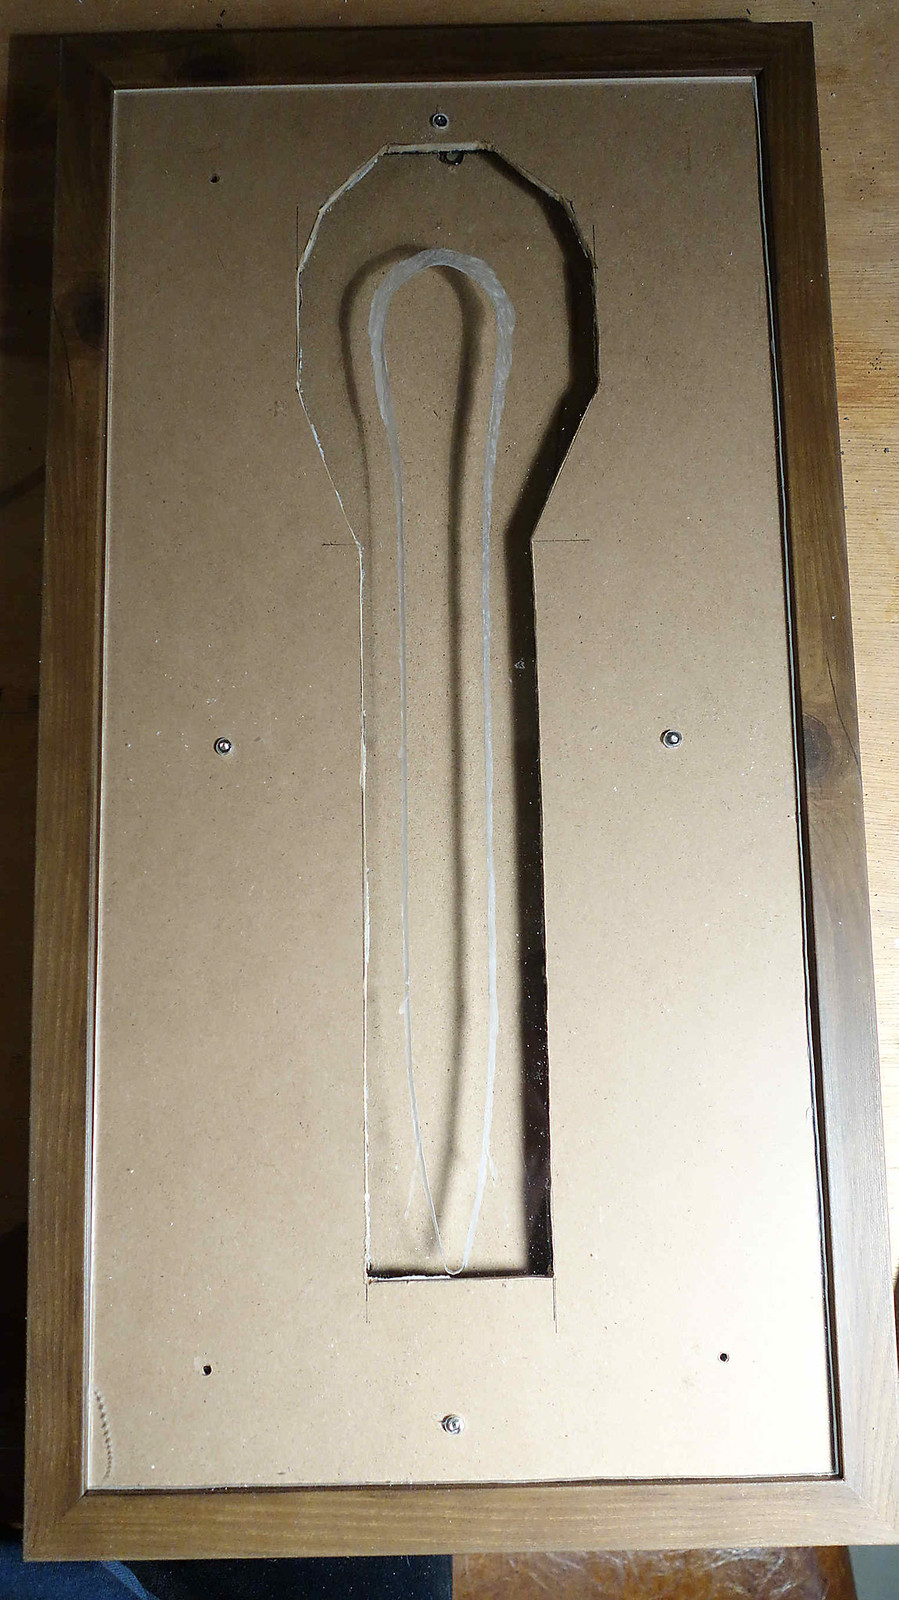
The next problem? How do I secure the battery pack to the base? The battery enclosure does not offer any means of mounting it. I suspect that these are designed to be inserted into a compartment of some type. I don't have the luxury of depth to build one.
Here again, I thought about glue. Here again, I doubt it would hold. I thought about screwing in some hooks to the backing material and fabricate a latch of some type. In this case, I would have the same mounting concerns as I had with the lower base.
I opted to follow the same method as I had done with the base by countersinking the glass.
Below: Here is the supply with it's cover off. Because of the switch, (the area at the right), I have an opportunity to screw through the cover shown in the next image. The screws will clear the cover as it is slid on.
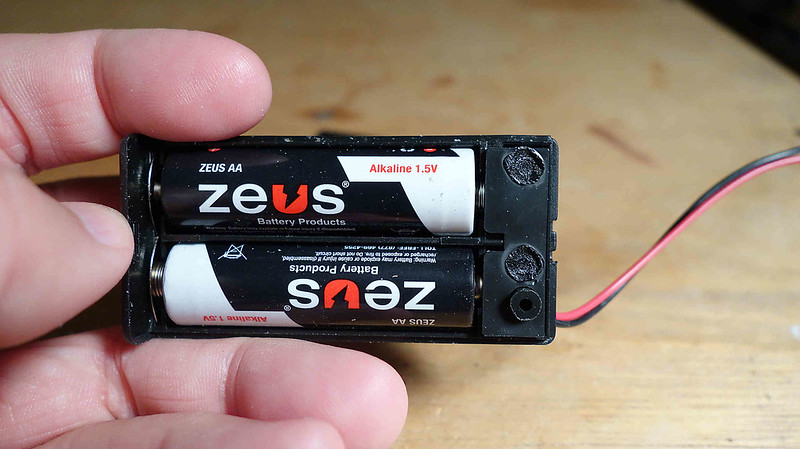
Below: I ground away that ledge by the hole, and I drilled another hole next to it for good measure. Two anchors are better than one. I followed the same procedure as that I did on the base. I did not post an image, you get the gist.
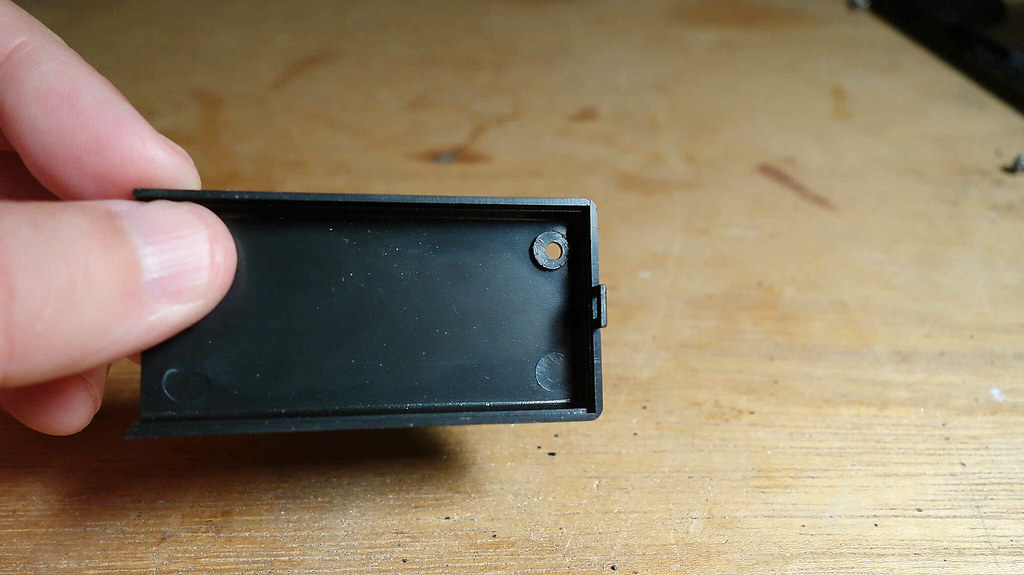
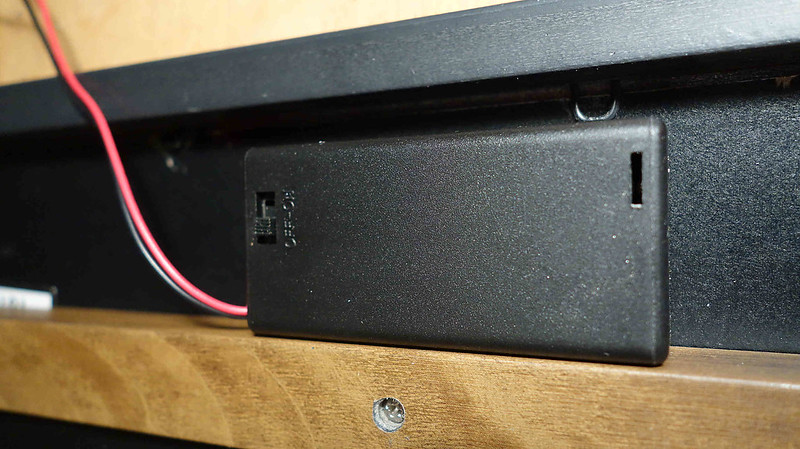
Remember my plan to use the lower base as the stand? Well, all good plans don't come without some challenges. See below. The battery compartment barely, maybe, rides even with the lower base. BUT...the switch sure doesn't. You can see the lower stand in the background.
![]()
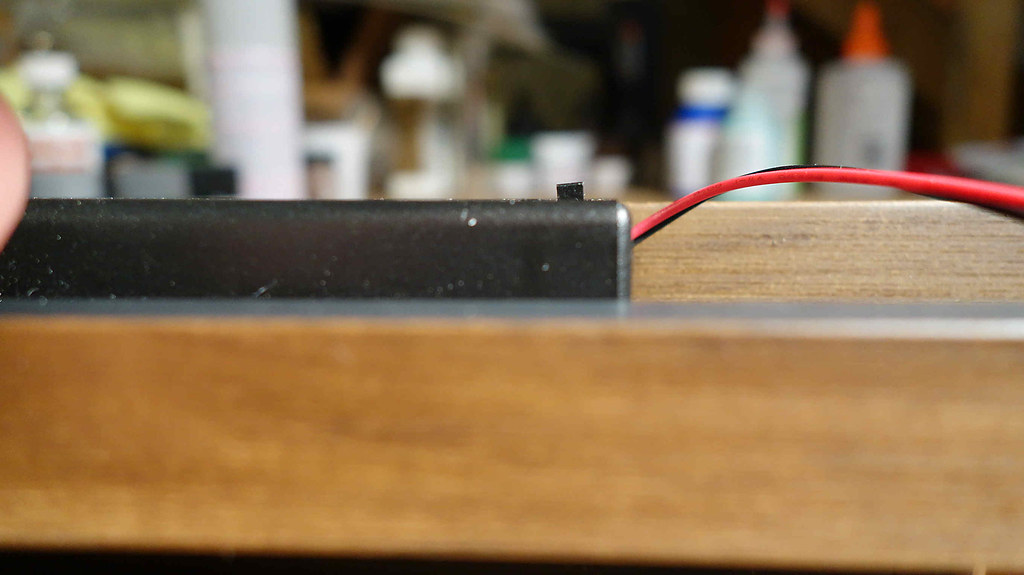
Now what do I do?
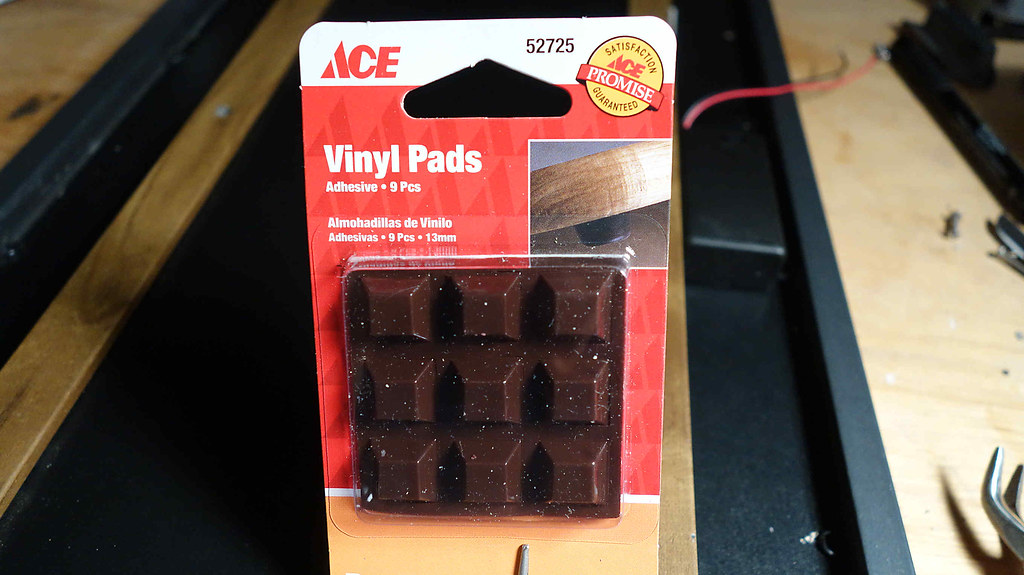
I buy this...
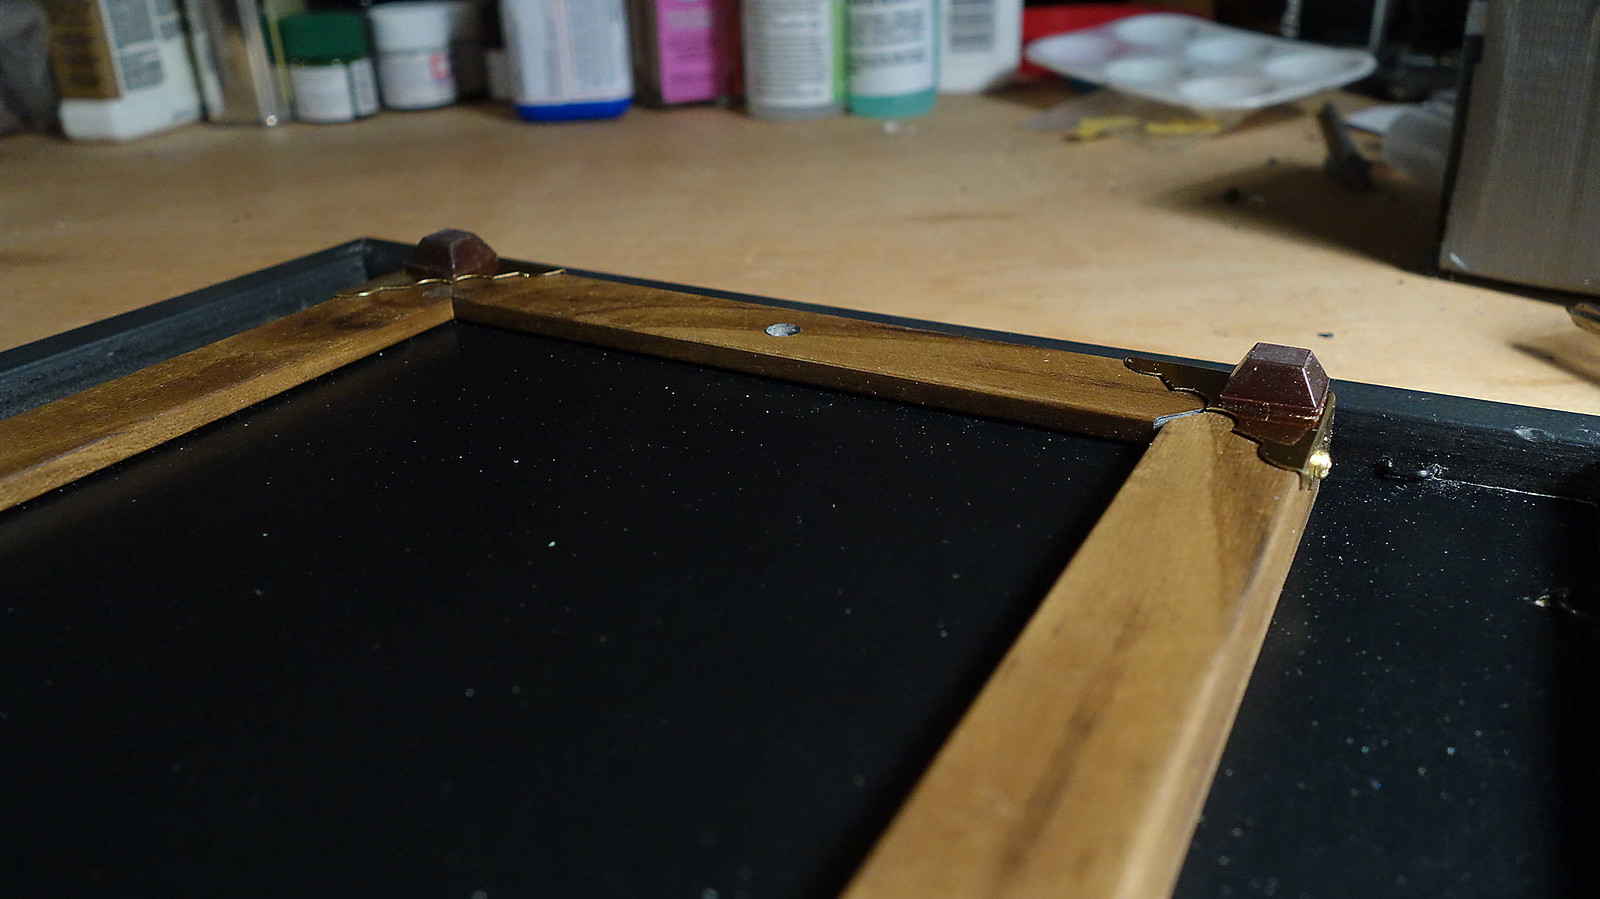
And...do this.
What is next to do? I will fill all the holes that I made in the plexiglass and sand it smooth. I will probably use epoxy. I have not had good luck with epoxy, but I might try it here. After all of that, the stand is essentially done. I will then move onto sanding and polishing the plexiglass at the bow of the sub.
More to come.
PS: Since that I had to use vinyl feet to raise the height of the base, I might have been able to use double sided foam tape to secure power supply. That stuff holds well. I didn't try that route because I was aiming to use the lower base as a stand. Who knows though. By adding foam tape it might have raised the profile too much, even for the added feet.