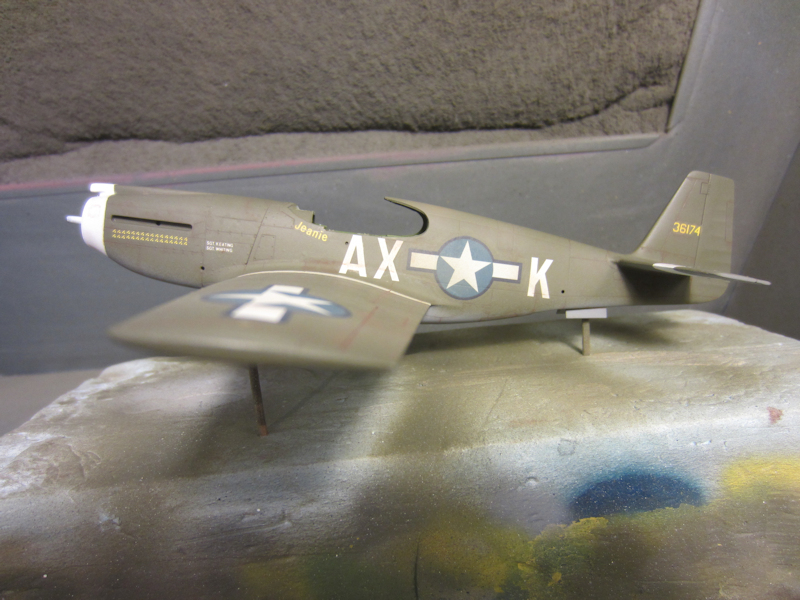
Well, I solved my problem with the oversized letters on my F-6B. After some searching, I found replacement letters at Kits-World. I ordered a sheet and set about removing the too-large letters. I had to do a bit of touch up to the paint, but the removal went pretty well overall. After a surprisingly short wait (Kits-World is in Great Britain), the decals arrived and I was back in business. This is the first time I’ve used Kits-World decals and they worked out pretty well. They snuggled down with no problems and didn’t really even need setting solution. Once the decals were on, I overcoated them with Future. When that was dry, I accented the panel lines with a burnt umber oil paint wash and then over sprayed the whole model with a light coat of Model Masters Afrika Khakibraun. Next up is a final coat of Model Masters Flat Clear.
Larry