Okay, for anybody still watching...I'm about to mad dash this SOB to the finish line!! Here's a few last things I managed to tie up this -A before priming.
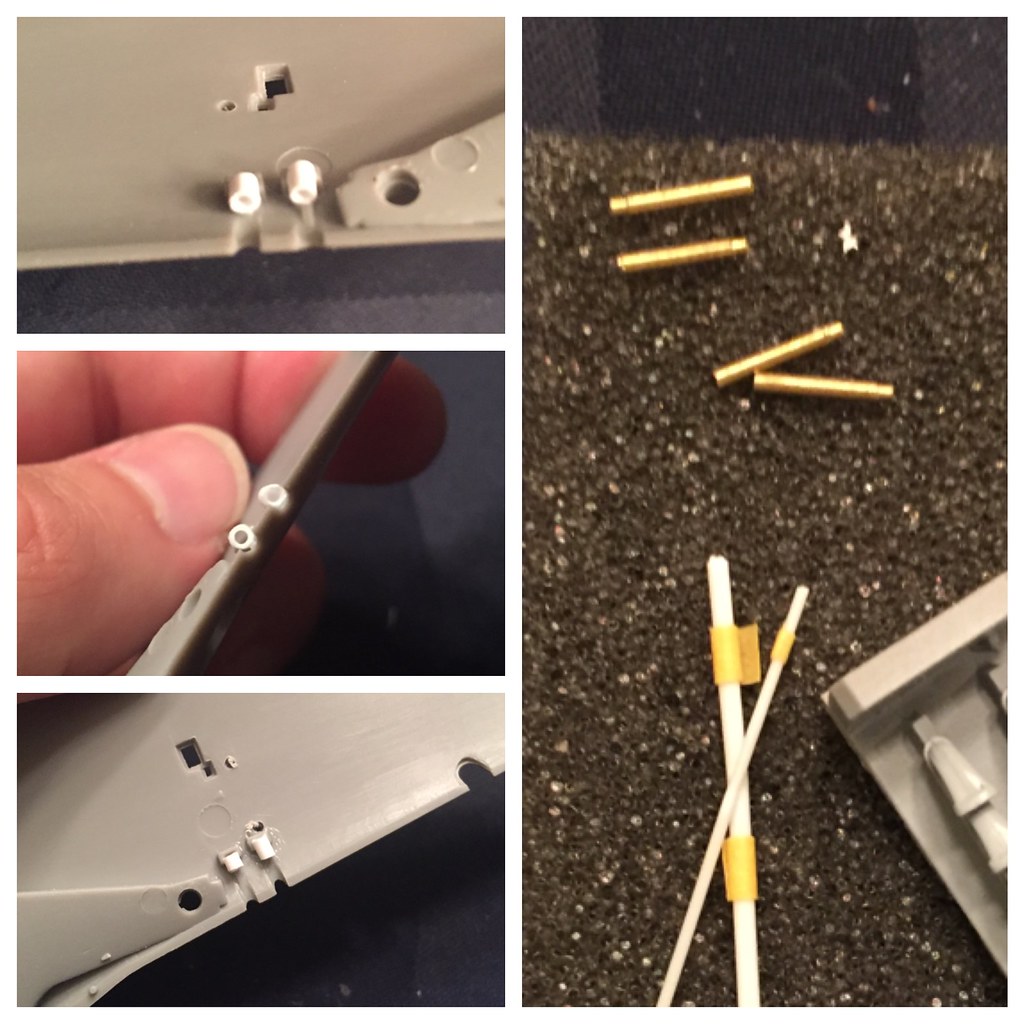
I redid the MG barrels with albion brass tubes. I'll be doing something similar for the -D. I saw Lawdog do this a while back and it seemed a whole lot better and cheaper than another AM part. The picture collage is fairly self-explanatory. I glued a 3/32" plastic tube to receive the albion tube combo. This allows me to paint them separate and close up the wing now. A lot easier for cleaning up these seams and saves me masking this part later. =]
 Untitled by Britt Vallot, on Flickr
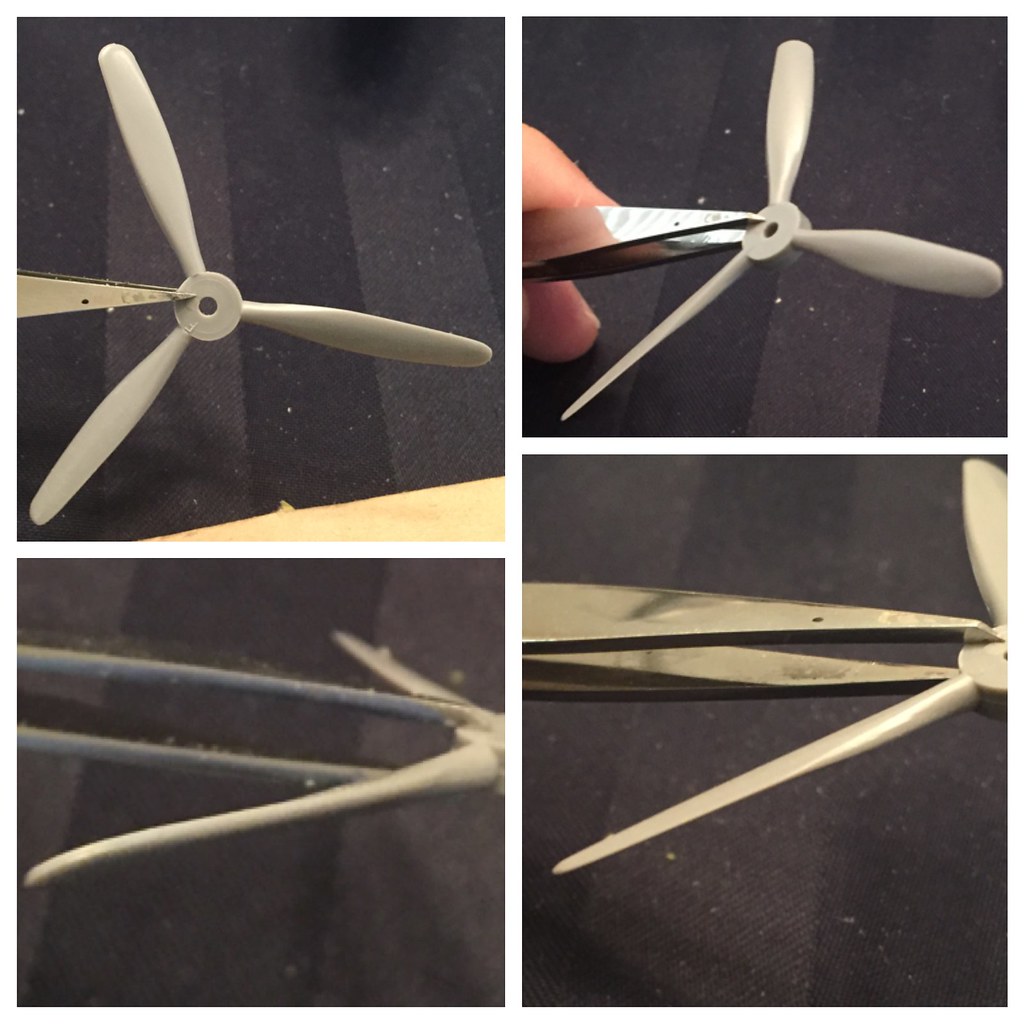
The prop for this kit in reviews I've seen in the past looked really big to me. This one here came in a different color plastic than I've previously seen and this particular prop doesn't appear as bad, but...still pretty thick for my taste. So I got to sanding. Here's the difference.
 Untitled by Britt Vallot, on Flickr
In the top two frames the top blade is the original unsanded part compared with the two I've sanded. I based them off a Squadron walkaround for Allison engine Mustangs. The bottom left frame shows the thickness of the blade while the bottom right shows the corrected scale thickness (as best as I could make). So in just a few minutes I've gone from a boat oar that you'd paddle with, to a pretty sharp looking prop fit for a Mustang. =]
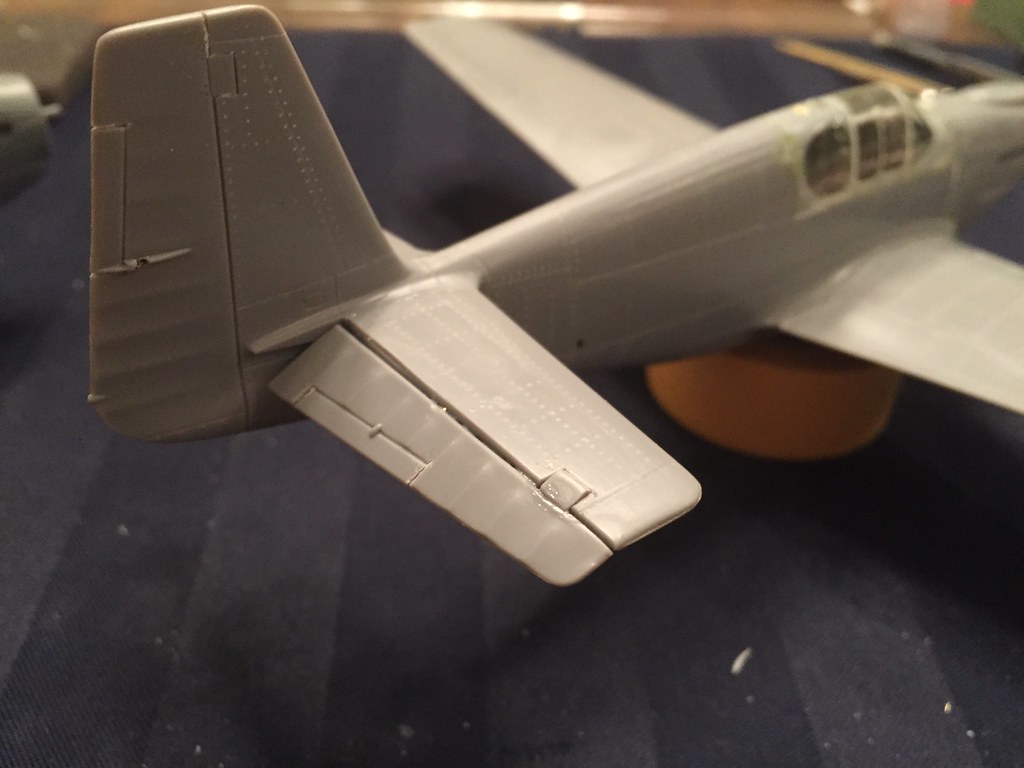
I did my usual elevator piece which was the same as the Tamiya kit...a one piece...much less fuss. The elevators slipped down in the -As just as they did for all Mustangs.
 Untitled by Britt Vallot, on Flickr
I've riveted the plane, but it's pretty much the same. I try not to go too heavy with pictures. You can kind of catch it in some of these pics.
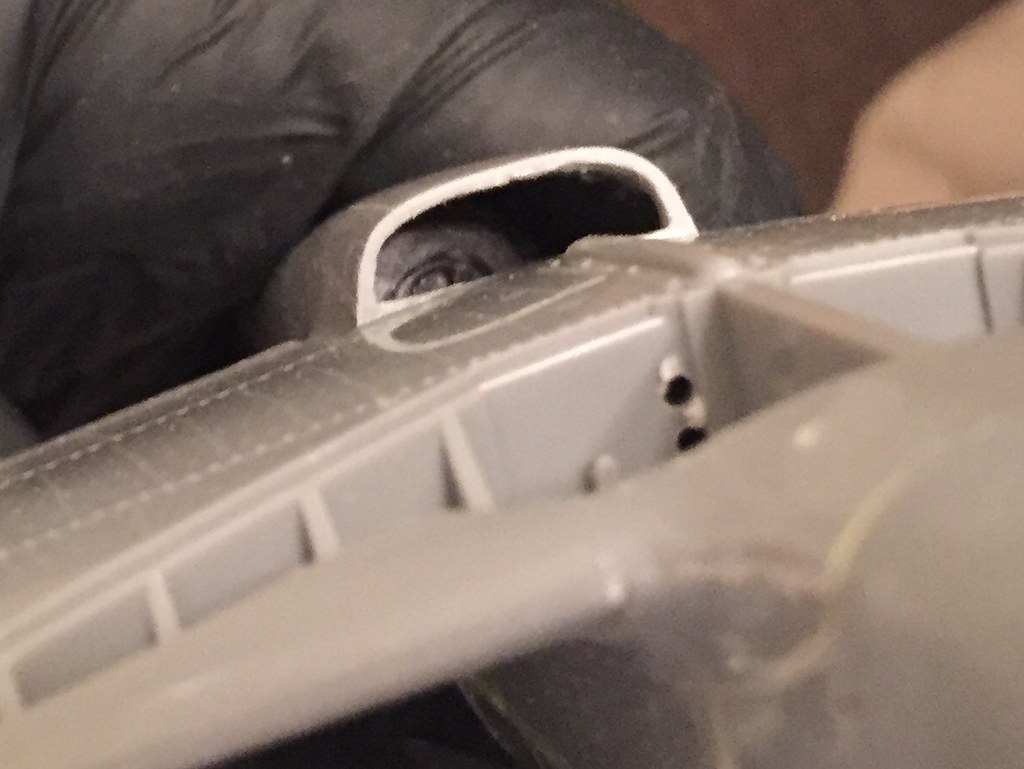
I opened the radiator scoop a little wider. The opening is now a better fit to the kit part and there's no plastic protuding into this space...and you can see the radiator front that I built way back. =]
 Untitled by Britt Vallot, on Flickr
And here's just a quickie of where I'm at before priming with these two.
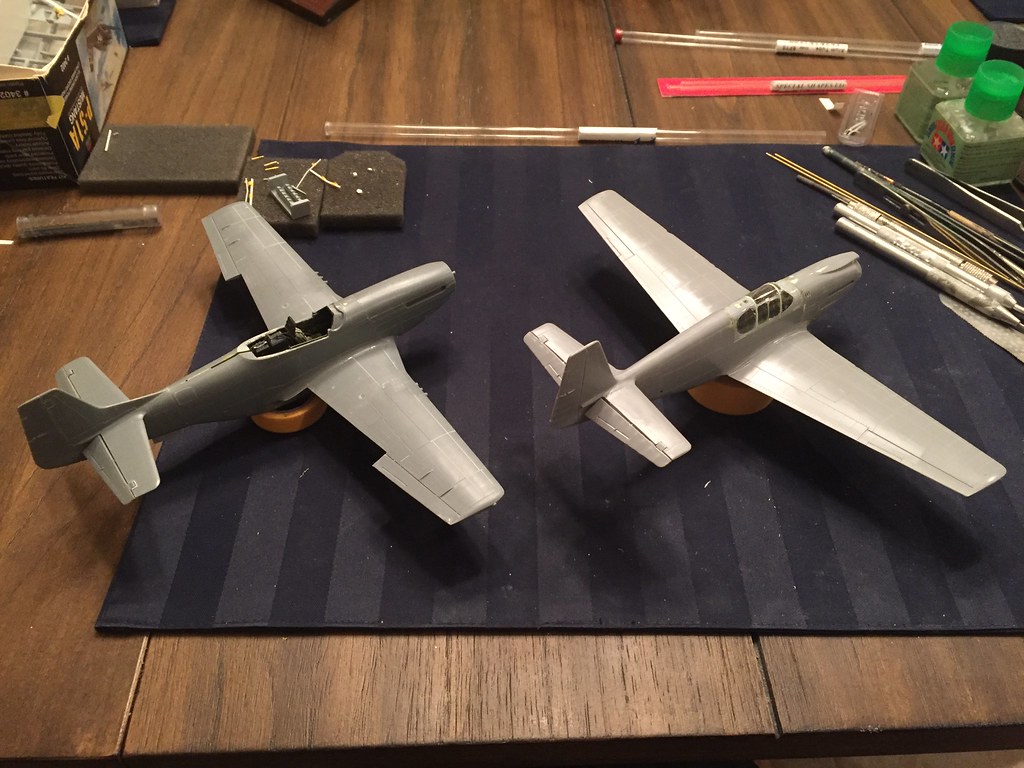 Untitled by Britt Vallot, on Flickr
Tomorrow, Paint!