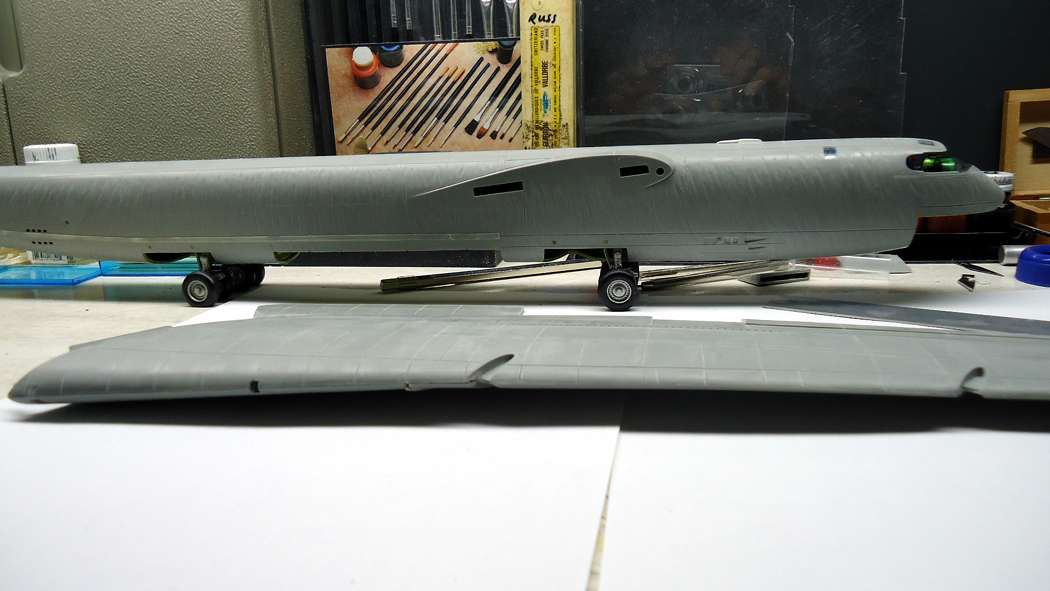
Hi, All,
Sorry I haven't posted any updates in a while. I've been struggling with these wings. And I thought the fuselage was difficult! At any rate, I finally got the wings scribed (I decided not to scribe the undersides since they won't be seen anyway, so that saves a lot of work).
Updated 7/9/19.

When I tried the wings on the fuselage I discovered that they don't have the necessary droop for the outrigger gear to touch properly. I read previously of one modeller's solution to this, but he cut slots in the top wing to insert strips of styrene. I didn't want to mess up the top so instead, I removed a 1 mm strip on the underside of the wing. If you want to try this, follow the steps below.
NOTE: You will need to have the fuselage assembled with the main wheels attached to test the wing droop.
1.) Assemble the top and bottom wing sections according to the kit instructions and glue them together. Do not glue the flaps in! Once the wing is dry, pull the flaps all the way out, or remove them.
2.) Lay each wing with the bottom side up.
3.) Measure 135mm from the wing root along the leading edge of the wing and make a mark.
4.) Starting from the mark, draw a line parallel with the inboard slot for the nacelle strut, to the trailing edge of the wing.
5.) Using a sharp #11 Xacto blade, carefully make a 1 mm wide cut along the line (see first photo below). Remove the cut material.
6.) Place objects under the wing on either side of the cut so that when a weight is placed over the cut, the walls of the cut will close together.
7.) Remove the weight and apply a strong glue to the cut, then reapply the central weight.
8.) Perform the same procedure on the second wing. Allow the wings to dry for at least 24 hours.
9.) Sand and finish the cut areas.
10.) To verify the wing droop, cut two wooden toothpicks to the length of the outriggers from the bottom of the tires to the tips of the mounting pins at the top of the gear.
11.) Insert the toothpicks into the mounting holes for the outrigger gear.
12.) Place the model on a flat surface and temporarily install the modified wings in the fuselage. NOTE: If you've already flattened your main gear tires, you will need to flatten the outrigger tires to match the length of the toothpicks. Keep in mind that the outriggers slant slightly backwards with the wing installed so flatten the tires accordingly.
13.) Verify that the wing roots are flat against the fuselage with the tips of the toothpicks resting on the surface. If the the toothpicks are too long, you can compensate by flattening the outrigger tires accordingly. If the toothpicks are too short, You can lengthen the pin at the top of the outrigger assembly.
14.) Carefully re-install the flaps. You may have to shorten the length of the flap assemblies slightly and institute a slight curve to match the wing's new curve.


Cheers,
Russ