Greetings All!
My name is Russ, and as some of you may know, I have gotten in to making 1/350 and 1/144 scale models, mostly aircraft using AutoCad, and having them 3-D printed. I have posted, and am posting, WIPs of some of the models elsewhere here on FSM. Some are completed, some are still in progress. Some were made in collaboration with Ron, a master at building small scale models.
http://cs.finescale.com/fsm/modeling_subjects/f/2/t/157366.aspx
http://cs.finescale.com/fsm/modeling_subjects/f/48/t/158982.aspx
http://cs.finescale.com/fsm/modeling_subjects/f/48/t/159017.aspx
http://cs.finescale.com/fsm/modeling_subjects/f/2/t/160249.aspx
http://cs.finescale.com/fsm/modeling_subjects/f/48/t/160518.aspx
http://cs.finescale.com/fsm/modeling_subjects/f/48/t/159041.aspx
Knowing that eventually I would need to display the models that I am making, I started thinking about how I was going to do it, and thought immediately of doing a diorama. This WIP will describe what I have done thus far, and document the process of completing the diorama, which could be a fairly long-term endeavor. I am not an expert in CAD, by any means, and am relatively inexperienced at modeling, and any pointers, comments or suggestions along the way would be appreciated.
So, my initial thought was to make vignettes to fill a shelf that I have on one of my walls. I measured the shelf, drew a rectangle with the measured dimensions in a CAD drawing and laid out the 1/350 scale models I had at the time, which included an F-111TACT, two T-38 Talon chase planes, an F-5A Freedom Fighter, and a U-3A Blue Canoe, and added a hangar façade.

When I was a sophomore in High School, my dad, who was the Air Force representative in a joint project with NASA to put a super-critical wing on an F-111, took me out of school to watch the inaugural test flight at Edwards, AFB. It was quite an experience and I want to replicate that moment, so I designed it for the F-111 to be just off the deck, one of the T-38s to have the nose gear just lifting off the deck and for the other T-38 to still be completely on the runway. The U-3A, one of the planes my dad flew in his long career in the AF, will be parked as will the F-5A, which I made because it was a fairly easy conversion from the T-38.
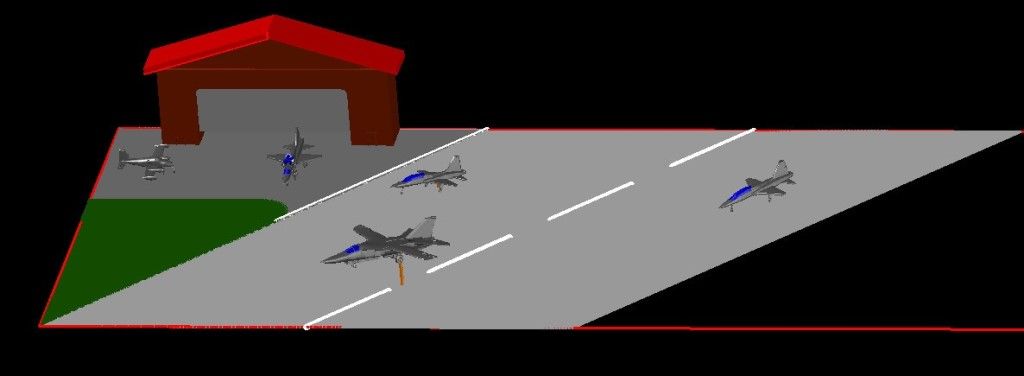
Then I decided to add an F-111A Aardvark, because it too was a fairly easy conversion. This required moving things around a bit.
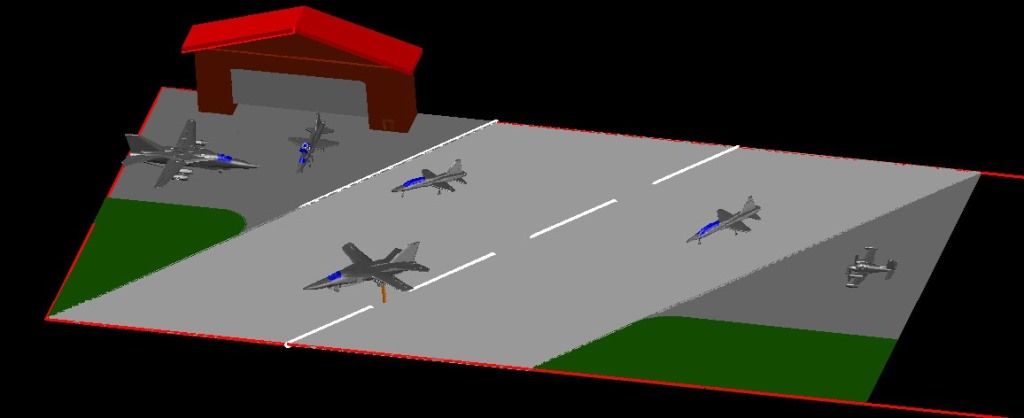
Then I decide to add the AC-47 “Puff” that dad flew in Nam.
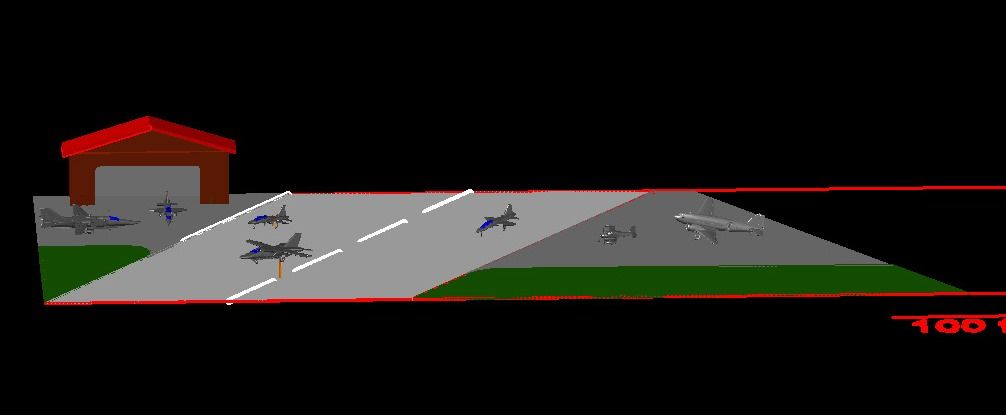
At this point, I changed my plan completely, abandoned the shelf, and decided to convert my cabinet shelf from a trash collector to a mini- airport of sorts. I bought a piece of plywood and cut it to fit the space.

I repeated the process as before, developing a somewhat more elaborate layout, with a tower and three hangars. I also added a LEKTRO tug, positioning it as if it were moving the U-3A.
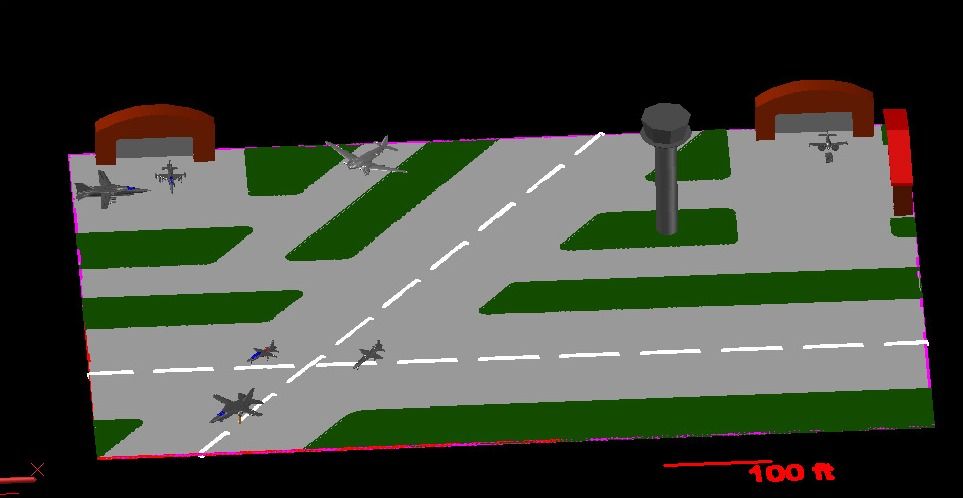
Next I added a Gulfstream G-IV…
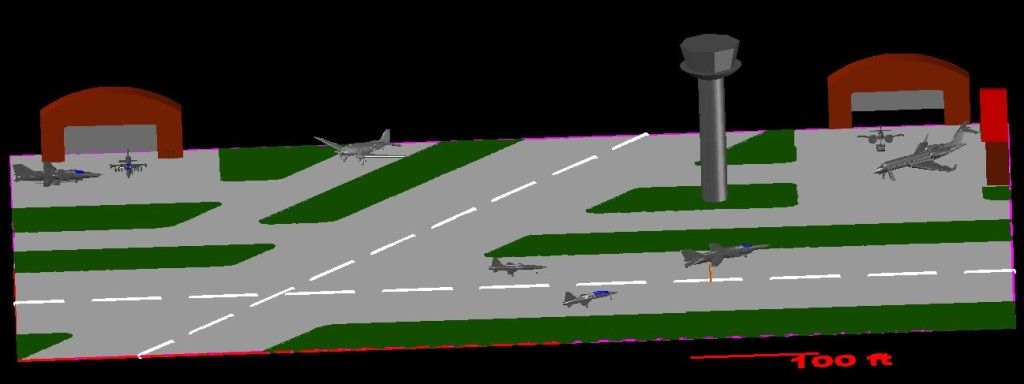
…And thought I would add some raised letters to one of the hangars, welcoming the viewer to Sanctuary Field.

Isn’t that peaceful? Sanctuary Field. It sounds like a place where one could get lost in serenity. But I digress. It also pays tribute to Ron, who has been very encouraging in my foray into 3-D modeling. On the other rounded roof hanger I added “R&R Aviation”.
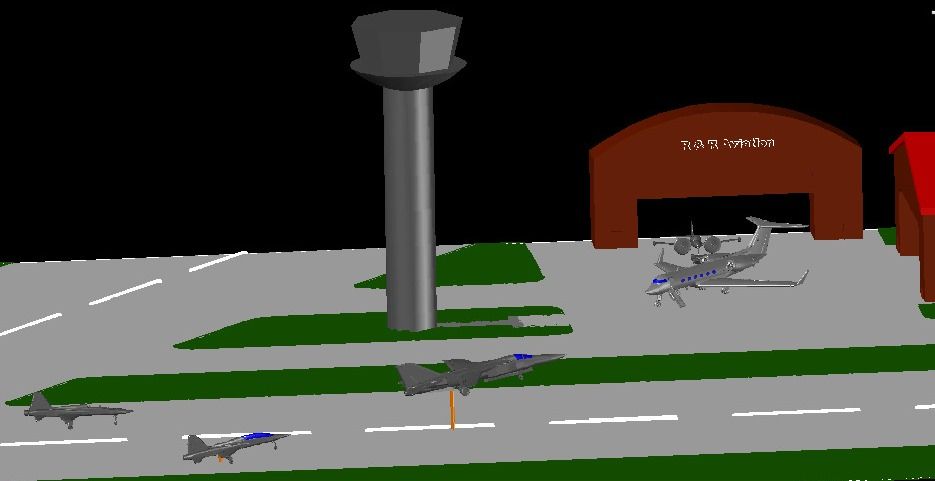
At this point I plotted it out full size to see what it would look like.
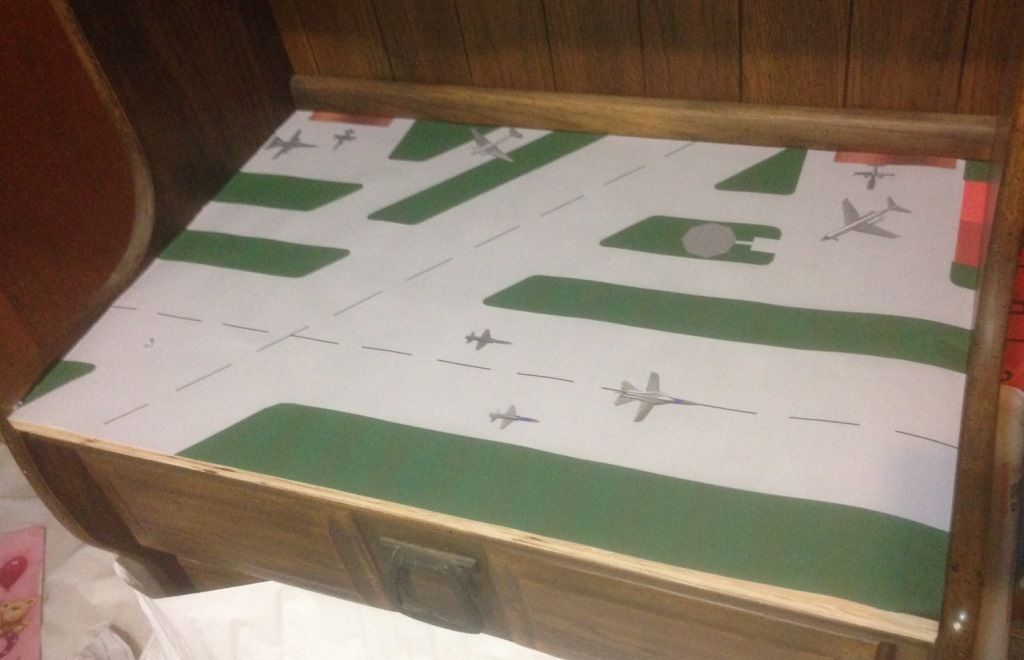
I kind of liked it, but realized, only at this point, that the hangar in the upper right hand corner would extend into the runway. I know that it is just a diorama and not a true layout, but it bugged me, so I redesigned it. Note that in addition to the markings on the runway, taxi lanes and tarmac, I also added a T-34-Mentor, and moved the tower.
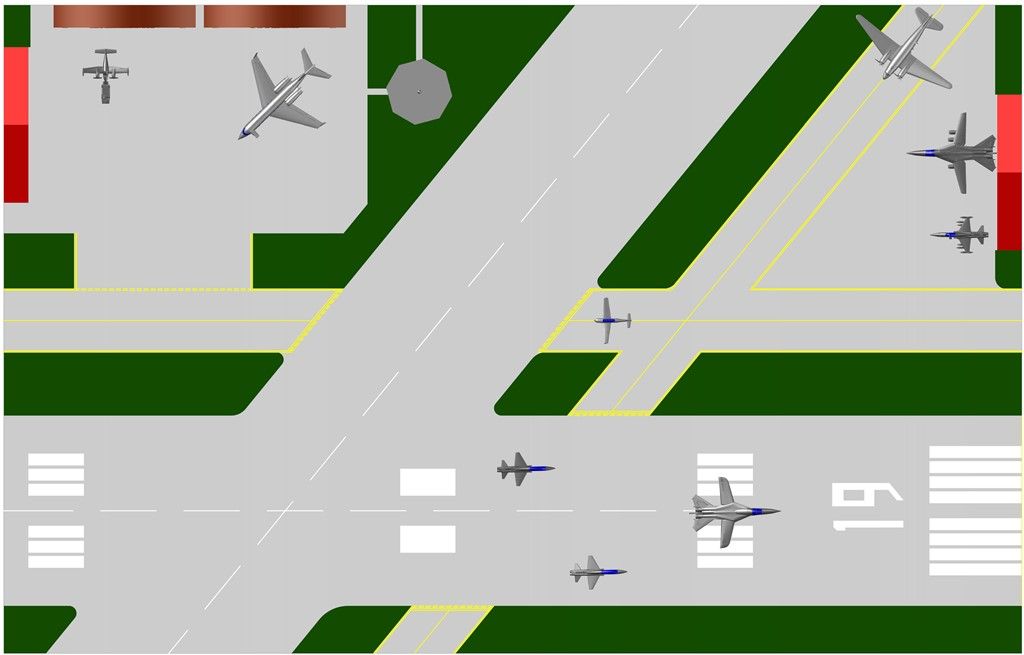
I then went to campus and printed the new layout on glossy poster paper, cut it out, and laid it in place to check it out.
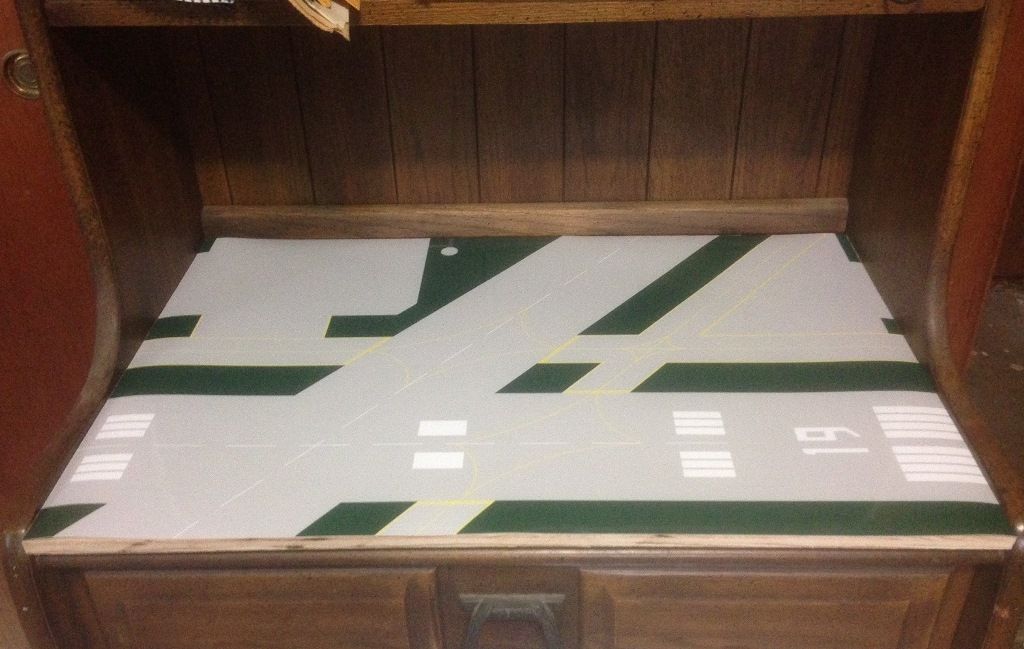
Satisfied with it, I cut out the grass areas and glued the concrete portion in place on the board.
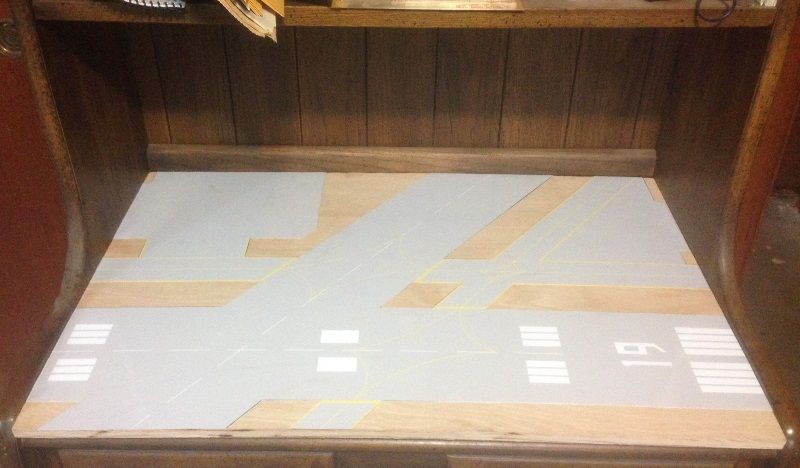
I then used Woodland Scenic Fine Turf, gluing it in place with slightly thinned Elmer’s for the grass areas.
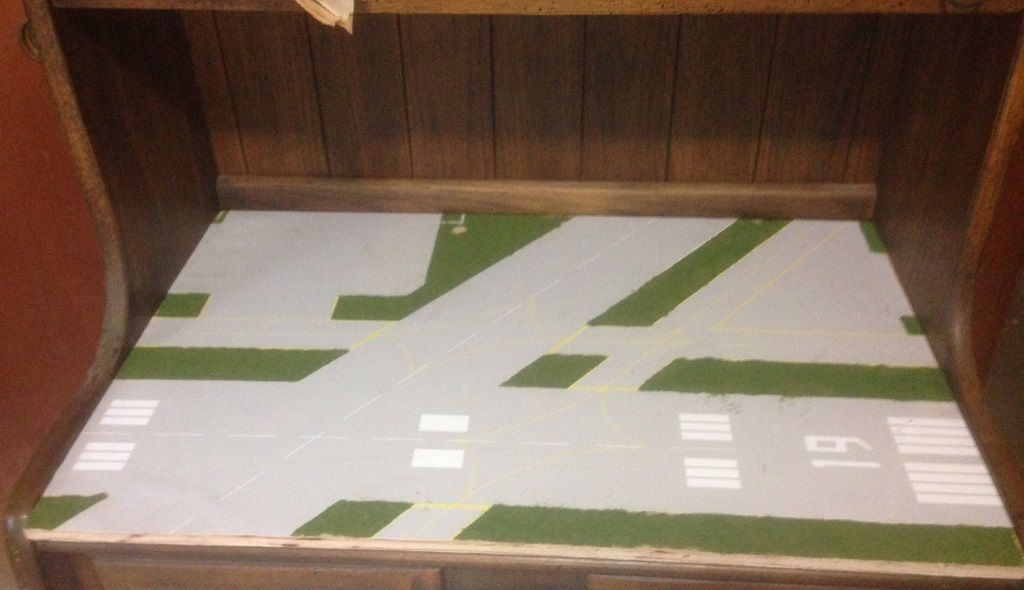
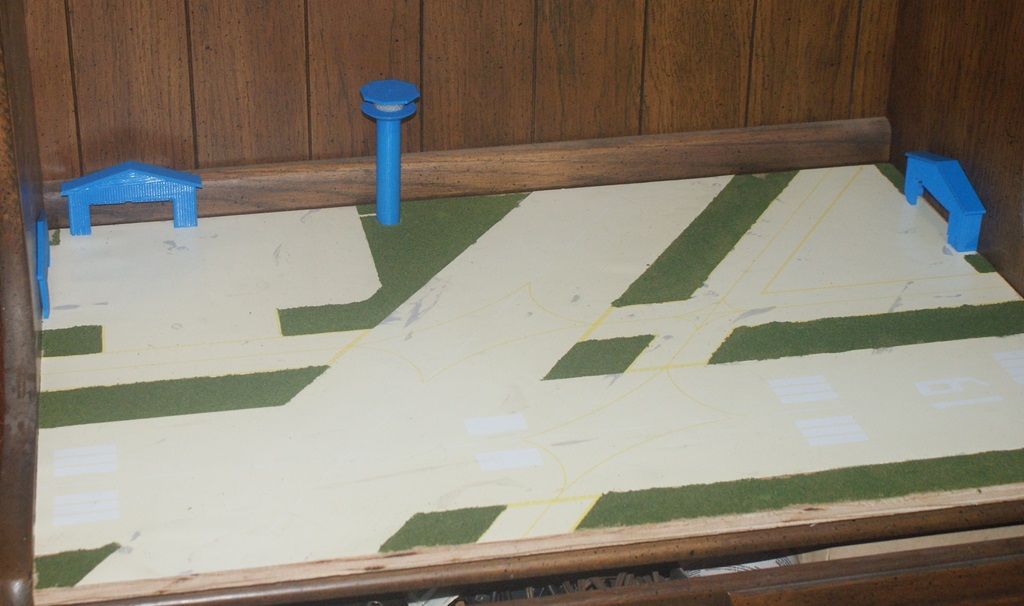
I didn’t do anything to treat the surface, and that turned out to be a mistake, as I noticed after some time that the gray had faded to a light yellowish color. In the picture below, that looks grayer than it really is, you can see the color it originally was due to smudge marks I made when I glued the poster to the board. I am pretty certain the fading is due to UV light.
This means that I am going to have to redo it, but apply a UV protective barrier of some sort to protect it. Since I am going to have to redo it, I decided to modify the design slightly, moving the tower to yet another location. Note that I also added a U-2R being chased by two El Caminos, a scene I witnessed many years ago at Beale AFB.
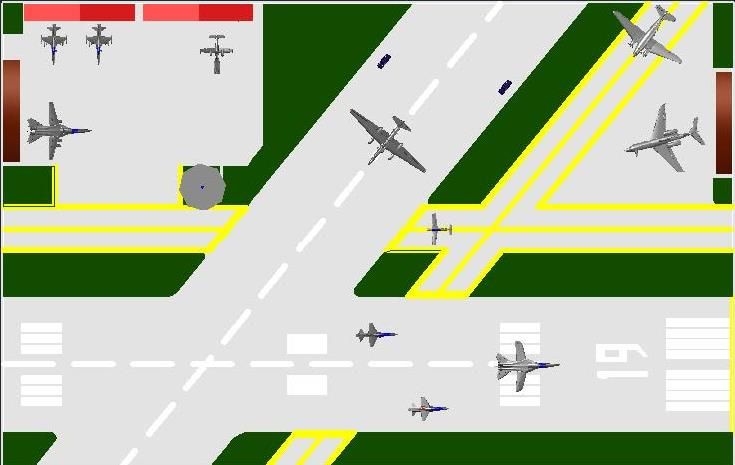
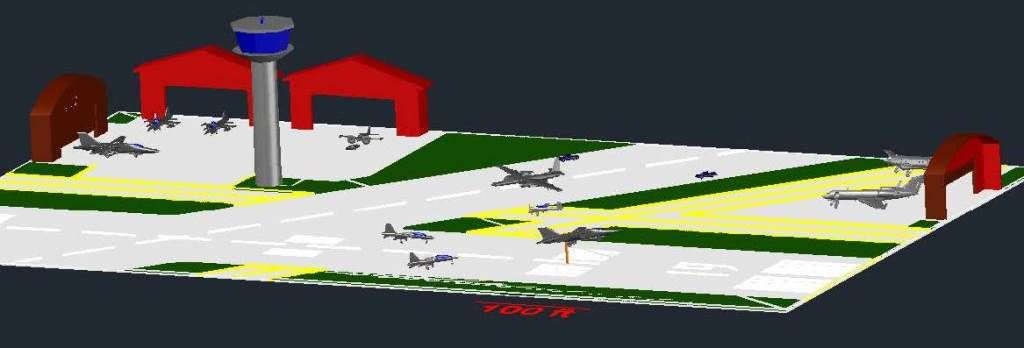
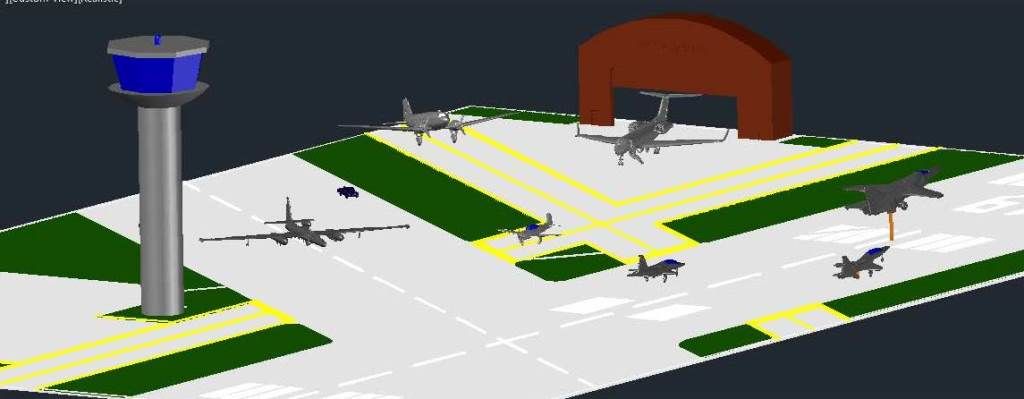
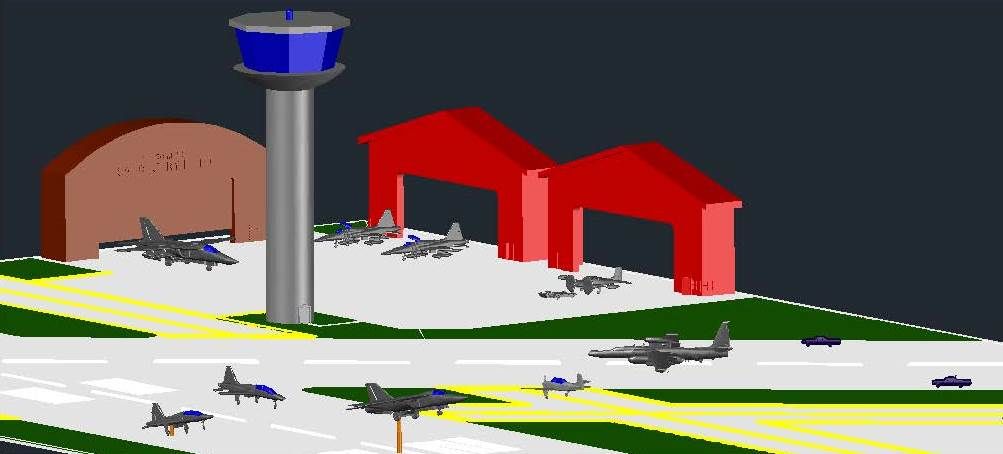
That is where things currently stand with regards to the dio base, but I have made progress on other fronts as well. The University has 3-D printers that students can use for free to print their 3-D models. The quality of their printers isn’t good enough to print my detailed airplanes, but I thought it might be good enough to print the hangars and tower, and since it was free I decided to try it out. The results were mixed. I guess the printer goofed up, so they had to restart it. The tower printed OK, which was encouraging, but the hangars did not.
After priming them, the tower looks pretty good I think, but the hangars are messed up. Due to the demand, you have to schedule an appointment to print your parts, so I made another appointment and had them print the other two hangars and a modified top for the tower. The picture below shows how they appeared after printing. You can see that there is support material that needs to be removed.
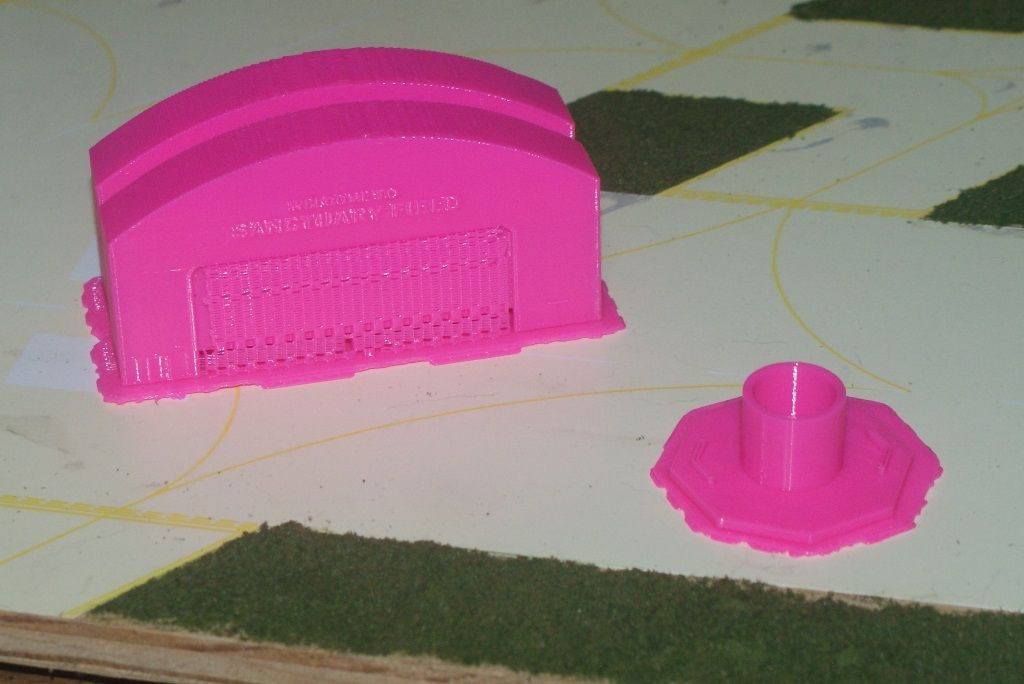
After removing this support material, which was somewhat difficult to do, the new hangars looked pretty good…
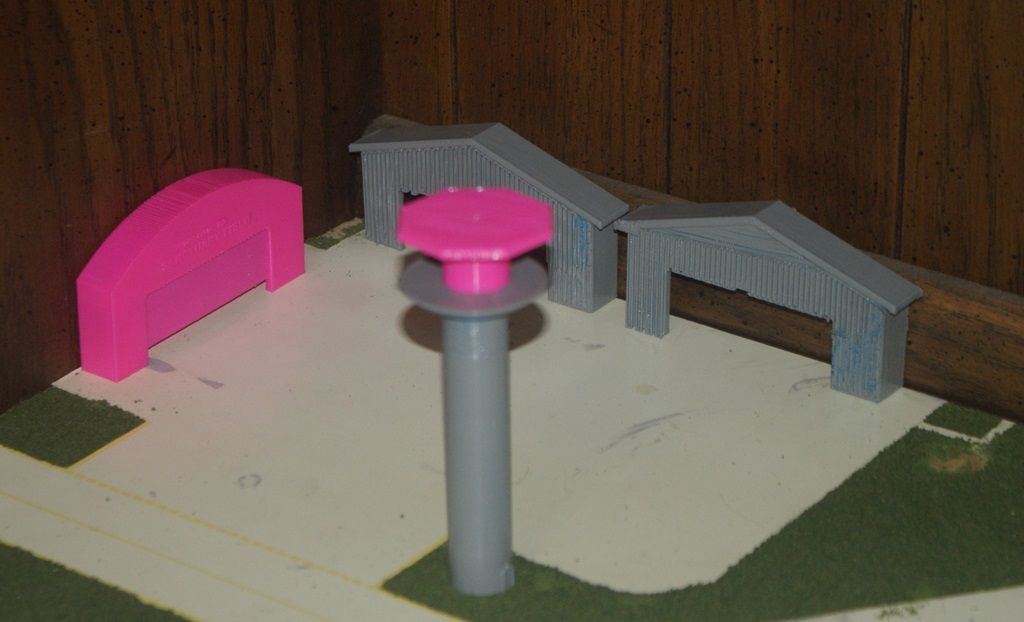
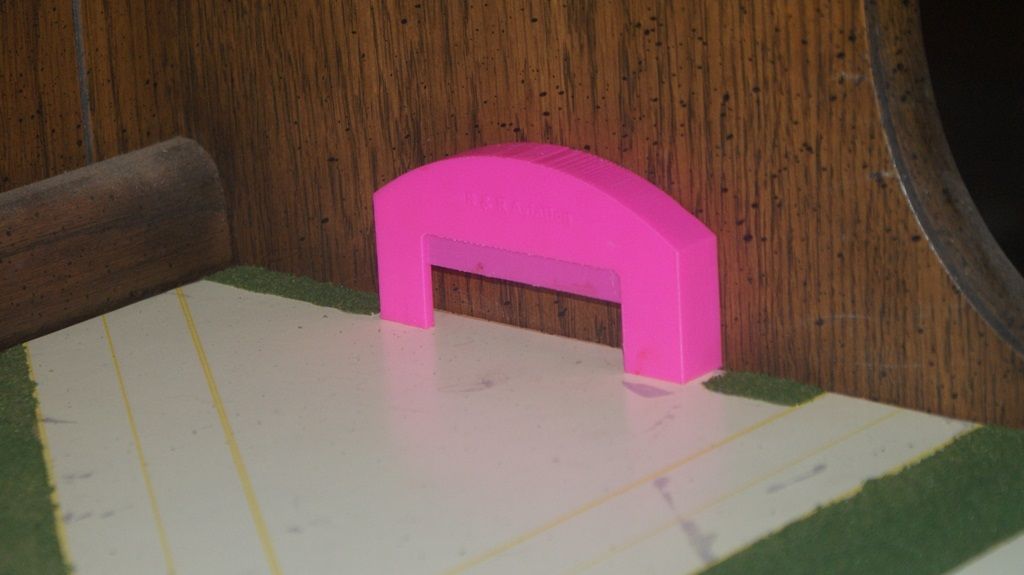
…And they look even better after priming.
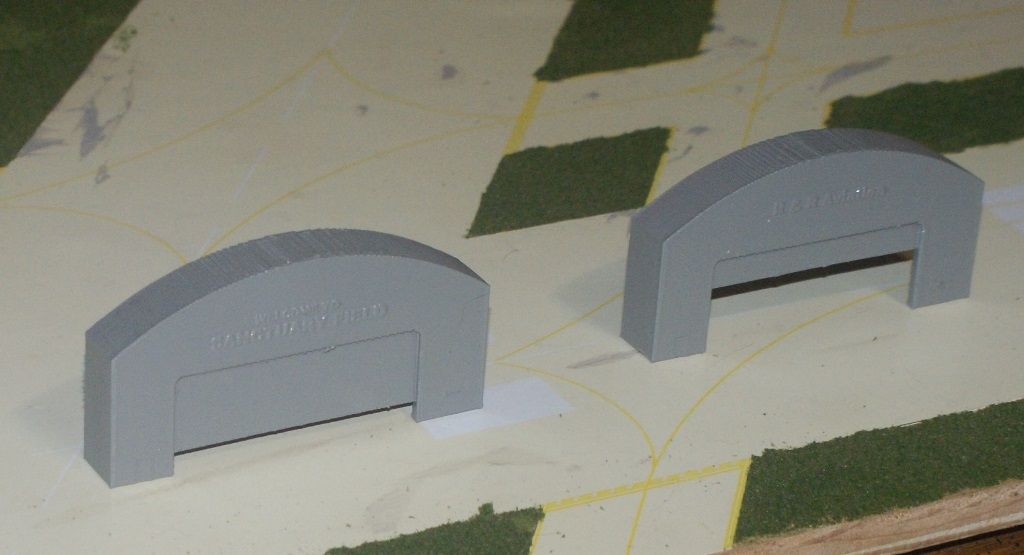
Because I got good results on the second set of hangars, I scheduled another appointment to redo the initial hangars. The picture below shows them as they printed. You can see that they look a lot better than the initial ones and that the support material still hasn’t been removed. The difference in print quality was the way they aligned the part for printing.

I have more to report, but that’s enough for now. Stay tuned for future updates.