Vetteman,
DON'T start please! I have already found out that the lightnings aren't exactly the easiest kits to build outthere... Right now i am applying putty and sanding like crazy and just hope something decent will come out of it eventually...
Thanks for allowing me to present my mustang overhere, even if it is pretty far into the build. I did not take any pics of the pit while building it but i think i could post some pics anyways once the masking comes off of the canopy.
Some pics:
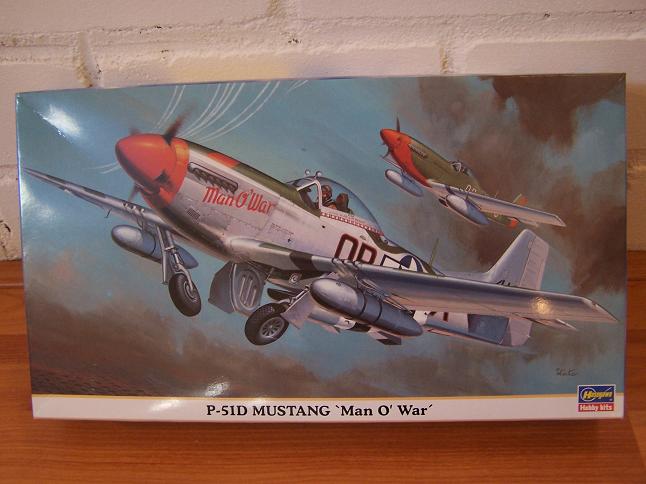
Boxart
Decals... I was planning on doing the "Man o'War" as depicted on the box, but once my eyes caught the checkertail goodies on that sheet i knew i just had to go for that one![Big Smile [:D]](/emoticons/icon_smile_big.gif)

Painting instructions (bottom half is my checkertailed example)

And my model as it stands on my workbench as i write this (photographed without flash in lamplight).
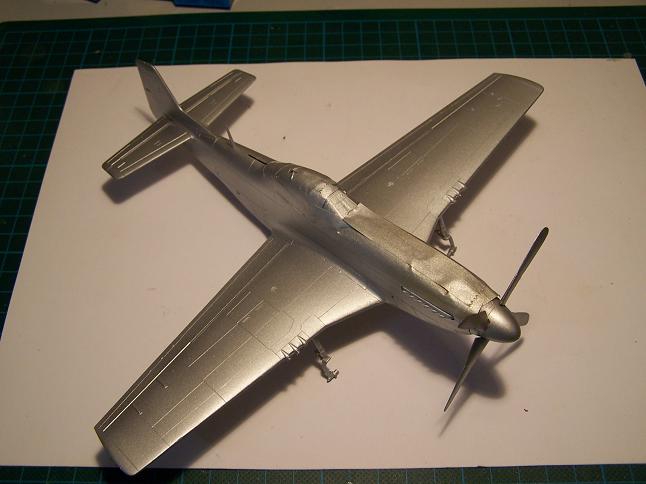
The aluminum finish is done with the Revell Aqua color number 99 and not the spraycan i used for the thunderbolt. It has a more shiny "new" character to it imho. Not unsatisfied with the results myself. Rest of the airplane is done with the same paints. I have always used enamels but these acrylics by revell are really nice to work with and make cleaning the airbrush a breeze![Wink [;)]](/emoticons/icon_smile_wink.gif)
Next stop is painting the nose and spinner and some yellow bands on the wings.
As i am still fairly inexperienced with using my airbrush i am not inclined to try to do the yellow and black checkertail myself so i will use the decals for that and hope for the best...
Untill next time