Hi all, Ive finally got round to posting something. This Tamiya Corsair kit is a fantastic kit. I see why Frank loves them so much. The fit, the plastic, the detail. Im sure this isnt going to be my last. First up, Obviously, i decided to join the outer wings and then cut off the alerons with my 'Bare metal foil' scriber,
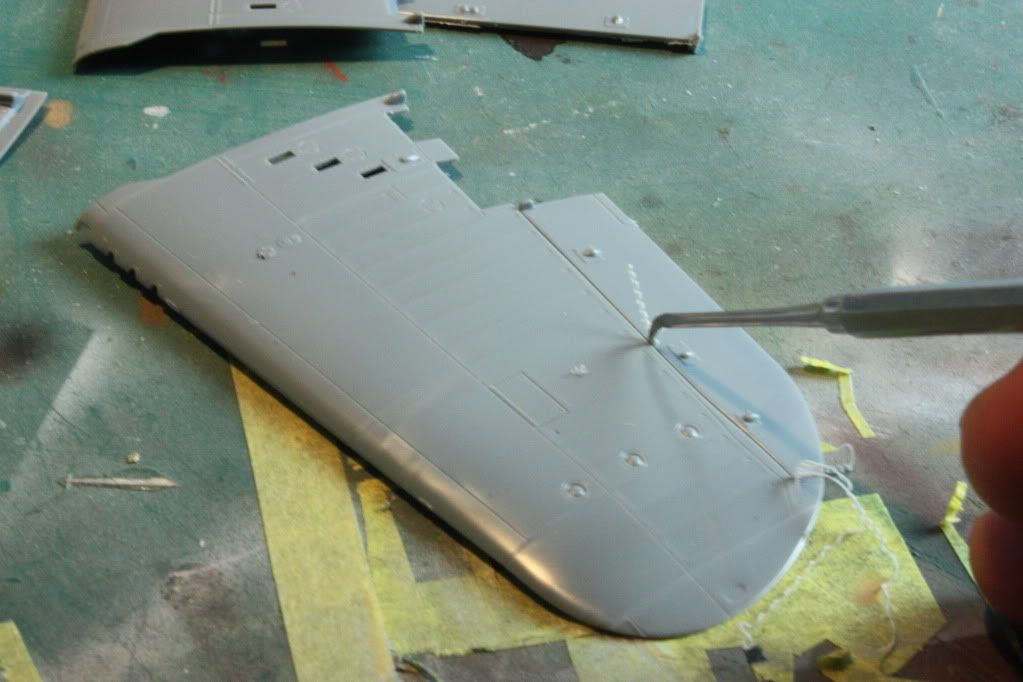
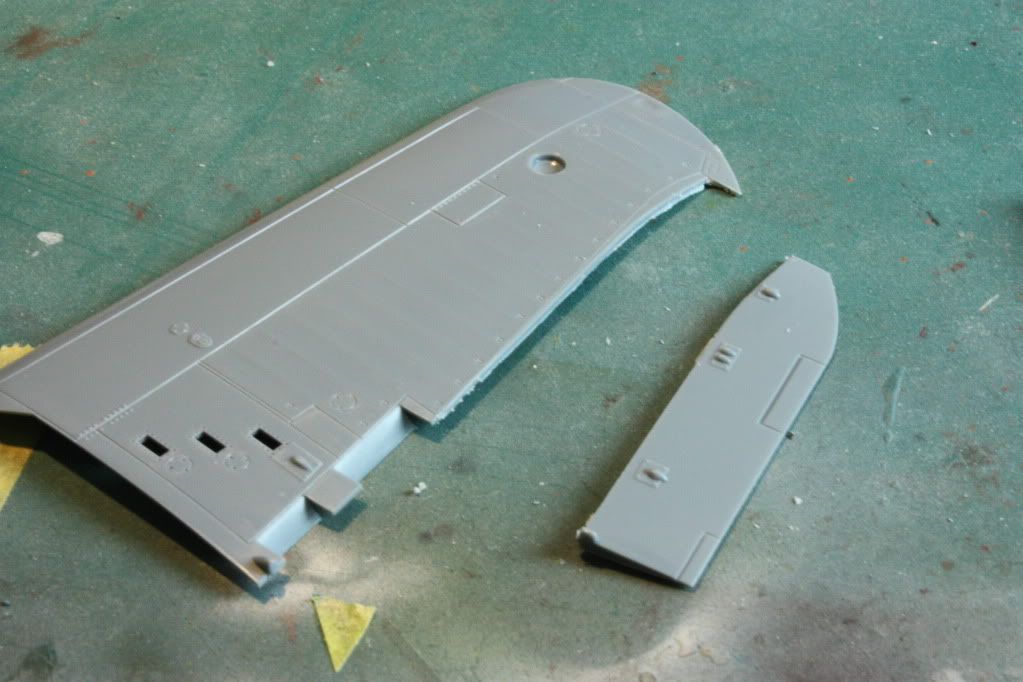
In order to get the resin control surfaces in, you have to seriously thin the wing,

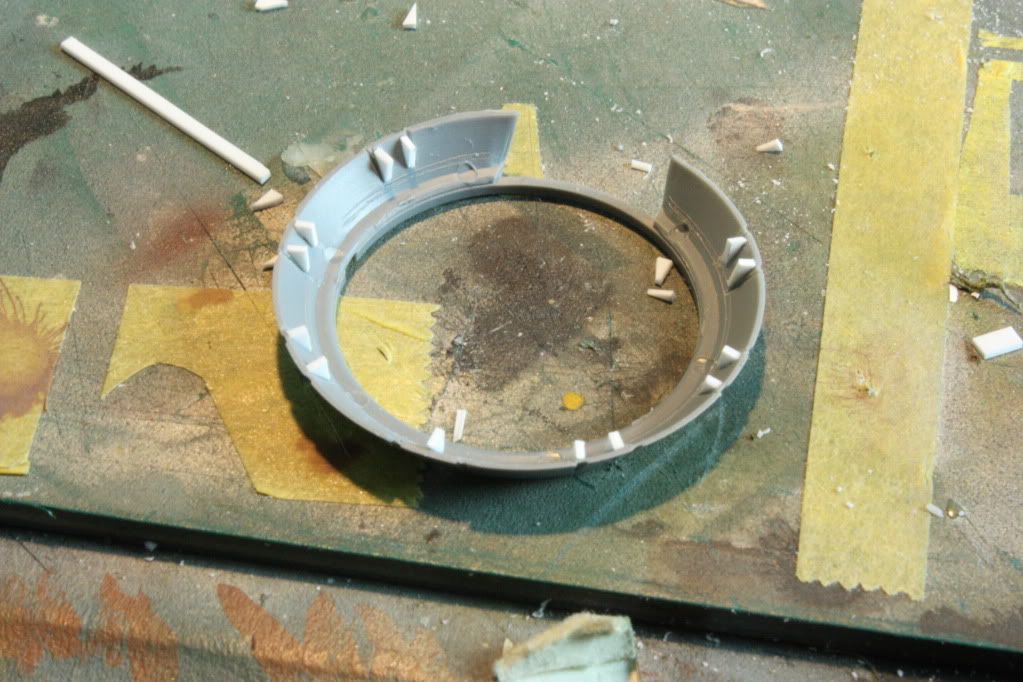
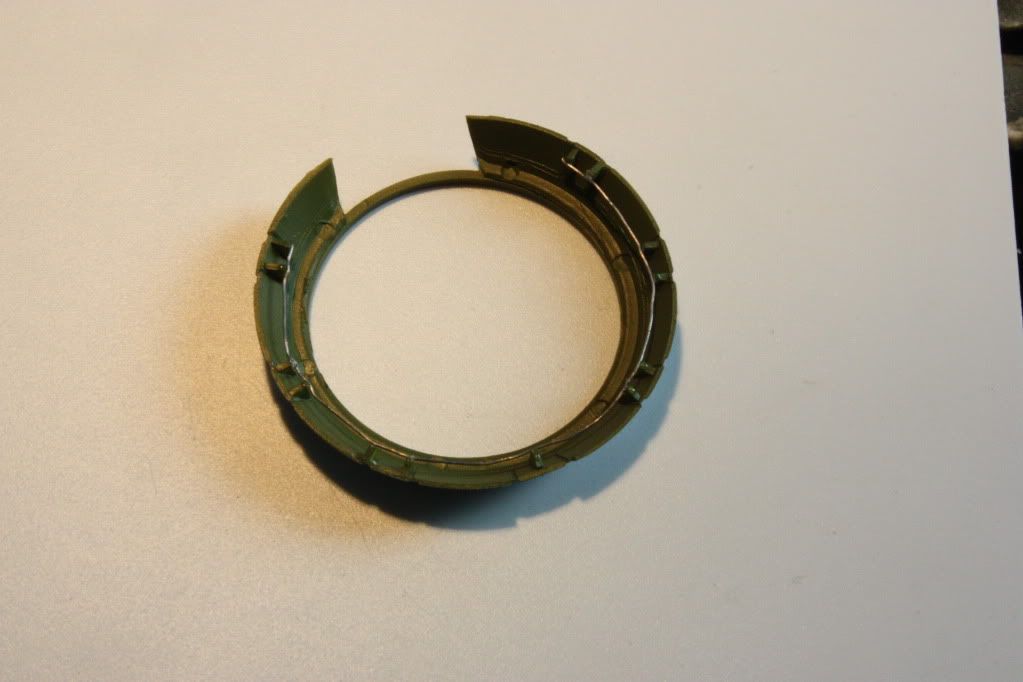
I loved what Frank had done with the cowl flaps so did my own interpretation of it,
My method of doing this plane has been a bit wierd, ive had parts started all over the bench, it really looks a mess. I have also started the engine as well, oh and the cockpit. The engine was sprayed with Alclad Steel and then given a dark wash of Van *** brown,
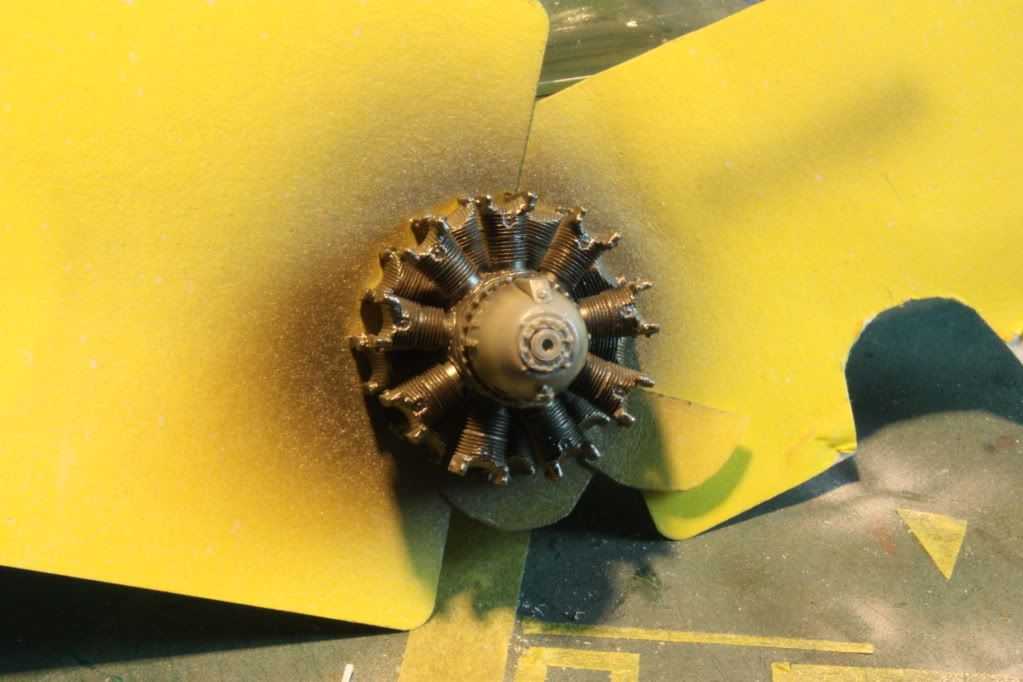
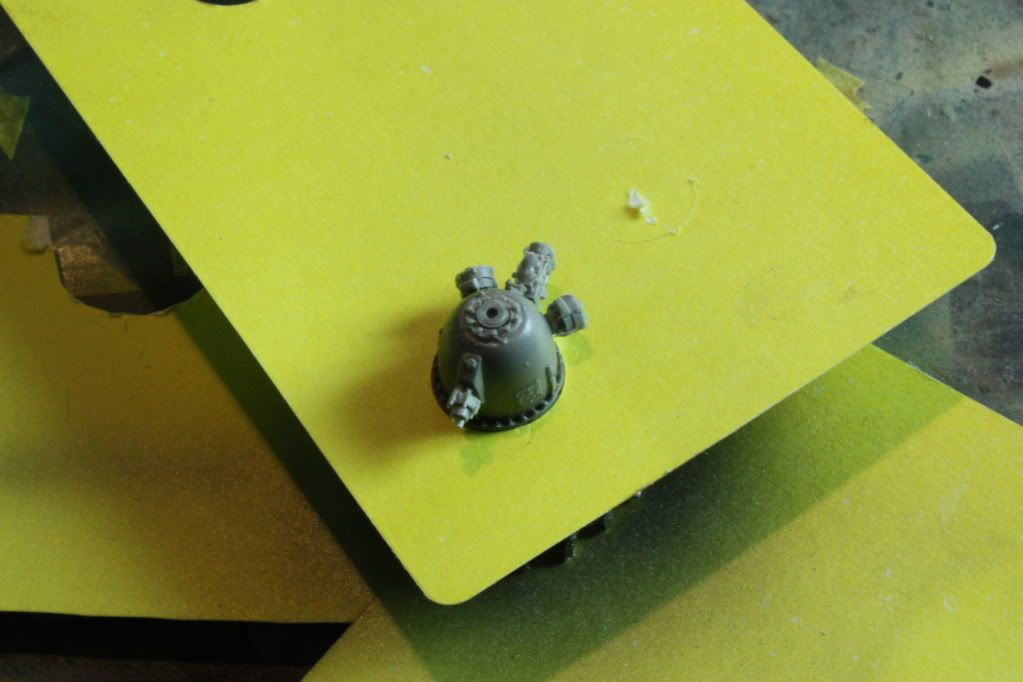
after attaching the resin bittys, i needed to spray the crankcase grey. To do this i cut a circular hole in a piece of card and fitted it over the end. This worked a treat,
anyhoo, ill start detail painting the cockpit and then get some pics of that up. More soon,
...Guy