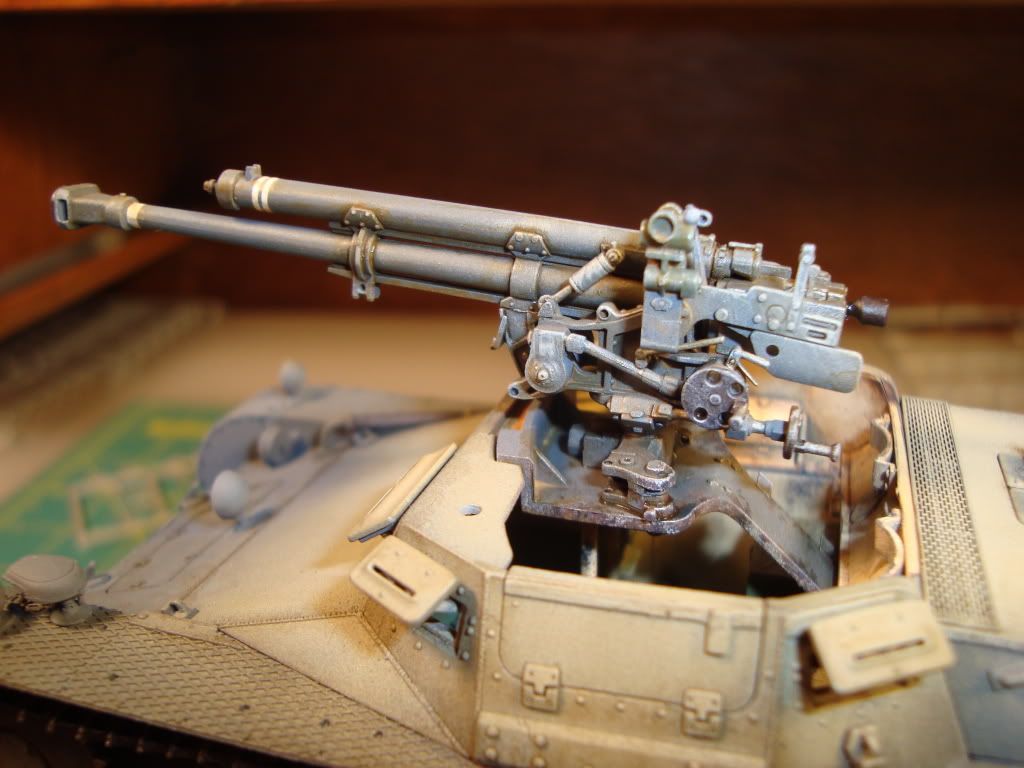
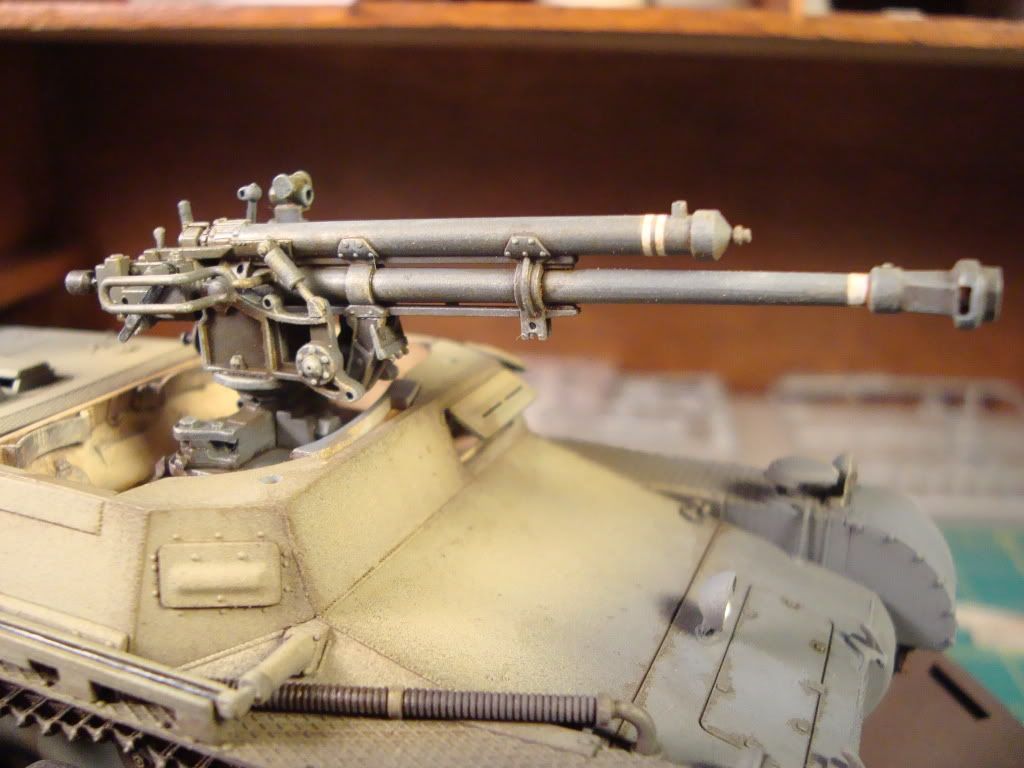
BOB - Now that is some great looking camo, it doesnt get much better then that, the pattern is right on  What tracks are you going to use? Will you have any problems getting the tracks on behind the skirts? Are the skirts still rmoveable? Look forward to the weathering.
SHELLBACK, NATE - Thanks guys. There is a lot of detail / parts for the interior of this kit, really that is what makes up this kit. I've thought about leaveing the shield off or badly damaged in order to show the interior / gun but I may just get another of this kit to do that to.
TAPS88 - Your progress is awesome. Still really liking how you did the gray! This is how I did the chipping on this one:
Used these brushes to do this
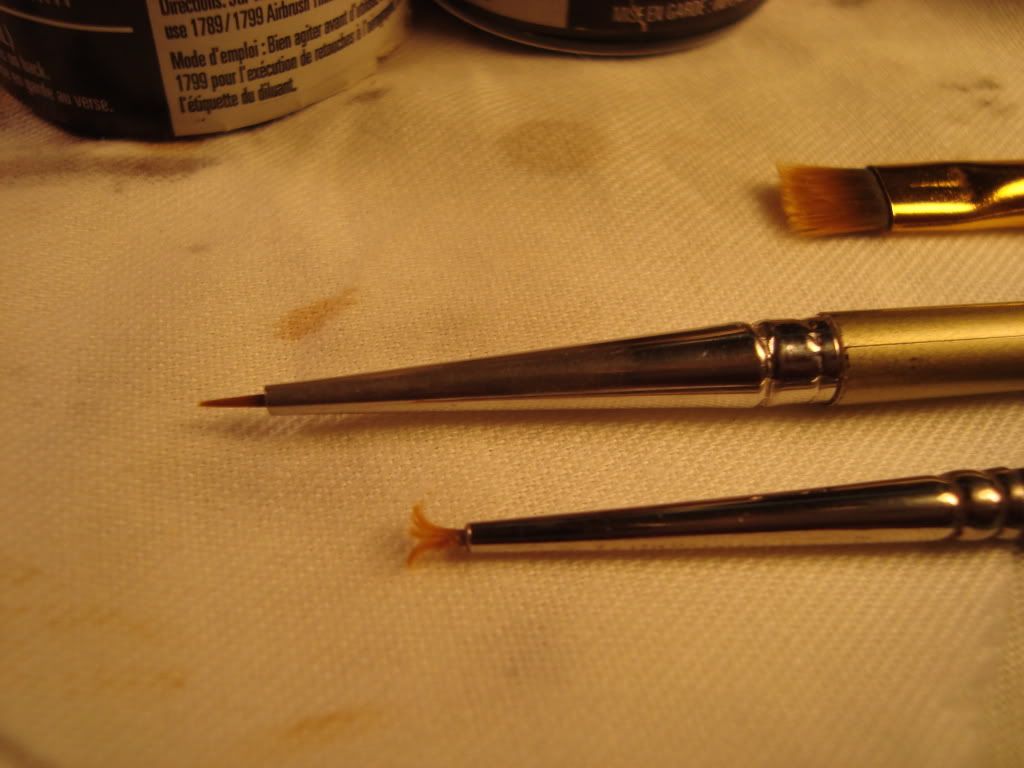
First one is an old frayed 10/0 - used to apply the chips, Next is a 18/0 to touch up more pronounced chips, last is a #2 chisel for dry brushing.
The most important one is the frayed 10/0
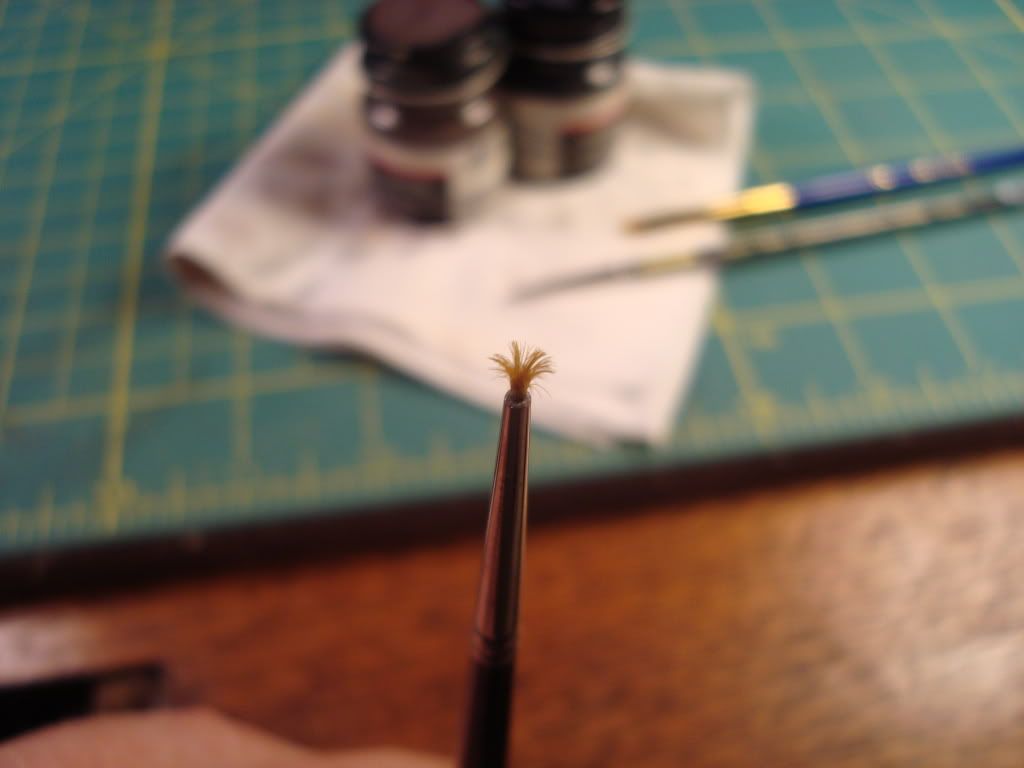
I first spray the base color then apply the chips randomly with the frayed brush by just dabing at the piece with different pressure, that will make different sizes and shades of the chipping. You can also wipe most of the paint off, like you were going to dry brush, and just scrub it into the part your painting to get a light blended color. Used MM Engine Gray and Chestut for my color.
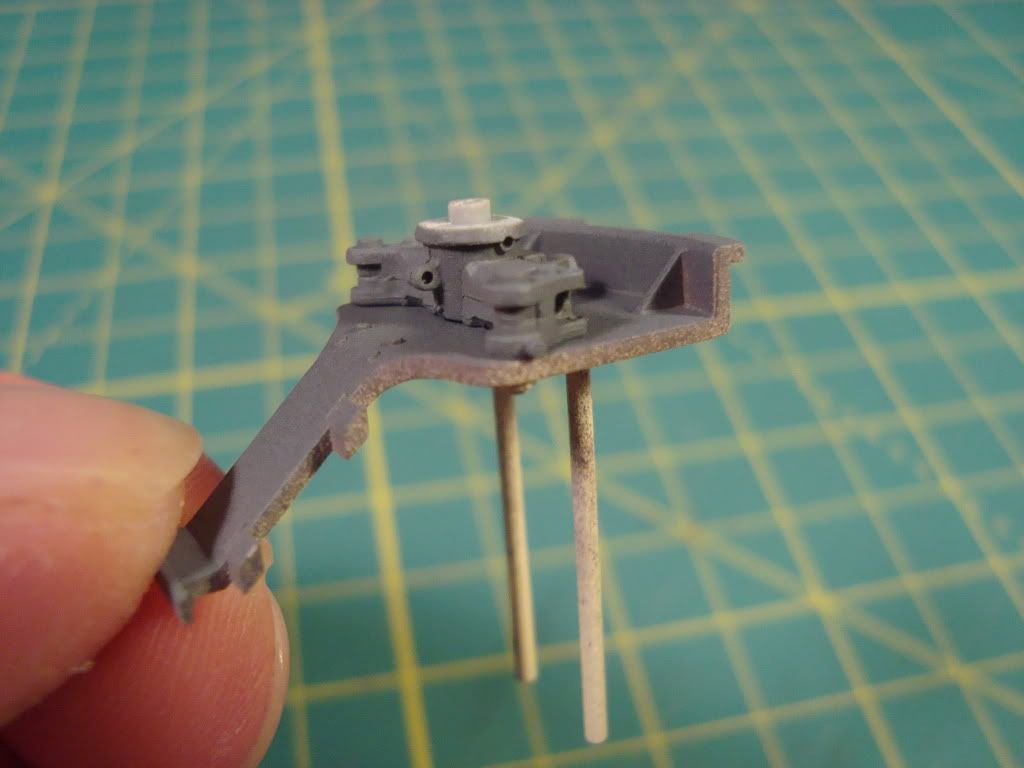
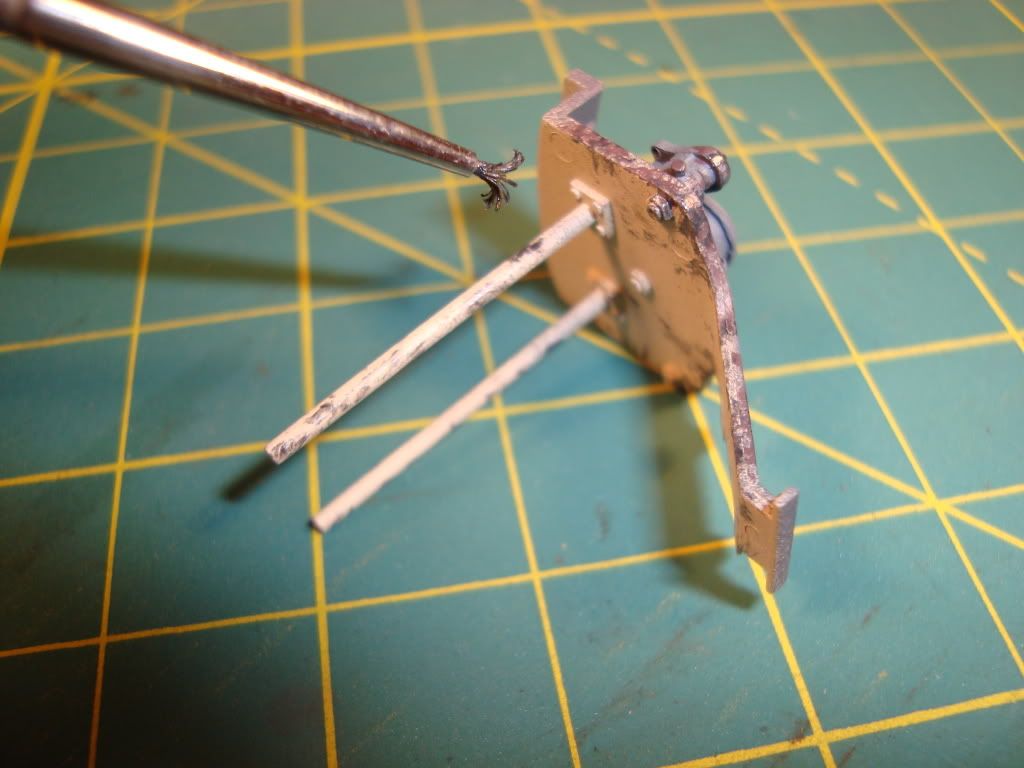
Next comes the wash. First in select spots were heavy is wanted, use W&N Raw Umber oil after dry go over the whole thing with Raw Umber Hue water color. The water color is easy to push around were you want it using straight Wendex on your brush.
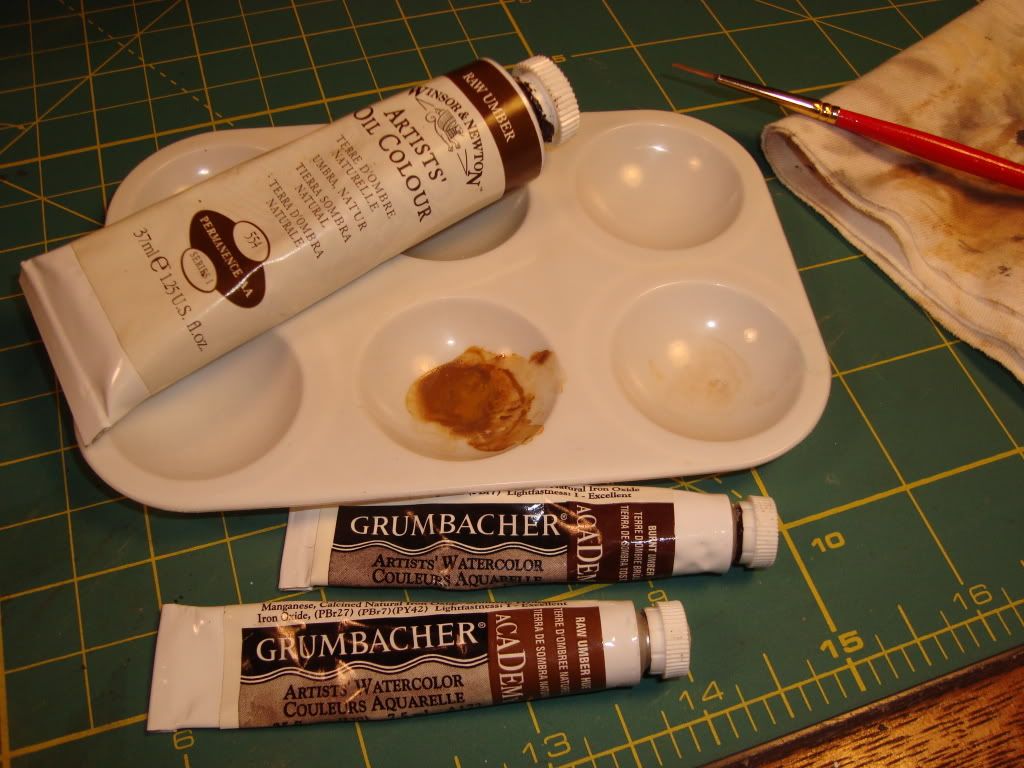
After all of that, drybrush were desired for highlights. This was my end result.
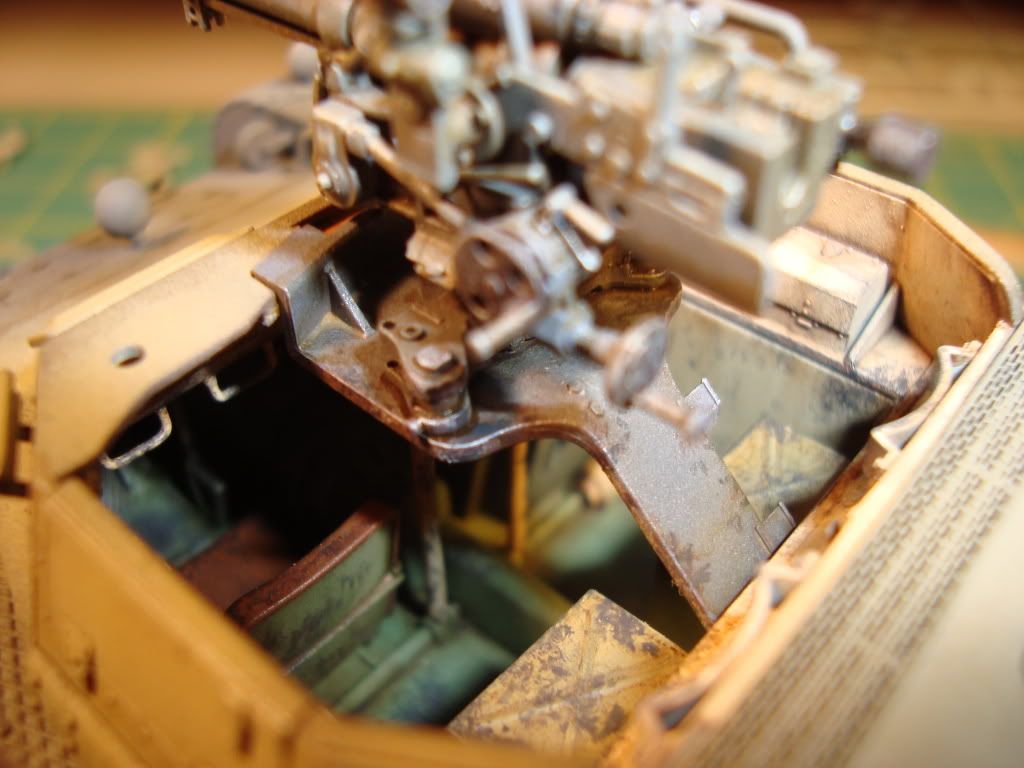
Still may put some chips on the gun itself but not sure yet, here she is for now
