SEARCH FINESCALE.COM

Enter keywords or a search phrase below:

Fw 190 Butcher Bird 2013 (extended to June 2014) Group Build

564938 views
5865 replies
1 rating 2 rating 3 rating 4 rating 5 rating
  • Member since
    September 2013
Posted by blackdog62 on Monday, November 25, 2013 5:21 PM

NATHAN  its great to be involved with like minded plp . other then myself I don't know other moclers and ww2 history buffs. so im getting much more out of this forum then expected.

I have a small library on both subjects but I normally don't drop the type of money on books like the fw-190d bibles 1&2 but im looking now.

I have a question for you do know of any books that are like the 190d bibles for ww2 armor that are photo heavy like they are.

I order on line a lot and would hate to drop that kind of money on just text.

  • Member since
    September 2013
Posted by blackdog62 on Monday, November 25, 2013 6:00 PM

NATHAN  lol I started sanding on it after I posted the pic. I don't have any devise to hold something that small I was sanding it while holding it with my fingers.   grrrrrrr  much better attached  to the a/c but still tiny

  • Member since
    March 2010
  • From: MN
Posted by Nathan T on Monday, November 25, 2013 8:26 PM

blackdog62

.

I have a question for you do know of any books that are like the 190d bibles for ww2 armor that are photo heavy like they are.

I order on line a lot and would hate to drop that kind of money on just text.

Sorry Blackdog, can't help you much for the armor side of things. I'd suggest asking in the Armor forum.


  • Member since
    October 2008
  • From: Georgia
Posted by Rigidrider on Tuesday, November 26, 2013 4:55 AM

OK friends... I'm thinking shes done...This is a late war D-9 which from my info was part of 8 staffle/Jg102 which flew from Flensberg from Oct. 1944 until she was surrenderer and the Group was disbanded on March 15, 1945... No info was found on the pilot , or much else about the Group other then this craft was a fighter bomber among a loosely knit mix of aircraft thrown together in defence of the Riech. I hope I have done a close representation of this aircraft.

I had forgot the joy of a good kit built OOB and really enjoyed doing so again... I think over the years that many kits have been Detailed Down, to cater to the occasional builder whose heart is not really into the craft, and lets not forget the cost now a days. Still, You just cant beat a good kit right from the ole box... Thanks for looking... By the way Joe (mustang) This still kinda leaves time for another , .... Hmmm...

Doug

When Life Hands You A Bucket Of Lemons...

Make Lemonade!

Then Sell It Back At $2 Bucks A Glass...

  • Member since
    March 2012
  • From: Corpus Christi, Tx
Posted by mustang1989 on Tuesday, November 26, 2013 7:55 AM

Doug that is truly a great build! The closest I've come to an OOB build is the Dauntless that I'm currently finishing up with , but more on that in a PM. The paint work and weathering on this build of yours is gripping! It has been an absolute pleasure to have you in this GB with us and am looking forward to the next one you were talking about! I'll post the pic in the intro post buddy. Thank you for being a part of this GB pal, Joe


 Forum | Modelers Social Club Forum (proboards.com) 

  • Member since
    March 2012
  • From: Corpus Christi, Tx
Posted by mustang1989 on Tuesday, November 26, 2013 8:22 AM

taxtp and Rigidrider: Your builds are posted on the "Wall of Fame"!


 Forum | Modelers Social Club Forum (proboards.com) 

  • Member since
    March 2010
  • From: MN
Posted by Nathan T on Tuesday, November 26, 2013 8:34 AM

Great late war camo Doug. Looks right on. JG 102 Flensburg huh? Makes me wanna look up some info on the group if I can find it.


  • Member since
    October 2008
  • From: Georgia
Posted by Rigidrider on Tuesday, November 26, 2013 9:02 AM

Nathan my friend... would be great to know some more about this bird. Alot of the time I see an interesting subject in a book, then try to find all I can on the internet. It would be great to have an extensive library to research, and Ive found that some info is at best a guess and less then accurate.  I'm working on the library,  but books have gone WAY beyond my budget.

Thanks

Doug

When Life Hands You A Bucket Of Lemons...

Make Lemonade!

Then Sell It Back At $2 Bucks A Glass...

  • Member since
    March 2012
  • From: Corpus Christi, Tx
Posted by mustang1989 on Tuesday, November 26, 2013 11:39 AM

Rigidrider
books have gone WAY beyond my budget

haha! I don't even budget for those any more! I'm going to have to expand that's for sure!!


 Forum | Modelers Social Club Forum (proboards.com) 

  • Member since
    October 2008
  • From: Georgia
Posted by Rigidrider on Tuesday, November 26, 2013 1:45 PM

You and me both Joe, and Thank you for hosting such a great subject as this Group Build.

When Life Hands You A Bucket Of Lemons...

Make Lemonade!

Then Sell It Back At $2 Bucks A Glass...

  • Member since
    September 2013
Posted by blackdog62 on Tuesday, November 26, 2013 3:25 PM
Well I have the main body of my a/c painted.
I thought this rlm 84 was more green. the directions look minty green.

Mine looks more like a pale yellow with a hint of green. Maybe when the rest of the colors go on it will hsve somthing to contatst to. And look more green. Ill be painting the next few days...:D I post pics when I'm further along

  • Member since
    March 2010
  • From: MN
Posted by Nathan T on Tuesday, November 26, 2013 3:46 PM

This RLM 84 is not minty green. Never trust profiles or instructoins. It looks almost exactly like RAF sky. I have a pic posted in this Thread showing a color photo of Blue 12, a dora with this sky green fuselage color. Not sure if you'll find it as its buried somewhere in this thread. If you want a look I'll post a pic up again. You are modeling Blue 12 right bdog? Furth, Germany, '45?


  • Member since
    August 2009
  • From: MOAB, UTAH
Posted by JOE RIX on Tuesday, November 26, 2013 8:06 PM

Doug Ole Boy she is absolutely beautiful. Great great work! The weathering is superbly done and very convincing. By all means, crank out another one. I have a question for you Doug, exactly what color did you paint your SC 500 bomb? It's kind of hard to discern from the pictures. Thank you so much yet again for sharing your remarkable skills with us.

"Not only do I not know what's going on, I wouldn't know what to do about it if I did". George Carlin

  • Member since
    May 2013
  • From: Indiana, USA
Posted by Greg on Tuesday, November 26, 2013 10:24 PM

Tony, thanks for the info on the post-war French 190's mate! I had no idea, most interesting.

BD, the Hasegawa kit fit together very well, just what I need at my skill level. Judging by the work I am seeing you do (not to mention your scratch-building skills), I would guess the kit would put itself together for you while you watched! :) I do think you might enjoy the kit, I certainly did!

Doug, zowie, she's beautiful! Since I (we) got to watch this progress, I'm aware of all the great detail not evidenced by the finished photos. That said, I am completely taken by the mastery of your exterior finishing.

You gotta build another. You gotta.

Everybody, feel compelled to share my non-modeling evening.

We have 2 houseguests. At the moment, I have three sleeping females here. Both bedrooms and one downstairs. Two still jet-lagged and one looped on painkillers (wisdom teeth extraction yesterday). I am therefore unable to go down to my bench, and am confined to my chair until I get tired enough to go to bed. this has been going on since about 8PM and I'm a night owl. It's been a loooong night. :) Funny, when one can't build, one really wants to. :)

  • Member since
    April 2005
  • From: Australia
Posted by taxtp on Tuesday, November 26, 2013 11:30 PM

Agonising Greg. I have gone to great lengths myself at times.

One day had several hours to kill waiting for someone in my car.

Found a shop, bought a kit and a knife, got started in the car. Have you ever tried to remove parts from the sprue with no solid base in a car, with just a knife ????

Anyways, the SD KFZ 232 that I started in the car made it into the 1943 GB.

I look back now and realise all the attributes of addiction :)

Doug - your 190 is absolutely stunning.

Cheers

Tony

I'm just taking it one GB at a time.

  • Member since
    January 2005
  • From: Portland, Oregon
Posted by fantacmet on Wednesday, November 27, 2013 12:12 AM

The builds all look spectacular.  I apologize I haven't posted progress pics but I have no progress to speak of.  I have not been able to procure the control stick for the Eduard D9 kit.  Interestingly enough I have my entire collection of FSM mags sitting on top of the box.  It's a bit caved in but everything inside is still in one piece and not crushed.


  • Member since
    March 2012
  • From: Corpus Christi, Tx
Posted by mustang1989 on Wednesday, November 27, 2013 5:20 AM

HOLY COW! I am again sorry for that fantacmet. I'll have that sucker off this week! Jeez!


 Forum | Modelers Social Club Forum (proboards.com) 

  • Member since
    March 2012
  • From: Corpus Christi, Tx
Posted by mustang1989 on Wednesday, November 27, 2013 5:28 AM

It'll be off to you today Mike!


 Forum | Modelers Social Club Forum (proboards.com) 

  • Member since
    March 2010
  • From: MN
Posted by Nathan T on Wednesday, November 27, 2013 8:23 AM

Both quickboost and CMK make resin control sticks for 190s. They come 3 to a pack. Sounds like Joe's got you covered now though.


  • Member since
    March 2010
  • From: MN
Posted by Nathan T on Wednesday, November 27, 2013 8:29 AM

I finished weathering with oil paints the other day. Did some filters and added some streaking in strategic locations:

Gear bays got some drybrushing and oils as well:

I added some post shading and some exhaust stains afterwards, so I'm real close to the finish. Should be done by the weekend. 


  • Member since
    October 2008
  • From: Georgia
Posted by Rigidrider on Wednesday, November 27, 2013 9:24 AM

Nathan... excellent work! Love the nmf underside and the way the wash turned out. Shes gonna shine fo sho!!!

Doug

When Life Hands You A Bucket Of Lemons...

Make Lemonade!

Then Sell It Back At $2 Bucks A Glass...

  • Member since
    November 2008
  • From: Central Florida
Posted by plasticjunkie on Wednesday, November 27, 2013 9:40 AM

Nathan

Excellent weathering! Not overdone but just right! Yes

 GIFMaker.org_jy_Ayj_O


Too many models to build, not enough time in a lifetime!!

  • Member since
    March 2012
  • From: Corpus Christi, Tx
Posted by mustang1989 on Wednesday, November 27, 2013 10:13 AM

Nathan T:Man that came out great!!! I've got all kinds of inspiration when I start back on mine for sure!

fantacmet:I've got it dropped off in the mail pal. Sorry about that!


 Forum | Modelers Social Club Forum (proboards.com) 

  • Member since
    April 2013
Posted by SchattenSpartan on Wednesday, November 27, 2013 2:31 PM

Hi guys!

I'm really sorry for not posting the pics I promised untill now. I've been under the weather yesterday and spent almost the whole day in bed. I hope you're not too mad at me... Embarrassed

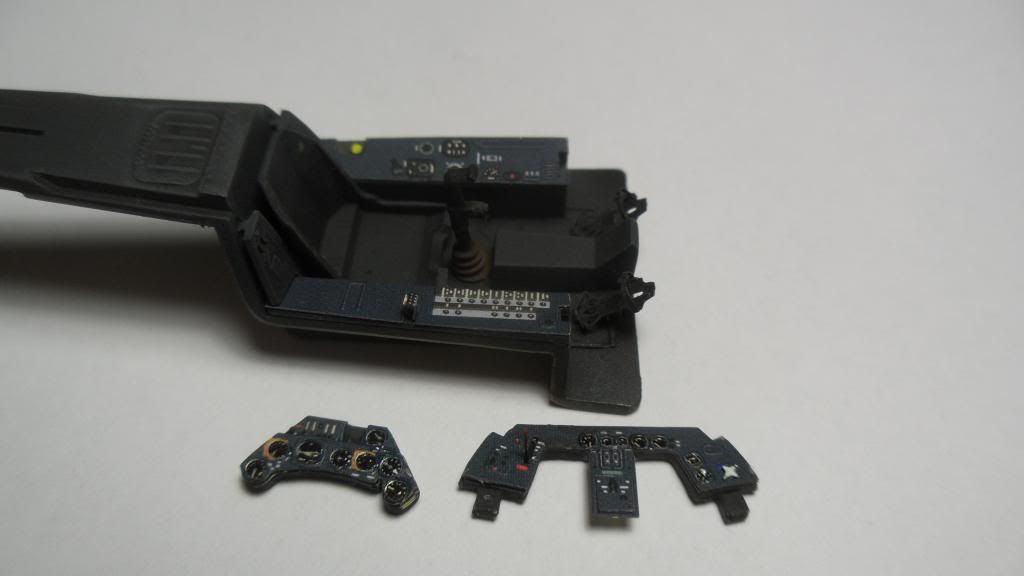
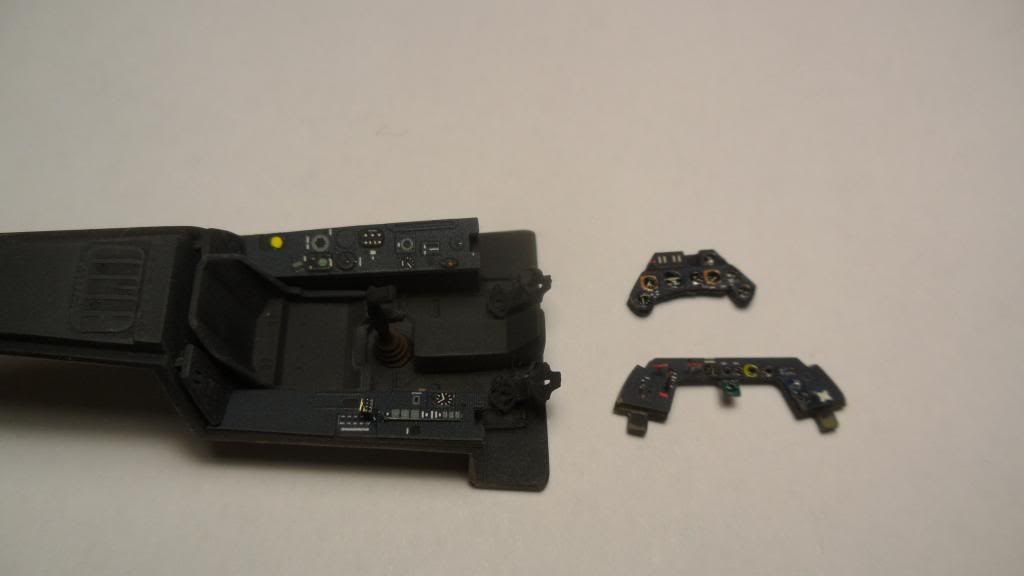
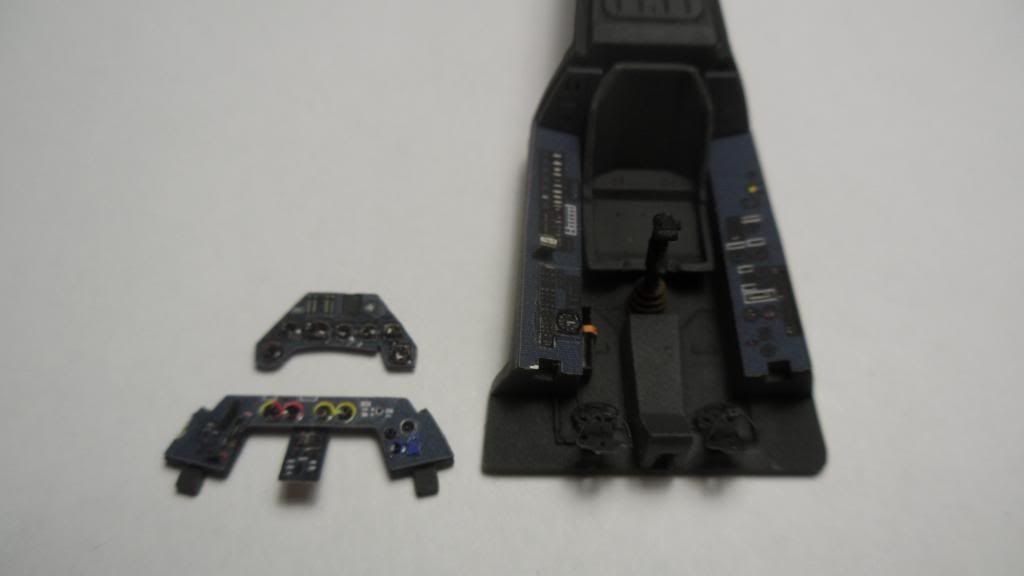
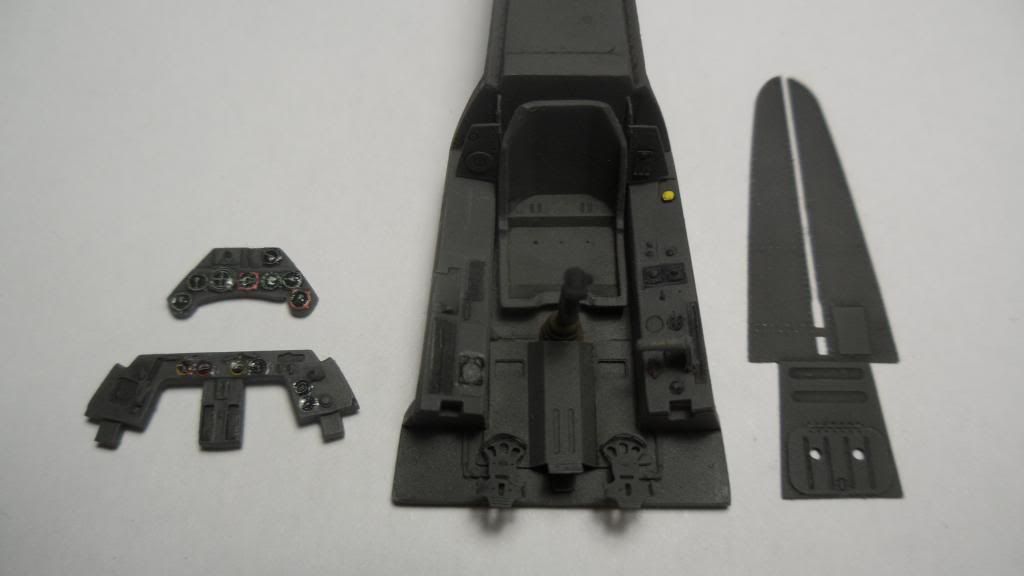
So no more excuses, here they finally are! Propeller

I used Gunze's RLM 66 for all the pits without PE and a home made mix of Tamiya German-Gray, Gunze Navy Blue, Tamiya Semi Gloss Black to match the color PE on the Eduard profipacks.

I didn't really weather the offices a lot except apllying a black-brown oil wash and some drybrushing with gray oil paint (first time using oils instead of acrylics and it worked great). The final dull coat sadly toned the drybrushing effect down a LOT, so you can't see it in the pics (it's slightly visible when you look at it in person though).

'Nuff said, here's something to look at for ya:

Eduard D-11:
Eduard D-9:
Eduard A-8:
Eduard D-13 weeekend + PE parts:
Eduard D-9 weekend:
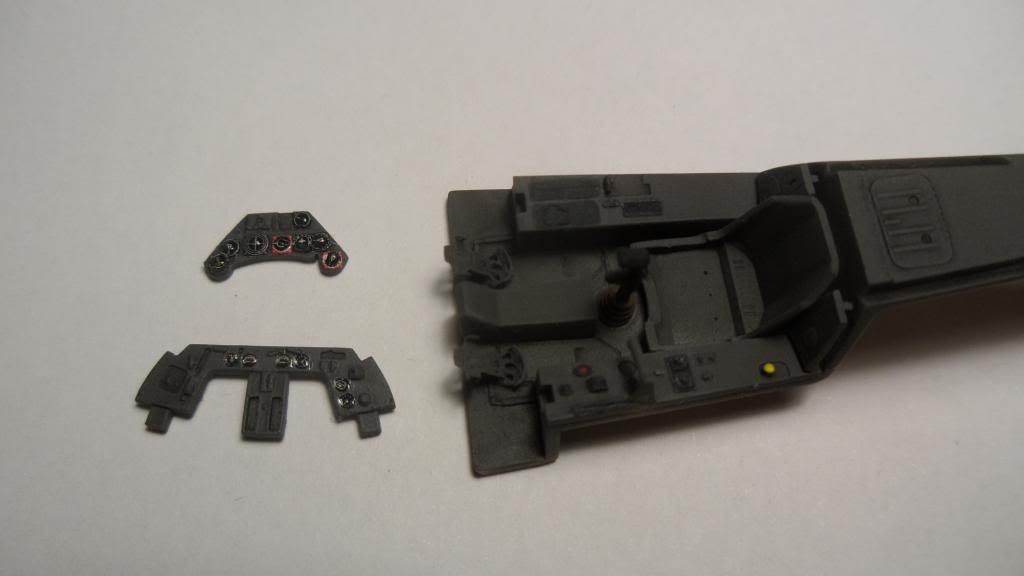
Hasegawa A-5:
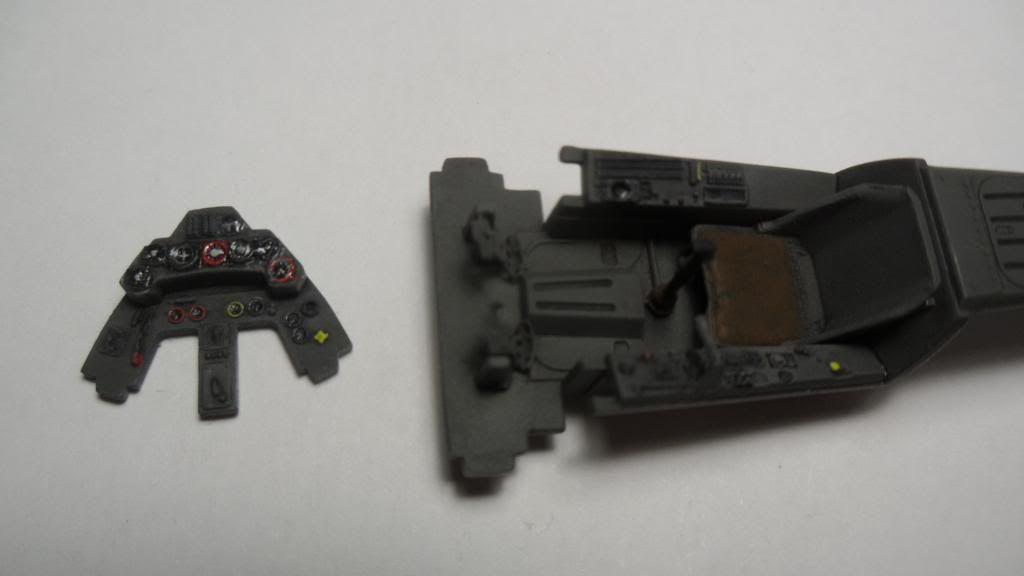
Hasegawa F-8:
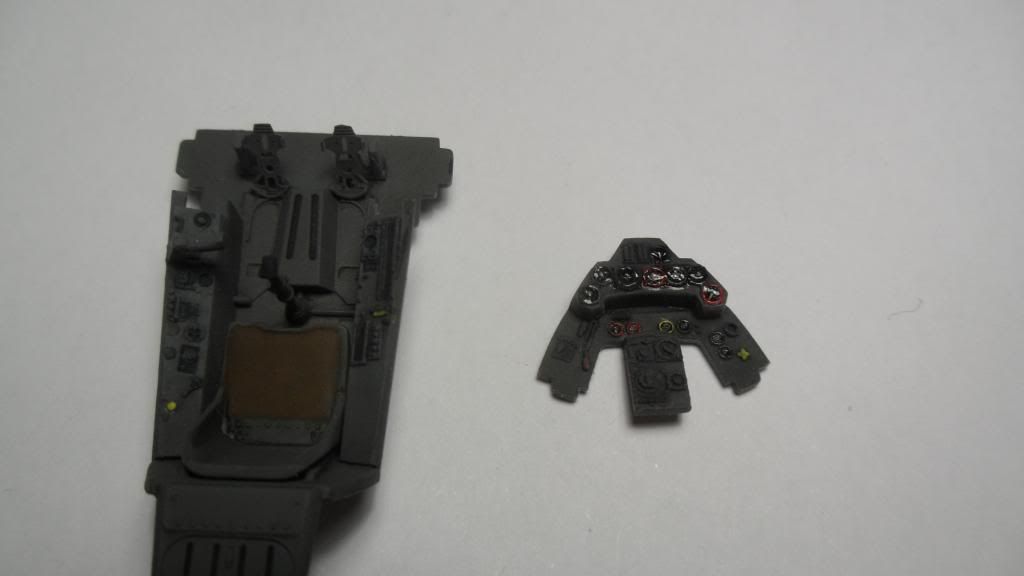
Tamiya F-8:
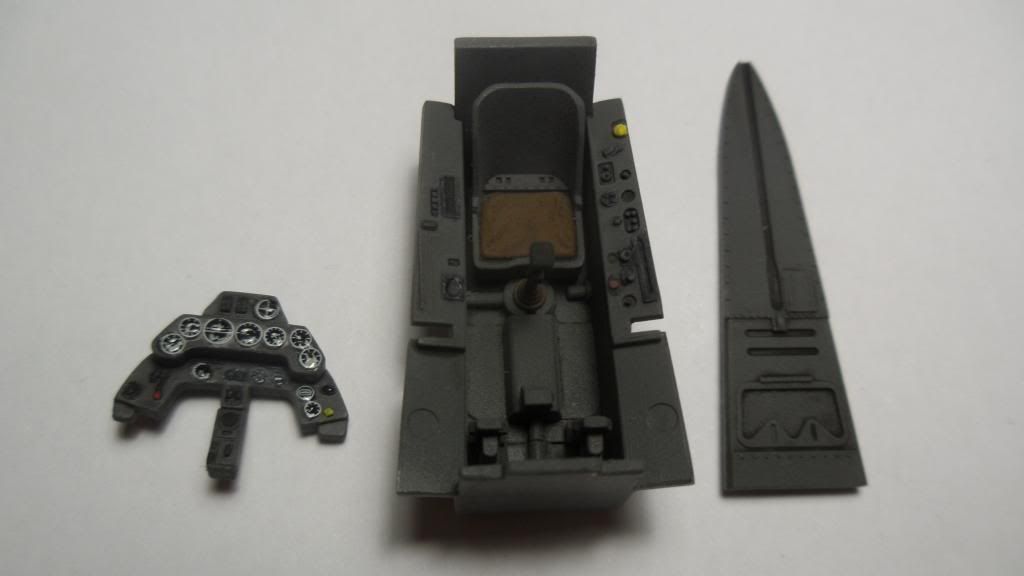
All of them together with the 9th one (Eduard A-8/R2):
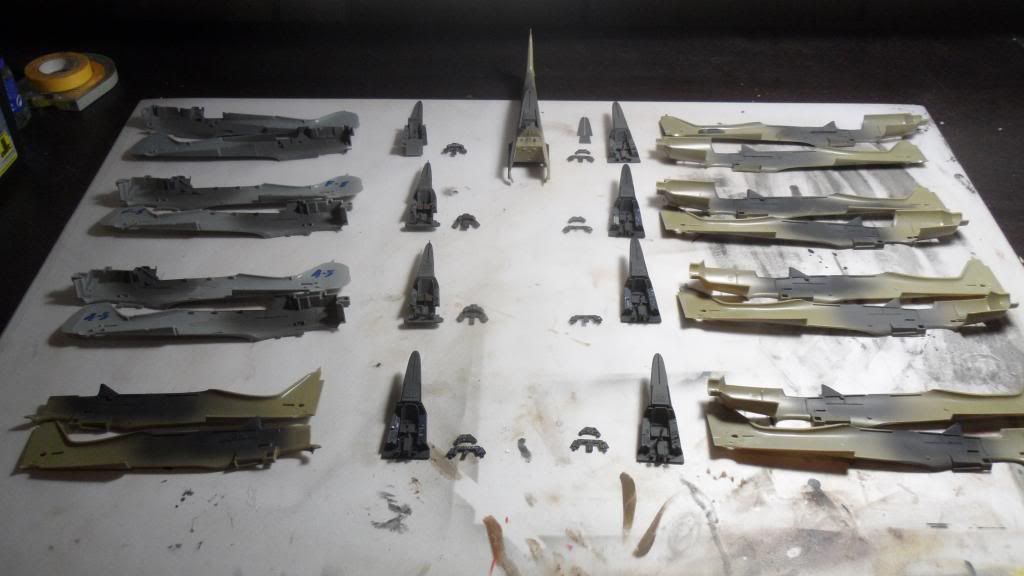
I used Hasegawa decals for the Eduard weekend IPs because the kit-supplied decals were kinda bad IMO.

It's really a shame you can't see the drybrushing and only half of the wash, but the cockpits all have some subtile weathering that looks good in person but just isn't strong enough to show up in the photos... Bang Head I'll play around with my camera settings and post a pic where the weathering is more visible...

I hope ya still like 'em.

Cheers, Clemens 


  • Member since
    March 2010
  • From: MN
Posted by Nathan T on Wednesday, November 27, 2013 2:43 PM

Holy my Clemens! Nice assembly line. Great detail painting and pe work. No seat belts? As far as cockpit weathering, did you apply a glosscoat to the whole pit before you added the wash? That really helps the was flow better and makes it more visible in the end. As far as the dry-brushing maybe try a color that is lighter and has more contrast to the 66. You could also add some pigments now if you want to weather things further.

I like all your instrument panels by the way. Even the decal ones. I agree, Eduard's weekend kits suck for instrument detail in the cockpit. Hasegawa's 190 pits out of box are way better than Eduard's weekenders...


  • Member since
    April 2013
Posted by SchattenSpartan on Wednesday, November 27, 2013 2:49 PM

Thanks for the tips Nathan!

I didn't use a gloss coat because the base color was already semi-gloss paint and turned out kinda glossy.

The right choice of color is always a problem for me when drybrushing. I guess I'm jsut afraid to overdo it and end up with it being too subtle. I'll try to add another layer of drybrushing before trapping it all inside the fuselages though...

I'll add some seatbelts, but I still have to assemble all of them. HGW belts take a huge amount of time... Wink

  • Member since
    April 2013
Posted by SchattenSpartan on Wednesday, November 27, 2013 2:53 PM

Ok, time to catch up again:

Doug: Your 190 is truly a piece of art, my friend! I love all those nice weathering effects!

Nathan: She's looking great!

  • Member since
    April 2013
Posted by SchattenSpartan on Wednesday, November 27, 2013 3:04 PM

I just found a nice deal at Hannants:

http://www.hannants.co.uk/product/EDK1155

Looks like I have to order 190 number 12 and 13 sooner or later... 

  • Member since
    May 2013
  • From: Indiana, USA
Posted by Greg on Wednesday, November 27, 2013 3:55 PM

Nathan, that is truly some masterful work! Like everything I see!

Clemens, I know you are building a lot of them but something about seeing them all laid out made me gasp just a little. Looking good!

Since we're talking about weathering cockpits anyway, just what color would one wash a black or very dark cockpit anyway? Been wondering.........

  • Member since
    March 2010
  • From: MN
Posted by Nathan T on Wednesday, November 27, 2013 4:59 PM

Glad you guys like the Dora. She's all post-shaded up and weathered and it really came to life after that.

Greg- I'll use burnt umber for a wash in my rlm 66 pits, sort of a red/brown color. Then I'll use a paynes gray wash for some lighter contrasts, followed by dust colored pigments. I do my dry-brushing first, then gloss, then washes, then flat coat, then pigments.


JOIN OUR COMMUNITY!

Our community is FREE to join. To participate you must either login or register for an account.

SEARCH FORUMS
FREE NEWSLETTER
By signing up you may also receive reader surveys and occasional special offers. We do not sell, rent or trade our email lists. View our Privacy Policy.