SEARCH FINESCALE.COM

Enter keywords or a search phrase below:

The 2015 /16 Red Hot and Rollin Automotive Group Build--Ended

121083 views
2225 replies
1 rating 2 rating 3 rating 4 rating 5 rating
  • Member since
    January 2015
Posted by MOPAR - D on Saturday, April 8, 2017 12:08 PM

Tim I like it and the gold parts on the chassis really makes it stand out. 

Test fit with the blue paint. 


  • Member since
    January 2014
Posted by Seabe on Saturday, April 8, 2017 8:48 AM
I am 90% sure that the next 43rd build will be something completely different. I have taken out the box - and it's a PMA (never built any of their kits before. To boot, it's a subject I haven't built before either. It will be the 2005 Nissan truck used in the Dakar. Will obviously build the local boy's ride, with which he came 4th overall and won to stages.

  • Member since
    January 2015
Posted by taaron76 on Friday, April 7, 2017 9:14 PM

Joe, I love that interior!  I wil be using that as a reference for my '69 Camaro build for a friend's 1:1.

Finished up the interior chassis/exhaust on the '67 Shelby today. Just a few more things to button up on this one and it will be complete, which will hopefully be tomorrow.

Tim

  • Member since
    January 2015
Posted by MOPAR - D on Friday, April 7, 2017 6:38 PM

Joe that interior looks great. 

Worked on the interior and have the blue paint on the lower section drying. 


  • Member since
    March 2012
  • From: Corpus Christi, Tx
Posted by mustang1989 on Friday, April 7, 2017 3:38 AM

Thanks and lookin' forward to your next build Seabe. Yes


 Forum | Modelers Social Club Forum (proboards.com) 

  • Member since
    January 2014
Posted by Seabe on Tuesday, April 4, 2017 10:14 PM

Mustang - that interior is a really classy and detailed job! Well done on that!

Haaahaha, it's those "can't be unseen things". I'll save you from that! But you can use the bottom pic...

Won't be too long before I pick up something. Just a bit busy - and also getting close to finishing a first for me on another GB, just for fun. So before too long you'll be seeing me again. Come to think of it - next week is final taper week, so I may have time on my hand - and frustrations to channel! 

  • Member since
    March 2012
  • From: Corpus Christi, Tx
Posted by mustang1989 on Tuesday, April 4, 2017 8:14 PM

Seabe: If there's a blemish you're gonna have to zoom in on it for me cuz I can't see it. I do like that victory stance you've got goin' on there with it. Say , is that the one you want on the cover page? Lookin' forward to your next "victim". Wink

Dan: That cab and all the detail goodies are looking great man! You think you'll have it finished by the show?

Tim: Dang!!!!!!!!!!!!! I've gotta hand it to you, you really know your way around automotive builds bud. I think you've almost got it down to manufacturing standards now. Wow! The detail and paint work....................just plain outta sight!

lewbud: I do like the looks of that Tamiya Red on your Camaro and that tail light panel looks great in black. Great to see you in here building. Yes

Pawel: Good seeing you in here as well. You got anything you wanna build?

Everybody:  This interior just keeps getting better with each addition. I've got the door handles and window cranks as well as the Camaro badges on the door panels and the console is finished. The shifter is a bobby pin that I bent and sanded the shifter ball to get rid of a seam it had. Center gauges are from the PE set I bought. I'm going to buy another set of floor mats so I can fix that drivers side floor area. I'm not happy with that but I'll fix it. Here we are so far guys:


Image


 Forum | Modelers Social Club Forum (proboards.com) 

  • Member since
    May 2009
  • From: Poland
Posted by Pawel on Tuesday, April 4, 2017 3:08 PM

lewbud - nice colour!

Seabe - that racer is lookin' good, at least in the photos. Don't be too shy about it!

Good luck with your builds and have a nice day

Paweł

All comments and critique welcomed. Thanks for your honest opinions!

www.vietnam.net.pl

  • Member since
    January 2014
Posted by Seabe on Tuesday, April 4, 2017 1:02 PM

Okay, calling this one done. I lost some pieces... Embarrassed No prizes for spotting them. And just spotted another error which I think will do more harm than good when trying to rectify it. Not a front-row of the shelf exibition. But a nice and different car to have to display. And the errors (and missing parts) will most likely not be "visible" to most people who sees this.

Top-side view - error jumped out in this view. Bang Head

I tried to get a cockpit shot, but not very nice... so I left it out. not much detail in there but the steering wheel and dash.

And then the normal posed shot.

Horrible to see how much invisible dust and fluff it has already collected!

Give me a day or so to decide what will be the next victim. Hopefully it will turn out better than (esp!) that freakin' Honda...

  • Member since
    January 2015
Posted by taaron76 on Saturday, April 1, 2017 11:45 AM

I like all of these Camaro's.  I working on a 69 SS next for a friend of mine.  It will be a scale of his car.

I swapped the battery out and buttoned up the engine and got it mounted.

Tim

  • Member since
    June 2008
Posted by lewbud on Friday, March 31, 2017 11:54 PM

There's some good work going on here!  Finally decided to get started on the Camaro.  Body color is Tamiya's Bright Red out of the rattle can.  Haven't decided yet on the interior, but the white interior pictured on the box is growing on me.  I might bin the small block, and steal the 427 out of a 68 Vette.  Here's where the body is at.  Shot the paint this past Sunday, so the paint should be ready to buff out next week.

The rear valance masked, ready for paint.

Rear valance painted.

Sorry for the crappy cell phone pics.

Buddy- Those who say there are no stupid questions have never worked in customer service.

  • Member since
    January 2014
Posted by Seabe on Thursday, March 30, 2017 10:15 PM

That's looking great, Tim! Love the colouscheme as well!

  • Member since
    January 2015
Posted by taaron76 on Thursday, March 30, 2017 9:31 PM

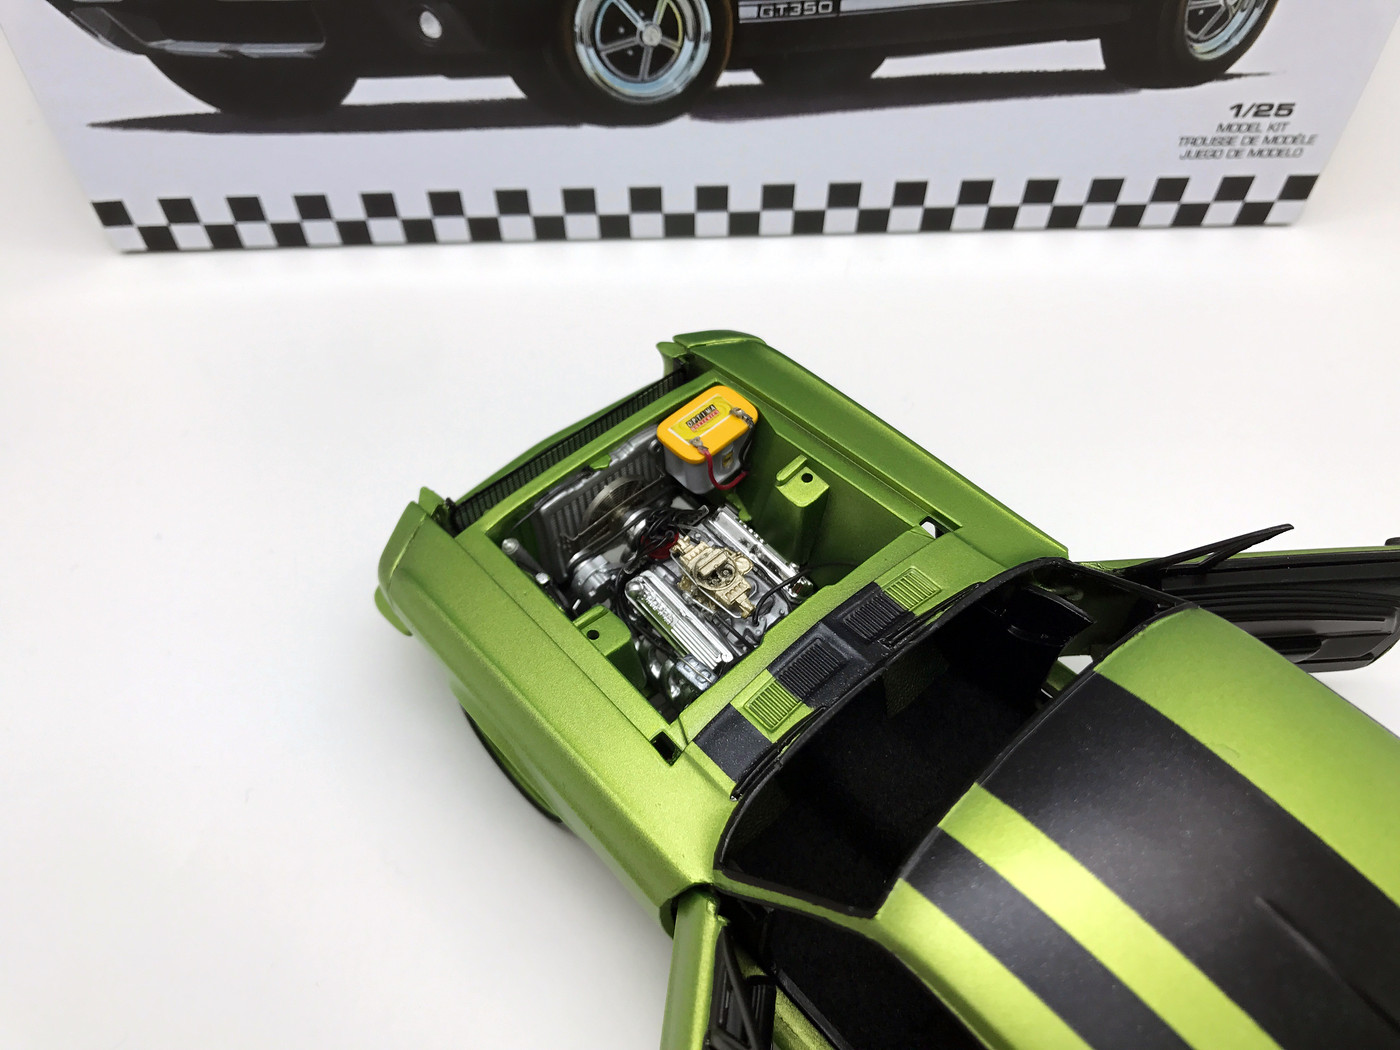
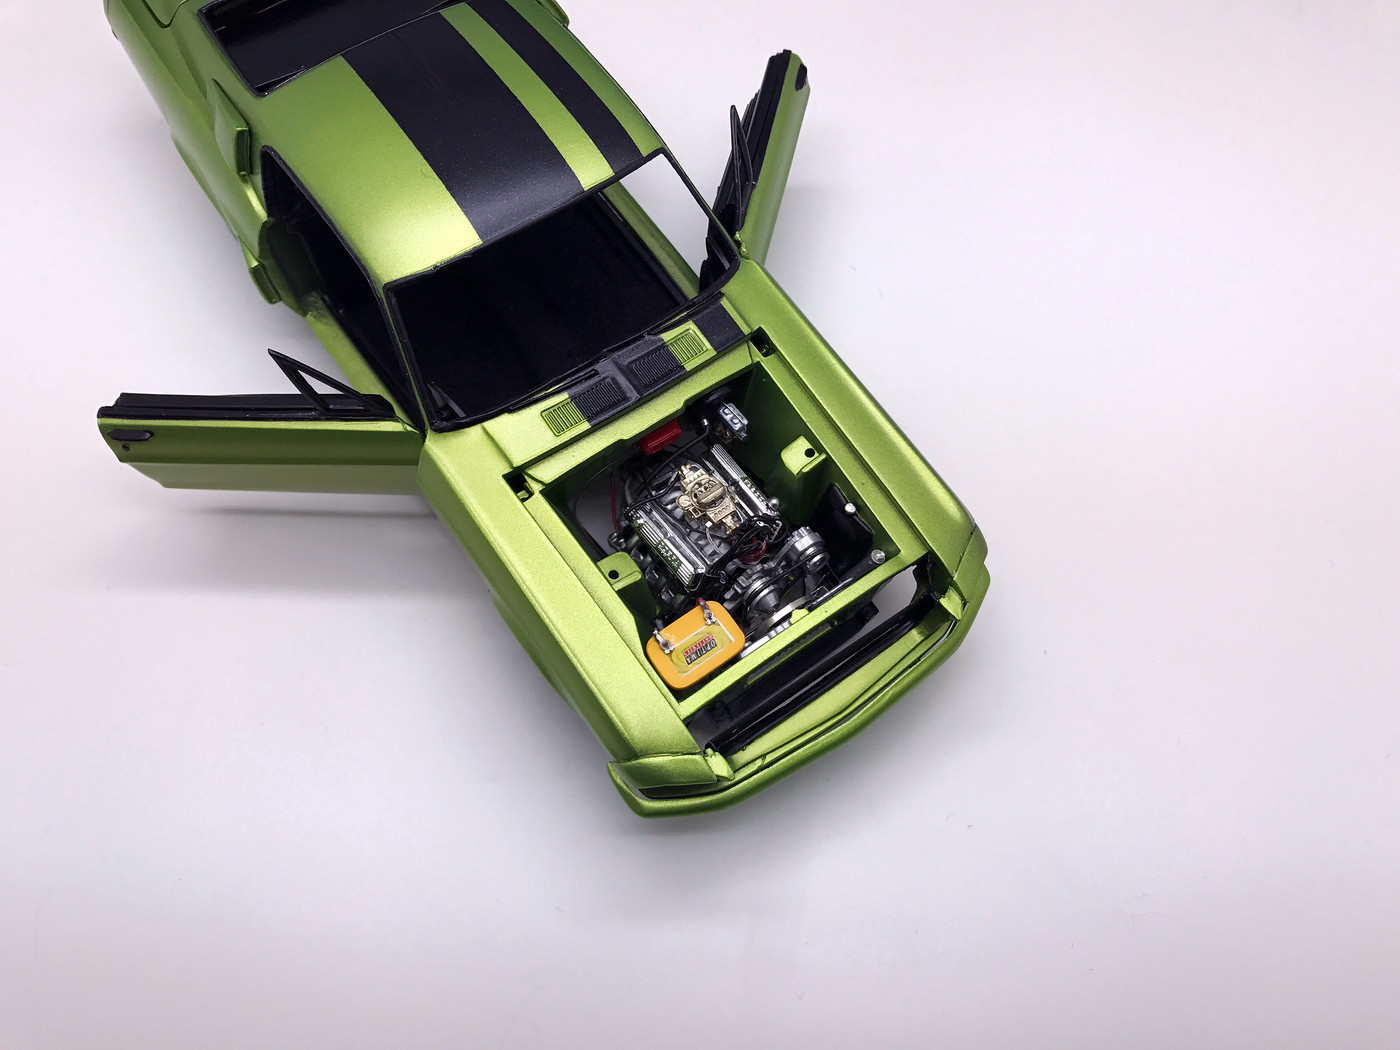
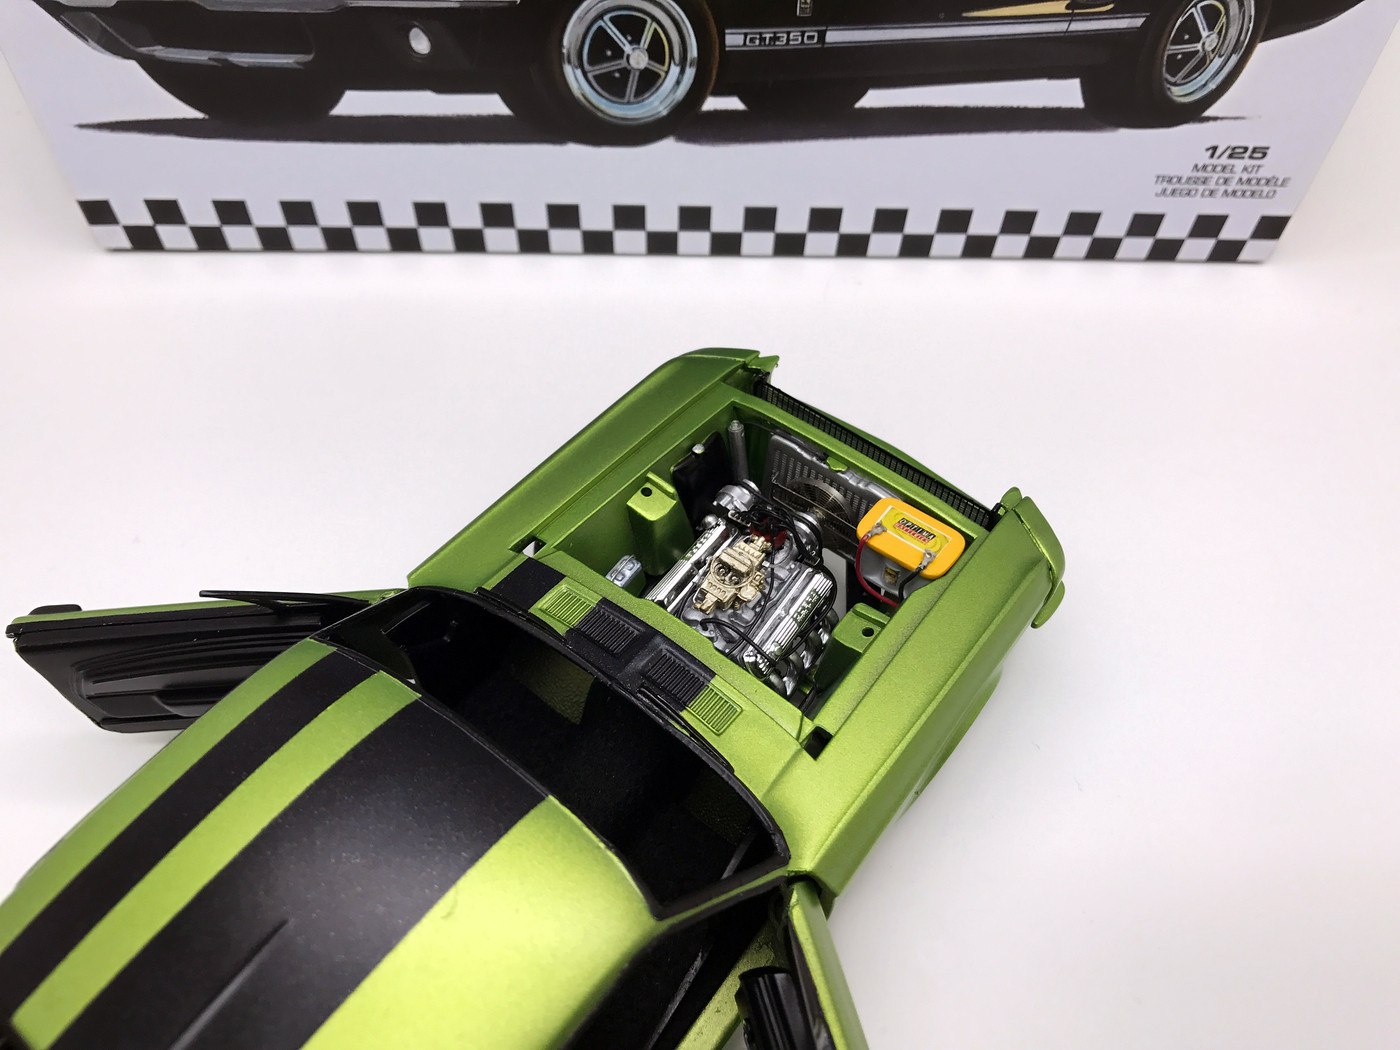
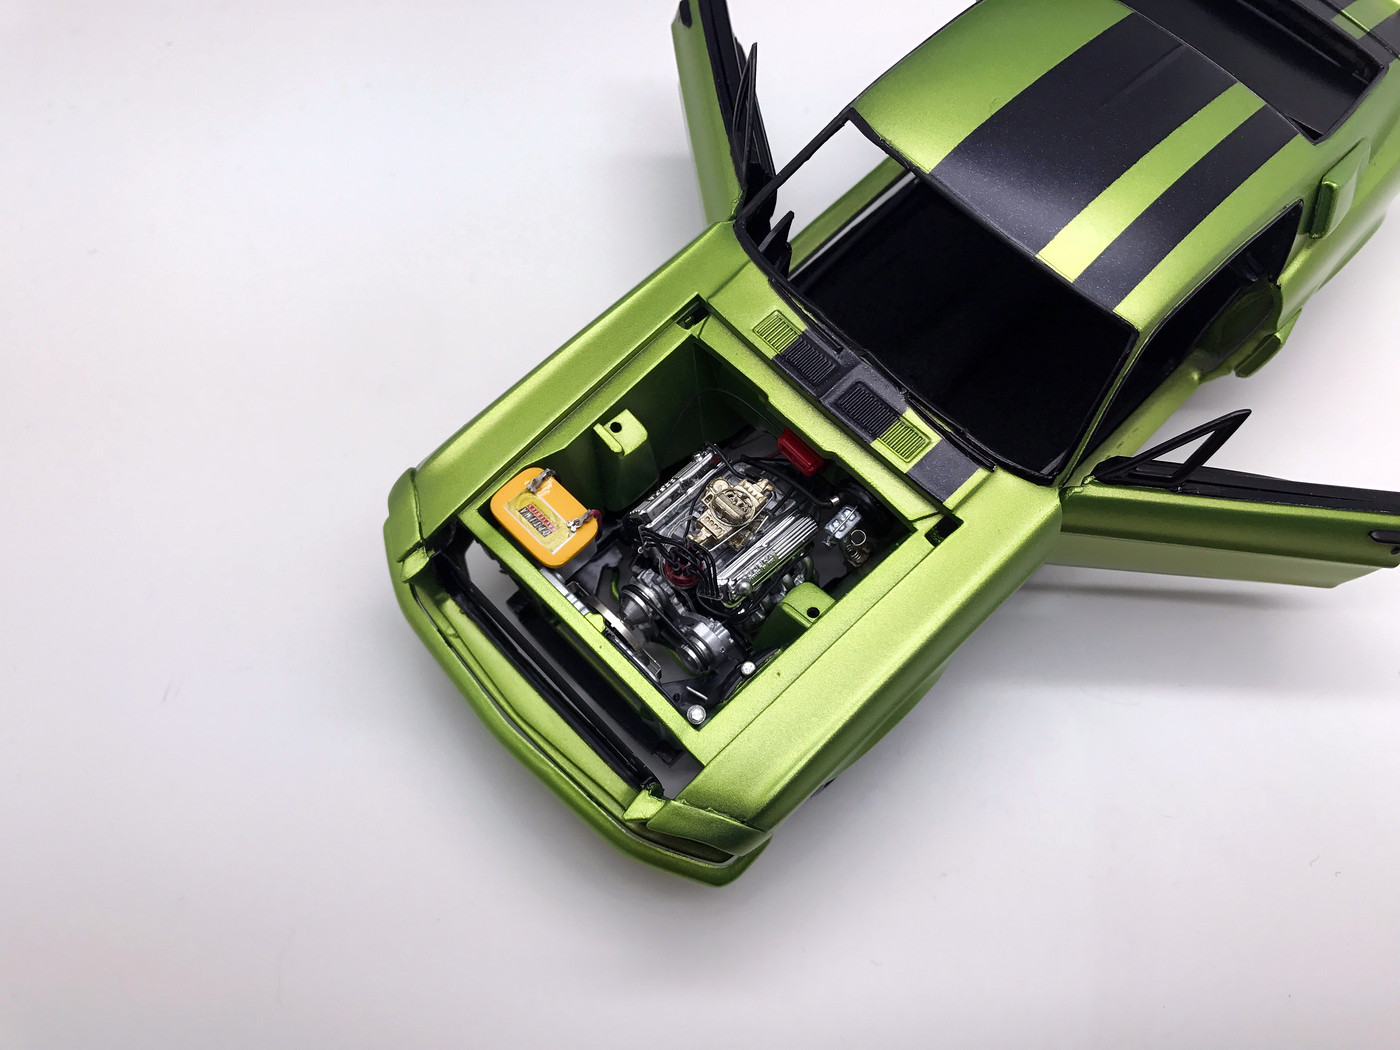
More details finished up on the '67 Shelby. The engine is just mocked up and none of the surrounding wires or brake line are hooked up. I have to cut the side of the front windshield off since I opened the doors up. I'm also waiting for my seats to arrive, but this one is getting closer to being finished by the day.

Tim


  • Member since
    January 2015
Posted by MOPAR - D on Tuesday, March 28, 2017 5:28 PM

Seabe nice decals and I agree with you on checking the photos its amazing what you see in the pictures that you don't see in person. 

  • Member since
    January 2014
Posted by Seabe on Monday, March 27, 2017 10:21 PM

You guys are really turning it on - looks good!

Did a lot of decalling this week! So here it is, 95% done! Nice thing about the photo, I get to see imperfections to touch up... 

  • Member since
    January 2015
Posted by MOPAR - D on Monday, March 27, 2017 8:45 PM

Looking good Tim as usual!

I was able get some paint sprayed on the cab last night. 


  • Member since
    January 2015
Posted by taaron76 on Sunday, March 26, 2017 4:22 PM

Thanks Dan!  I have to redo a couple of pieces, only because I keep hitting them while handling the car.  The black paint pen works best, but black BMF just isn't any fun to work with.


I finished up some more of the rear suspension, brake lines, emergency brake lines and fuel line this weekend.

Tim

IMG_3353-vi.jpg

IMG_5251-vi.jpg

IMG_3353-vi.jpg


  • Member since
    January 2015
Posted by MOPAR - D on Saturday, March 25, 2017 8:29 AM

Tim the black trim really set off the gold nicely. I've had the same problem using the black BMF too. 

  • Member since
    January 2015
Posted by taaron76 on Friday, March 24, 2017 7:21 PM

I had a heck of a time getting black BMF to stick to a matte finish. I used a mixture of BMF and a paint pen to finish up the trim. I still have some touchups to do, but I had so many issues with the BMF... I'm glad its almost over. I even bought a new sheet of it, but had the same luck. I usually have good luck with BMF, or at least the chrome type. I also finished up more of the suspension and just set it on the frame for a quick pic. I'll finish running the fuel line, brake lines and emergency brake lines this weekend, then I have mount the rear suspension in place. Still a lot of work left on this one.

IMG_1938-vi.jpg

IMG_3049-vi.jpg

IMG_3962-vi.jpgIMG_5772-vi.jpg

IMG_5933-vi.jpg

IMG_0880-vi.jpg


IMG_2870-vi.jpg


  • Member since
    January 2014
Posted by Seabe on Friday, March 24, 2017 11:05 AM
I get soooo filled with joy and warm fuzzy feelings when they show to assemble everything and decal afterwards... only to find that there are decals that is IMPOSSIBLE to apply once assembled. Just had to get that off my chest. It has happened more than once already. And I've hardly started decalling. Joy... warm feelings... Anyways, as you were...

  • Member since
    January 2015
Posted by MOPAR - D on Friday, March 24, 2017 7:33 AM

Thanks Tim I thought some of the parts were metal you sure do know how to build them to look so real. I enjoy watching you put them together. 

  • Member since
    January 2015
Posted by taaron76 on Thursday, March 23, 2017 8:28 AM
Hi Dan, The modular rear (pumpkin minus the axles) is plastic and was done via 3D printer from Ron Olsen off of Shapeways. The rest of the material is metal. The 4-Link came from Futureattraction. The bolts, nuts, washers, tubes and rod ends came from RBMotion. Tim
  • Member since
    January 2015
Posted by MOPAR - D on Wednesday, March 22, 2017 8:29 PM

Thanks Tim. Your rear suspension looks good are those part metal?

  • Member since
    January 2015
Posted by taaron76 on Wednesday, March 22, 2017 2:52 PM

Looking great, Dan!  I can't wait to see it finihsed!!!

Finished mocking up the rear 4-link and suspension. I still have to cut the axle tubes, but can't do that until I finish the rear hubs and disc brakes. Did a little bit more engine detailing as well. Went with the LeMans style carb for this one, being it was used on the '67 Shelby when it came out. Added line to connect the fuel bowls, fuel line, throttle cable and a vacuum line. Lots more to do, just waiting on parts.

Tim

20511904060466-vi.jpg

27511904067357-vi.jpg

33511904073764-vi.jpg

44511904084074-vi.jpg

39511904079150-vi.jpg

49511904089079-vi.jpg

  • Member since
    January 2015
Posted by MOPAR - D on Tuesday, March 21, 2017 8:43 PM

Thanks Joe I'm going to see if I can get the cab done for the show at the end of April. Your interior is looking good. 

Seabe nice start on your F1

Little more work done tonight made a air deflector and cab mounted A/C from the parts boxes. Also cleaned up the front windshield and cut the glass for it. Also added the BMF on the Dodge letters. 

Looking to maybe get some paint sprayed on it this week end. 


  • Member since
    January 2014
Posted by Seabe on Monday, March 20, 2017 1:14 PM

Mustang - that is looking kick-azz! Love the little touches on that interior - superb!

And really, I'm not at all impressed with that Honda. I did clean up the seam, which is something I'm usually quite anal about. Maybe shows my state of minf whilst finishing up that one. No glamour shot, just leave it off the front page in totality.

The Ligier is another 43rd - by Tameo. It's the Ligier Honda JS43 that Olivier Panis used to win the Monaco GP in 96 with - his only win. (I vividly remembered nearly crying in desperation when Schumi tossed it away from pole on the first lap in the rain - his speciality!) 

And I actually came here to post an update on that. Nearly ready for decals. Would have been, but the small sidepod winglets have been CF decalled - I did not want to attach them and decal after attaching. I had to re-attach the front wing. It's natural fit was just... skew. Straight and flat, but skew from the side.

So here's the current state of that one - starting to look like an F1.

  • Member since
    March 2012
  • From: Corpus Christi, Tx
Posted by mustang1989 on Monday, March 20, 2017 11:47 AM

Seabe: Love the work on the Ligier so far!!! BTW I don't think I have that one in the intro yet. If you'll give me the kit manufacturer and the whole make and model of your build then I'll get it there. Oh yeah and secondly there good buddy: Do you have a separate photo of your bike that you'd like on the glamour shot page? Let me know and we'll get that there too.

Dan: Man you're really throwing everything at this one aintcha? Good work all the way around. Yes

Everybody: Ok gang. It's been a little bit since I posted any updates here and I'm trying not to bore everybody to death with a picture of a floor mat here and a picture of foot pedals there so I'm waiting till I feel that I've got some substantial progress before posting. Additionally , if I spend all my time taking pictures then I don't get much done at the bench. I build slow enough like it is.

Here we are with the dash in place, carpet / flocking put down everywhere except where the seats go and floor mats down. Folks I'm doing the very best I can with what I have here so there was just no hope of getting the floor mat on the drivers side to go under the pedals unless I wanted to cut that area of the floor pan out and graph in a "blank" piece of styrene and drop the pedals down from the back side of the dash. That's more work than I wanted to do so I cut the floor mat just short of the pedals and did most of my fancy foot work with the pedals themselves to try to make up the shortcoming. I've got the shifter plate along with the shift pattern insert on the plate installed on the center console in this pic and will be adding the PE gauge bezels and gauges as well as the shifter lever soon to round out that console.

The two front seats with the chrome emblem picked out with that chrome pen:

and the back seat that I robbed from the spare kit since my original Camaro build did NOT have a back seat at all in it. Yeah ....the roll bars are going bye bye for the revamp and I'll be installing this seat along with seat belts for the front and rear seats. I'll also be filling in those openings for the roll bar with some sheet styrene.


 Forum | Modelers Social Club Forum (proboards.com) 

  • Member since
    January 2015
Posted by MOPAR - D on Sunday, March 19, 2017 11:42 AM


Seabe thanks your Ligier is looking good  

Finished up the air cleaner system 


  • Member since
    January 2014
Posted by Seabe on Saturday, March 18, 2017 10:56 AM

Mopar-D, you're killing that one - great stuff! 

Had a bit of progress (at last!) on the Ligier. Can't remember the exact last update I had, but recently added the refueling receiver. Today the wheels were added after building them in the time leading up. So here is where I'm at. Fortunately I prebuilt the front and rear wings, as well as some sidepod winglets, so from here hopefully not too long!


  • Member since
    January 2015
Posted by MOPAR - D on Friday, March 17, 2017 6:32 PM

More progress on the exhaust system and the air cleaner. Still need to trim the stack on the air intake and build the air piping to the engine. 


JOIN OUR COMMUNITY!

Our community is FREE to join. To participate you must either login or register for an account.

SEARCH FORUMS
FREE NEWSLETTER
By signing up you may also receive reader surveys and occasional special offers. We do not sell, rent or trade our email lists. View our Privacy Policy.