Rob S.
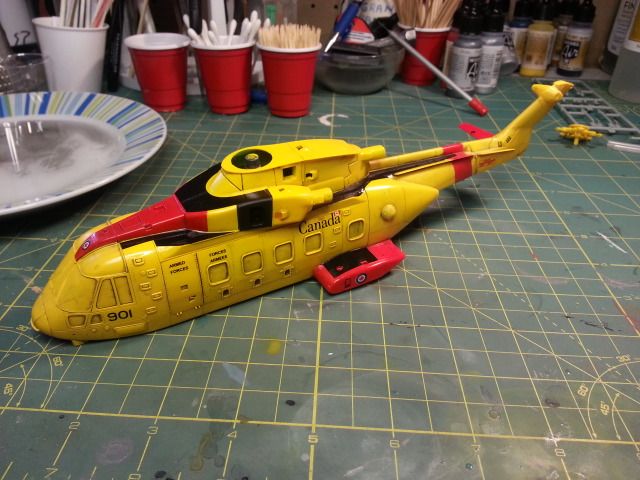
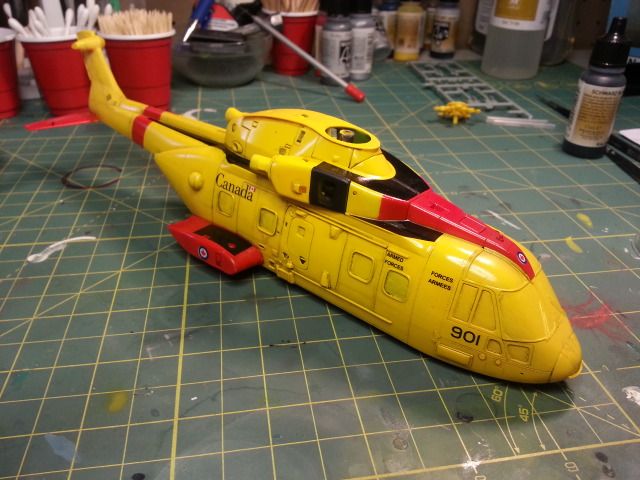
Thanks Gam...yeah, I have to say, I made a colossal error, which could have been prevented. I had fully intended to prime this yellow monster. Well, after I dropped the Yellow paint bottle, I got frazzled knowing that I don't have easy access to a LHS, so, with what I had left in the bottle I went right to painting. Anyway, I wasn't happy with the first coats of Model Master acryl. THEN, another disaster struck....I KNOW you cannot mask over MM acryl...I KNOW this, I've made this mistake a dozen times...BUT, I bloody well did it again!! I almost quit on this one when I pulled off tons of yellow paint, but, I took a break for a day and went back at it and re-painted the offending spots! Anyway, after a calm break, I think I managed to recover the balance.
I did realize too, that I was remiss in keeping up with my photos so I missed some progress. Here is my progress after oil wash and initial decal application.
Also, the RCAF roundels supplied were way out of register, so, I had to 'luckily' substitute them from my spares box. Happily, I had a sheet of RCAF markings from a F-104.