5-high here have some updates on the trump mk.lll mustang .
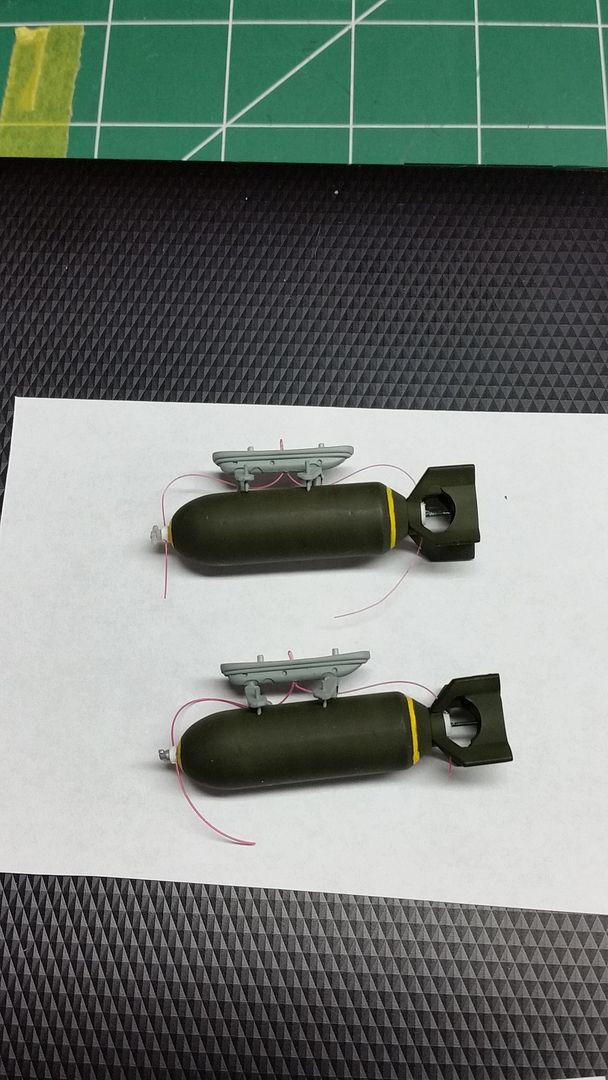
finnished up all fiddly bits ,,,basooka lunchers ..was,nt happy with the kits 500lb bombs , so had to make,m better . workin on the salt chipping removal , thats coming along nicely . so here goooo,es .
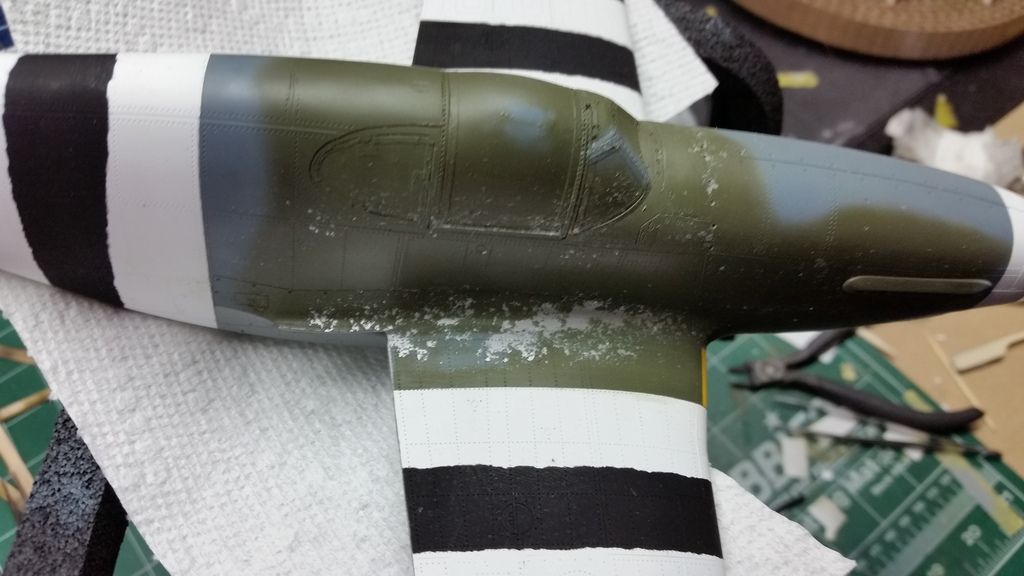
as you can see the salt chipping came off easly but ,,the finer cyrstals are giveing me a hard time . but no matter ,, a little ebow greese will fix that.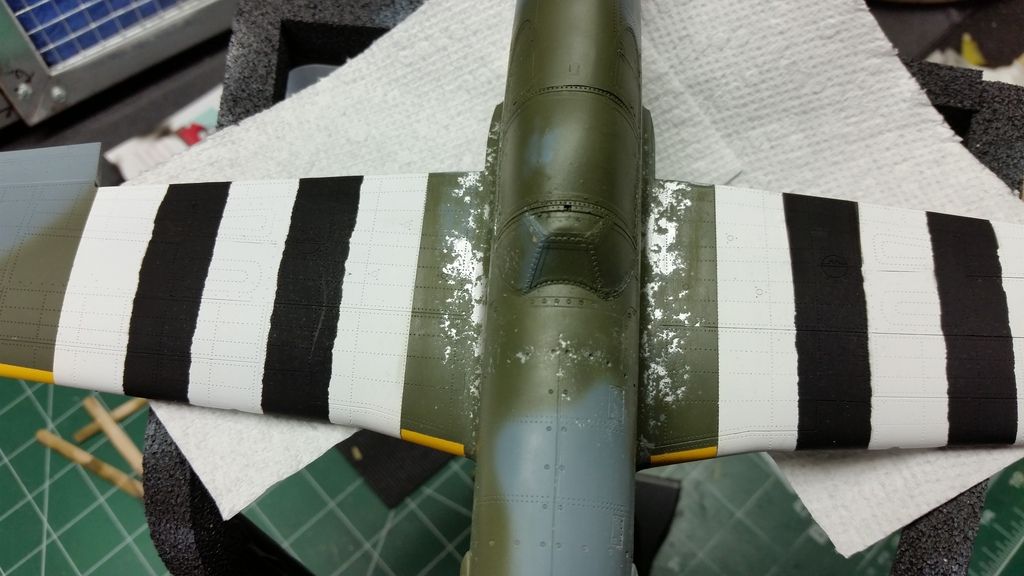
had the maine landing gear done a while ago .i,ve taken alum, heat pipe tape to simulate plated chrome for the gear . now i hope yuo can see it .
before 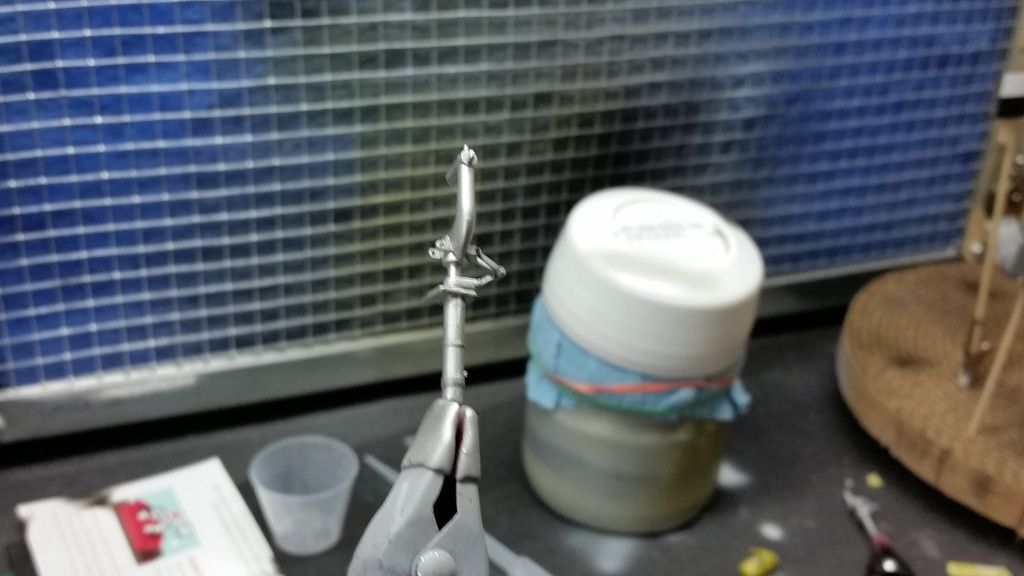
after
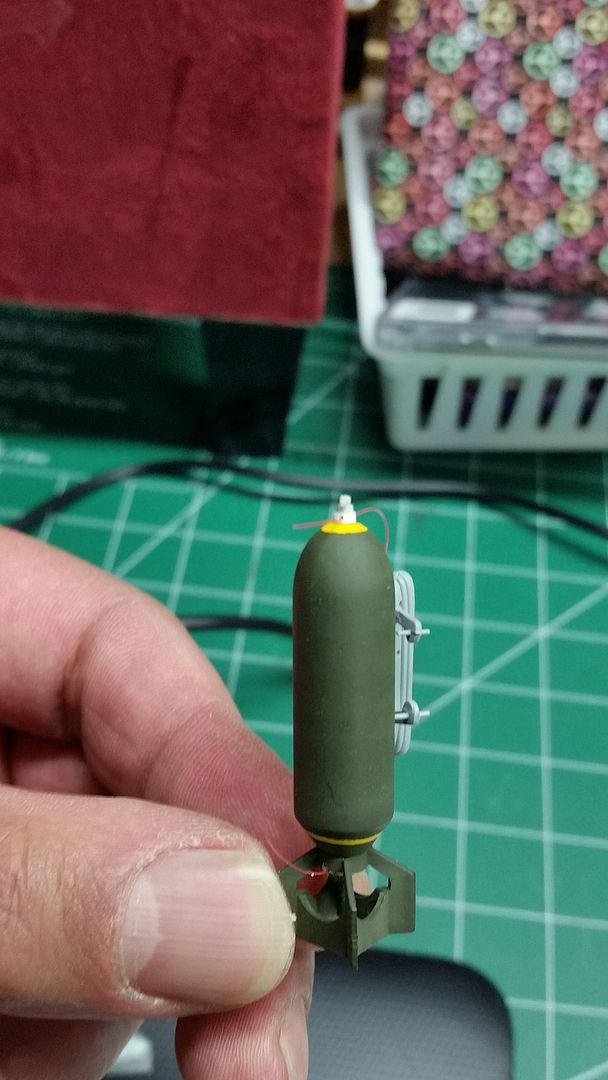
i didnt use the kits arming fuse props ..i had some trump p47 bombes in my spares . better then the mustangs thick plate spinner crud . i cut the front end off the spares .and punched out new disks and glued the trimmed props on ,, then i fab,ed up the rear armming fuse .then i drilled an 0.20 hole in the frount and rear disks .i streched red sprue to make the cable release .
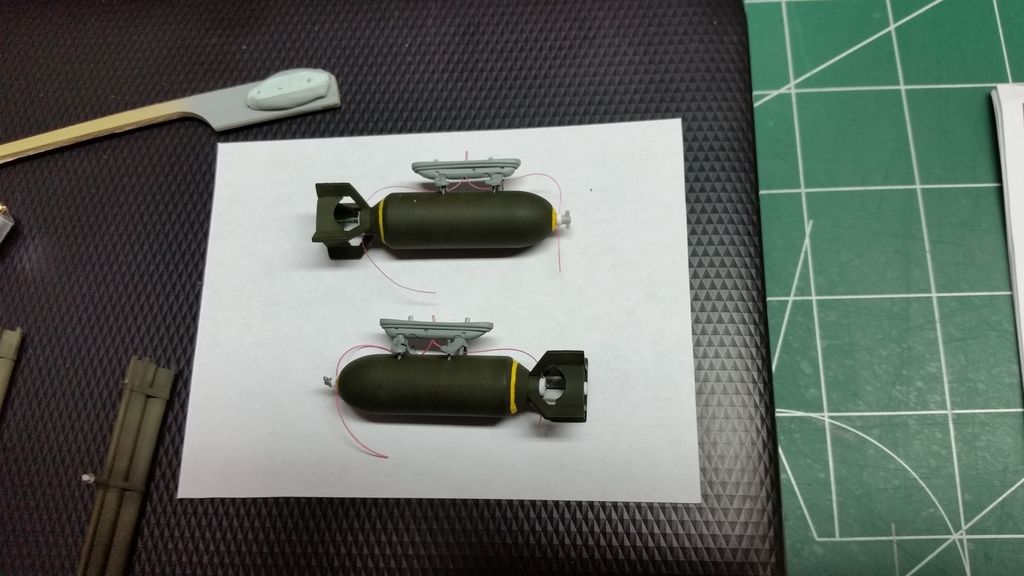
as you can see here .painted everything up , and im done ,,,much much better .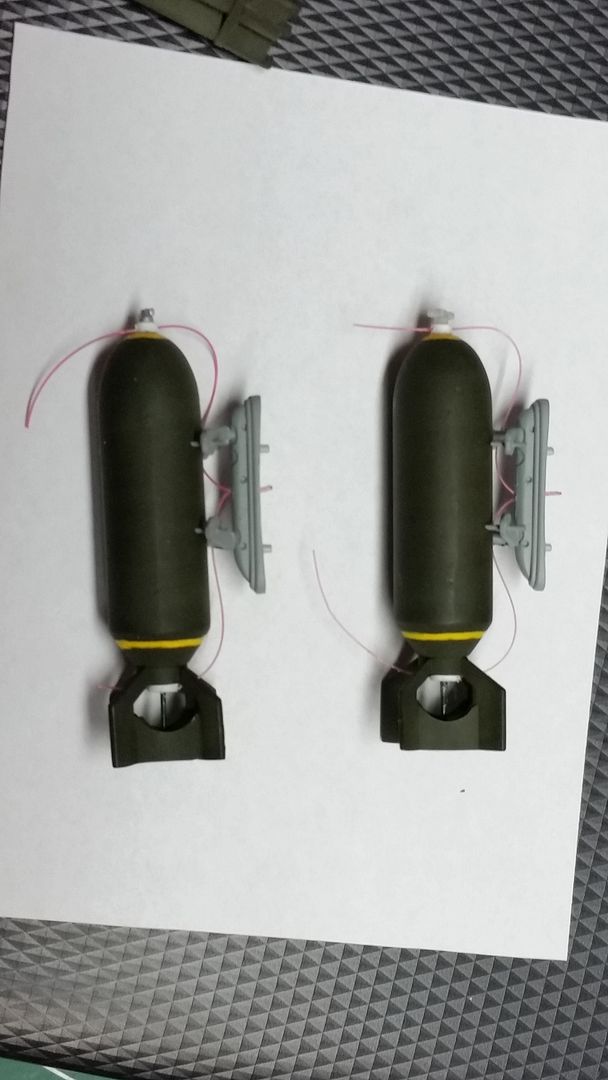
he,s a pic of the bazooka,s ( so thats how you spell it ) .. my post shadings getting better .shaded them by adding a drop or two to the olive drab.
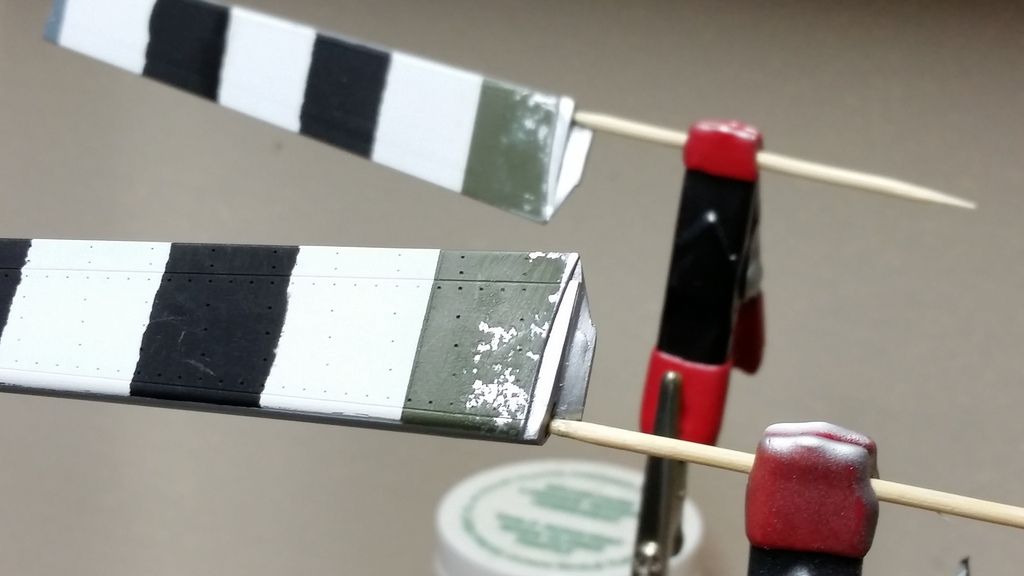
when i was researching Eugeniusz,s mustang i noticed that the prop blades at the bottom had overpray of white ,so i replicated that here
so thats it for tonight . tommaro i start the clear .
5-high, cheers 