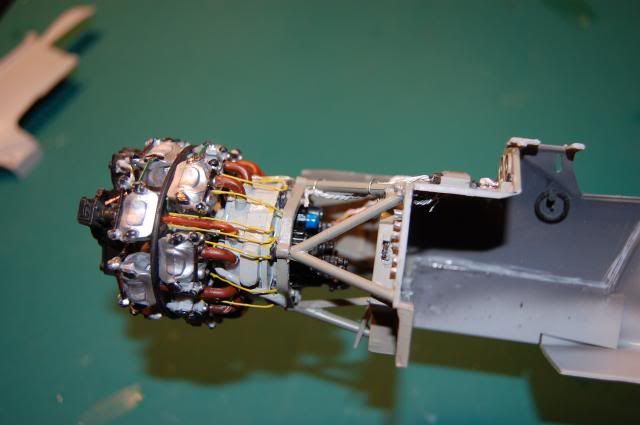
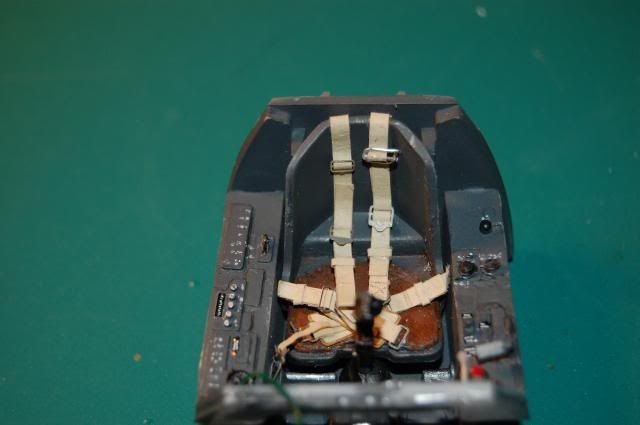
Now I was at the point of attaching the cockpit assemby to the engine assembly per instructions. Sorry no pics of this attempt since I was ready to go ballistic over it. Don't know it it was just my kit but when dry fitting the two assemblies together and setting them in the fuselage half. I found that the upper instrument panel nearly covers all of the lower panel. Give me a double 

So I removed the upper panel, and sanded down the area where it attaches to the back of the firewall. I figure I will glue the engine and cockpit separately and when done than squeeze in the upper panel into place and hope for the best. HEY! It's Airfix!
Moving on. After the engine assy was glued in...  PS I decided I will add more wiring and pumbing after it's installed and before closing the fuselage together, no sense putting it in areas that it can't be seen. So I still have some work left to do there.
I than test fitted the fuselage halves and got this... I know, I know it's Airfix. I plan on gluing the halves from the tail and slowly work forward clamping things down along the way.
These issues with the kit and being that I have a large trash can underneath my hobby desk, I ordered this during a recent Squadron Sale as a back-up kit in the event the Airfix kit finds it's way into the can. I'm not giving up on it yet but boy is it becoming challanging. If nothing else the cockpit was fun to work on.
Here I used just a tiny drop of Tacky Glue to position the lapbelts.
Just a couple of minor touch up's here. The decal placard set is by Airscale and I got those those through Ultracast too. I also bought the Airscale FW-190 instrument set but I felt it just wouldn't work so I went with the Eduard set instead.

The white stenciling is my work using flat white paint and a piece of wire. The wiring coming from the lower panel that will go underneath the upper panel is florist wire and that will be painted black.
Hope to get some more work done on this beast tomorrow.
Scott