Hello!
Seabe - that engine is lookin' good! Reminds me when I helped to sort out problems with the wiring of a Suzuki - GSX-R.
MOPAR-D - nice build! That engine sure looks radical with that roots compressor on it!
I have an update on my Bus.
As I expected, putting on the decals (it's Hasegawa!) didn't go as smooth as I wished. I still don't know how to work with them, I'll have to make it my next research project. What I know is you can use MicroSet on those decals, sparingly, but what you can't do is to soak 'em up in decal solution and wait for the solution to do it's work. This causes Hasegawa decals to wrinkle up badly and then they stay this way. Want to know how I found out?
Here is my bus after putting the decals on:
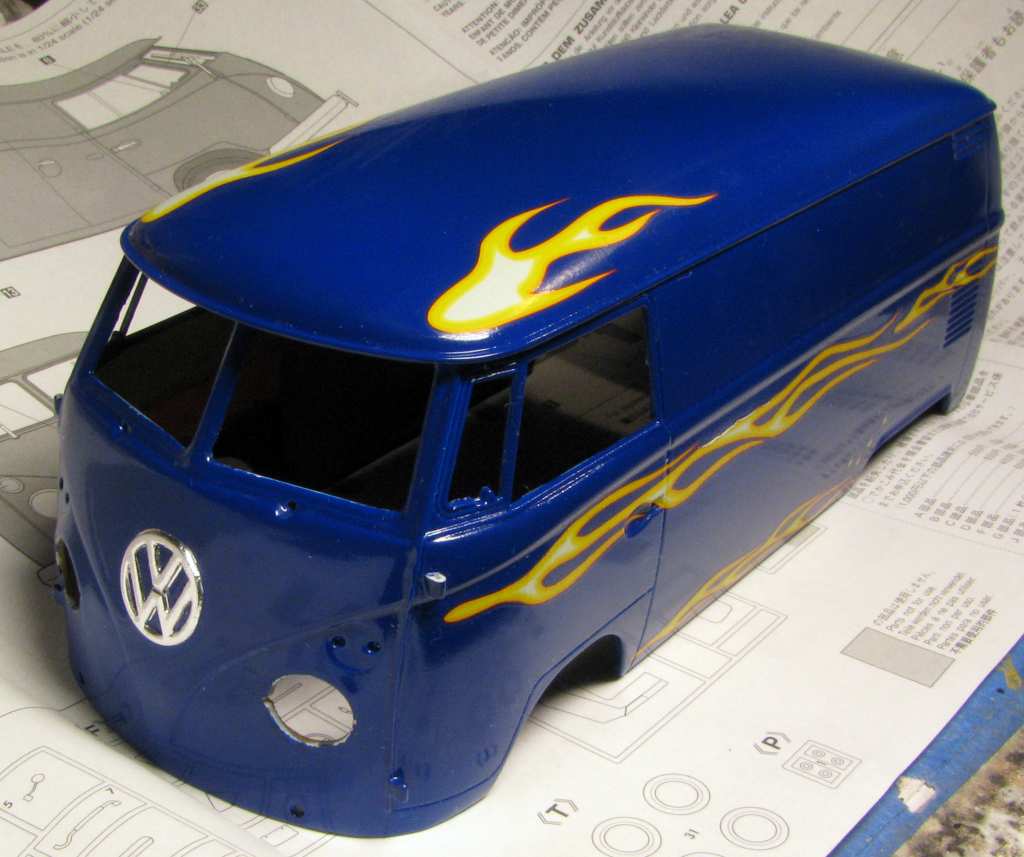
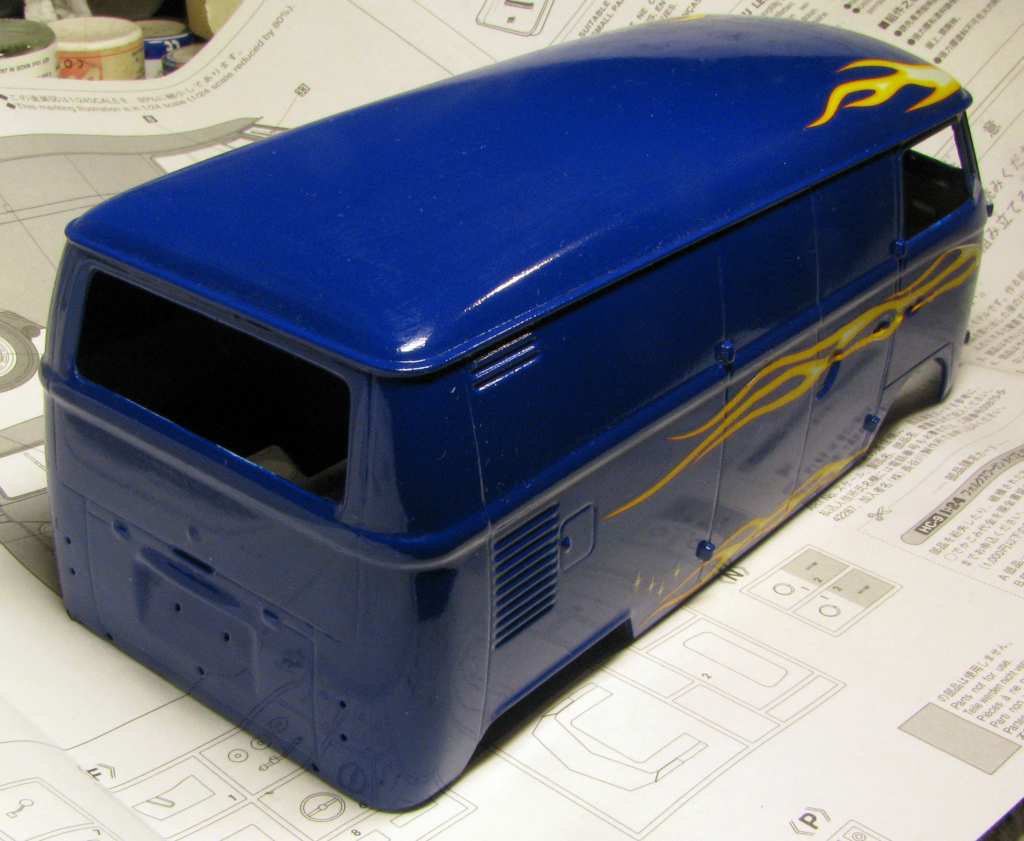
Looks quite nice from far away, but once you look closer... Plus the rear flame wrinkled beyound any repair from MicroSet alone:
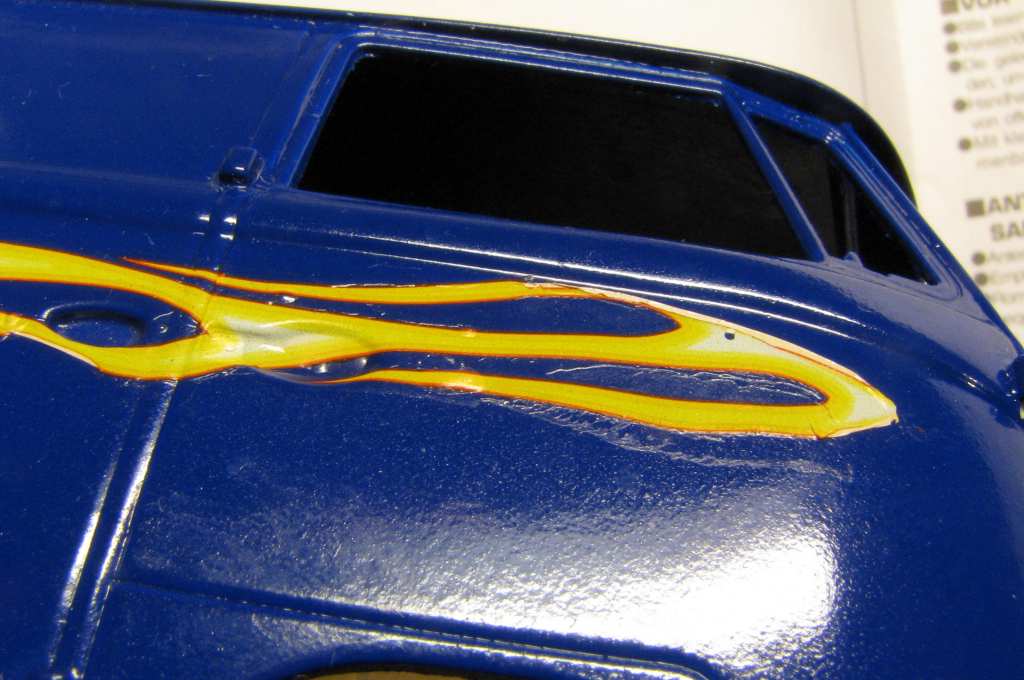
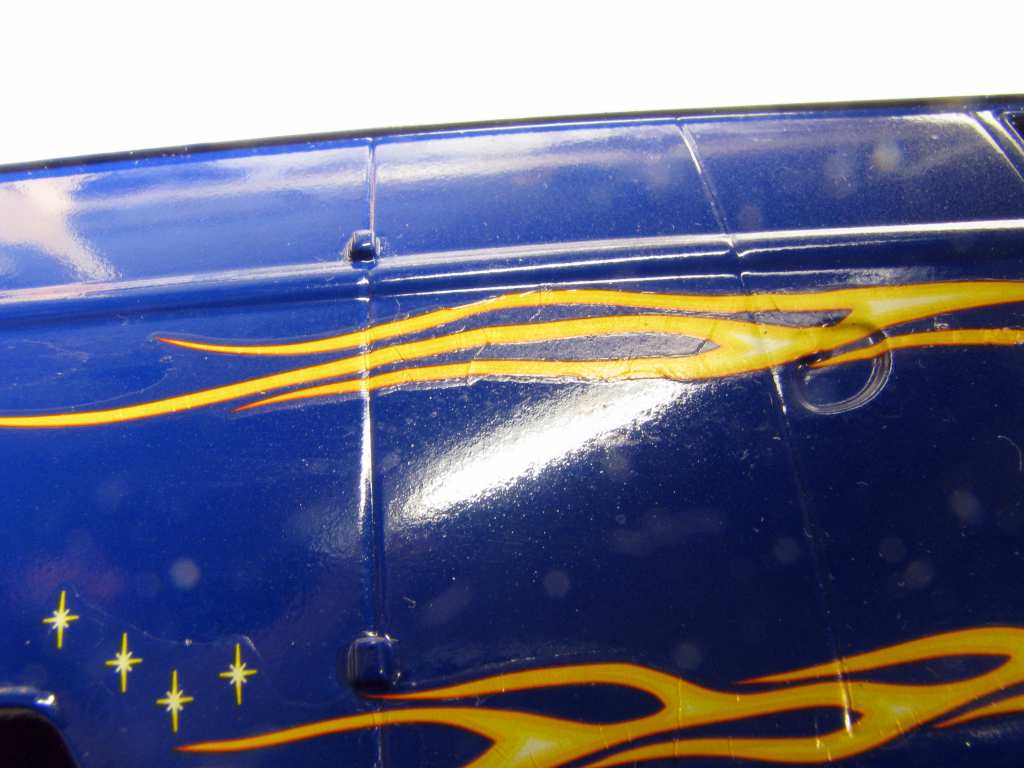
Here's when the time came for tough decisions. I decided to remove the "middle" flames and just keep the top and bottom ones, because they went on best. I figured less is more here. I soaked the decals to be removed with solvaset and took them down with an old toothbrush.
After that I put on about four layers of Gunze Top Coat Gloss from a spray bottle, with some sanding with 2500 grit sandpaper between the coats, trying to blend the somewhat thick decals in. Lots of drying time between the coats, too - this is why it took me so long to post the next update. After the last coat had a few days to dry I sanded the orange peel with 2500 grit sandpaper, let it dry one day more and then I polished the scratches out with "Tempo" polishing compound - it's a very nice compound made in Czech republic. Here are the results:
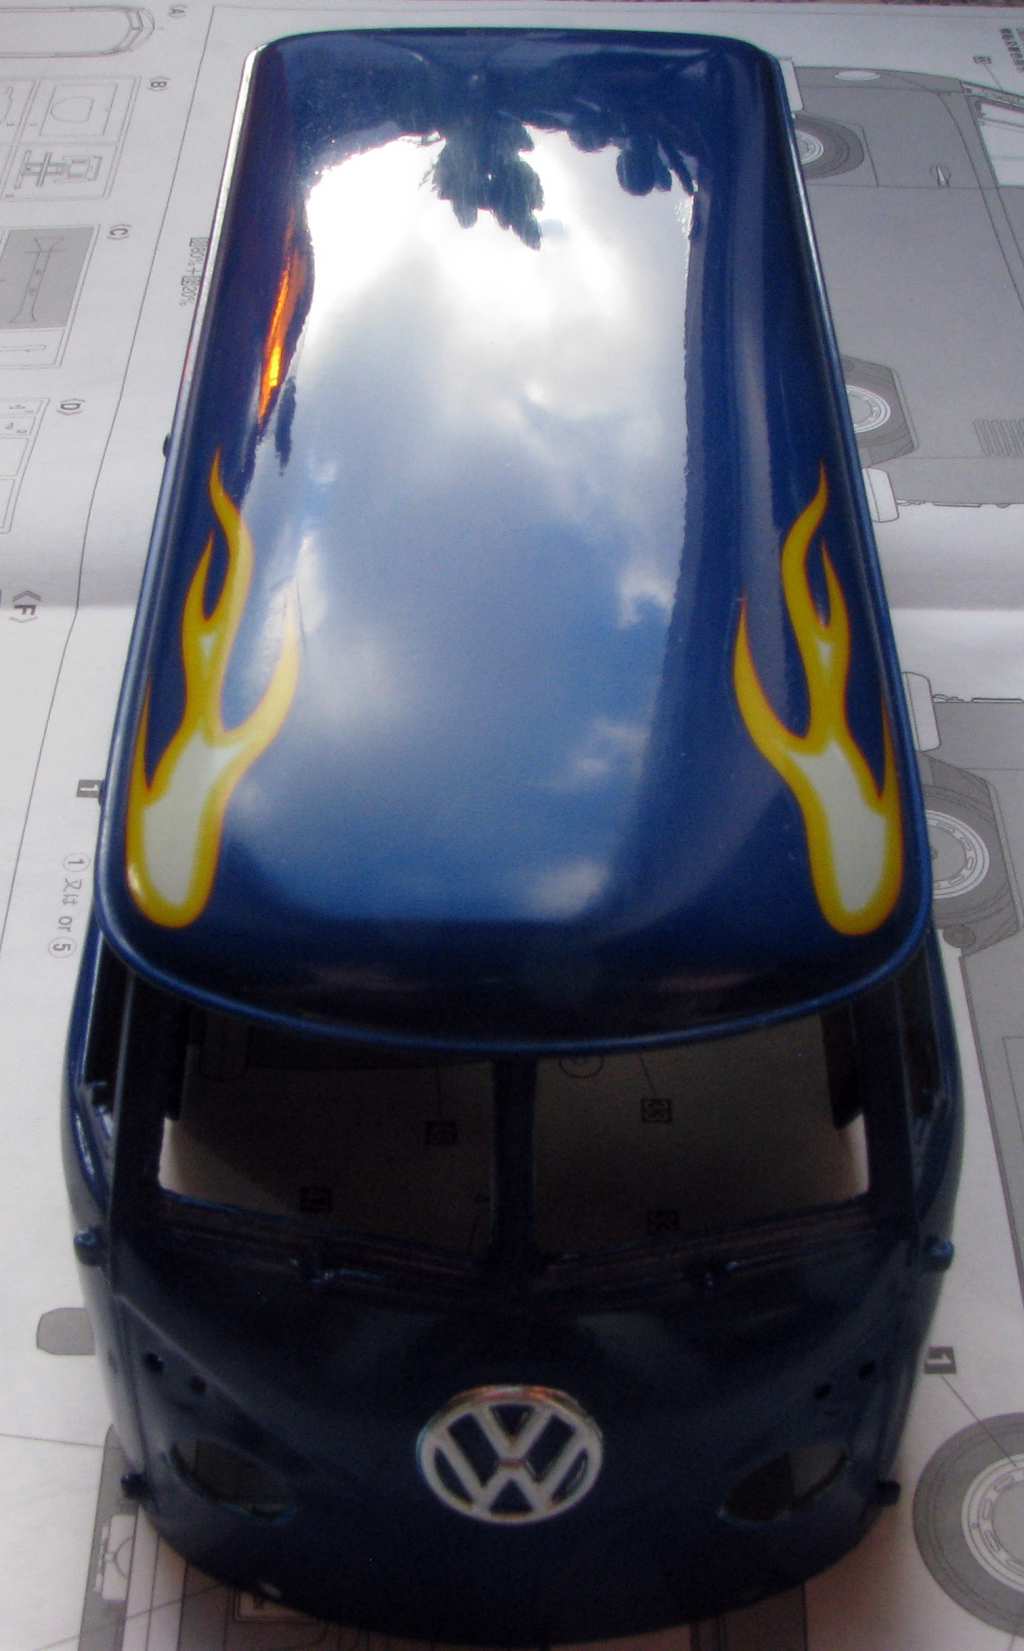
Nice sky reflection, eh?
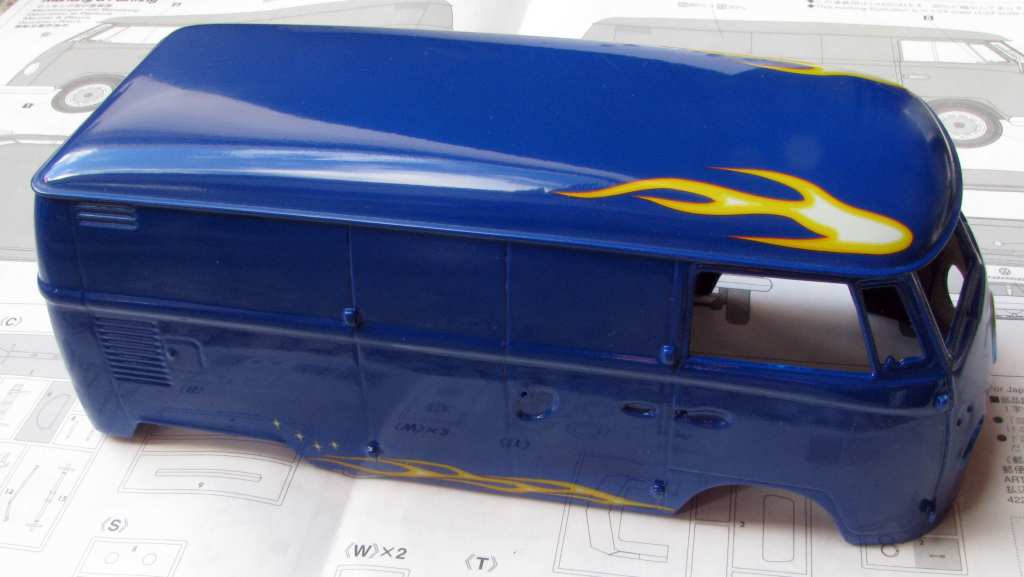
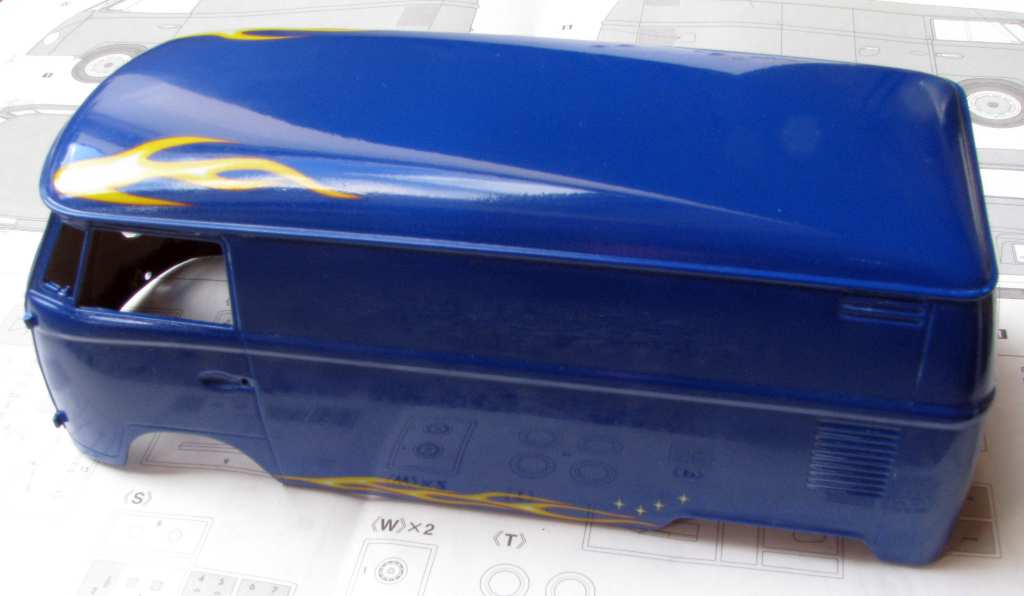
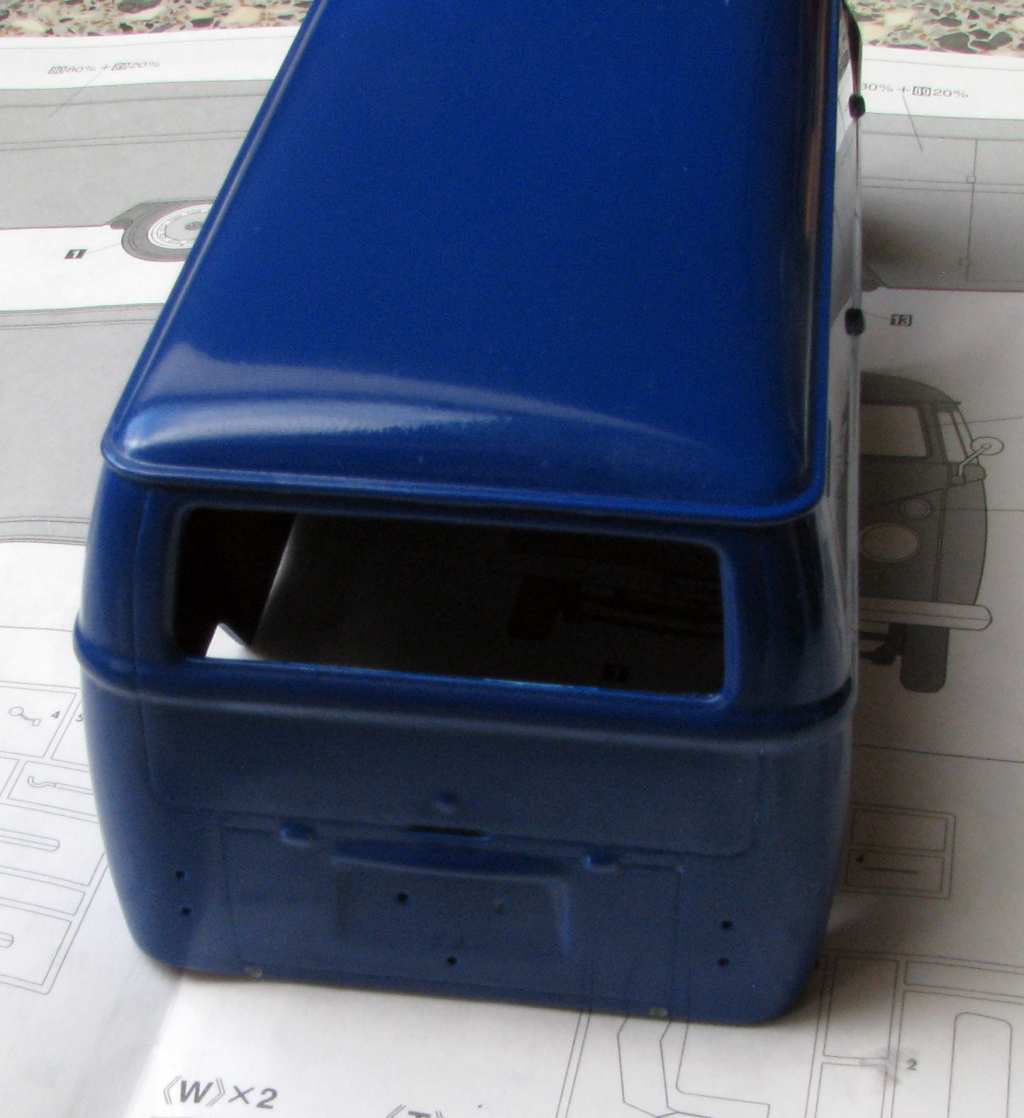
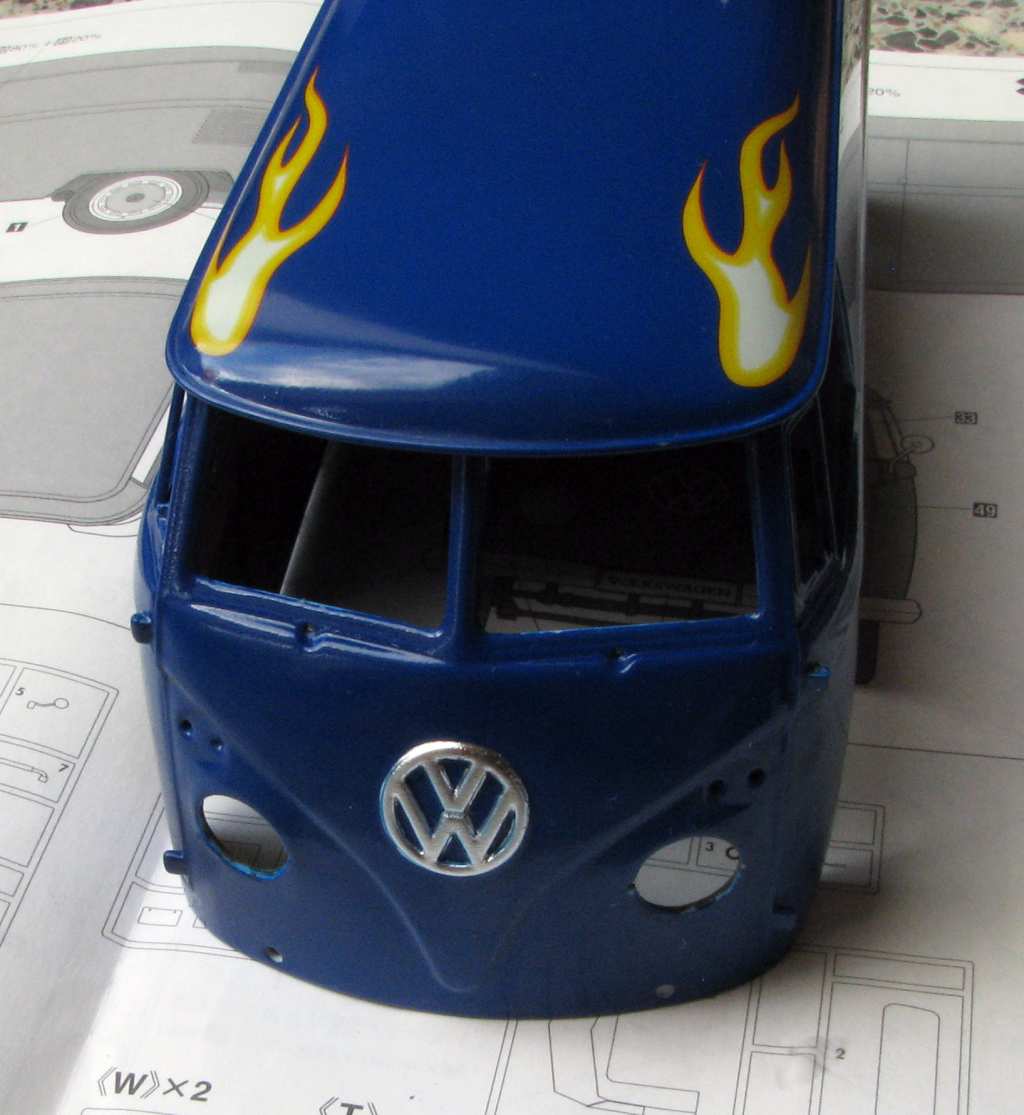
Now the paint (clear coat) was drying, I went on to do some outfitting.
Side mirrors - even though it is a Hasegawa kit, it was easier to scratchbuild new mirrors than to clean up (and rechrome!) the OOB mirrors. I made their posts out of wire and used my dremel to turn out the round parts. The mirrors themselves are BMF, and the chrome is a cheap spray paint:
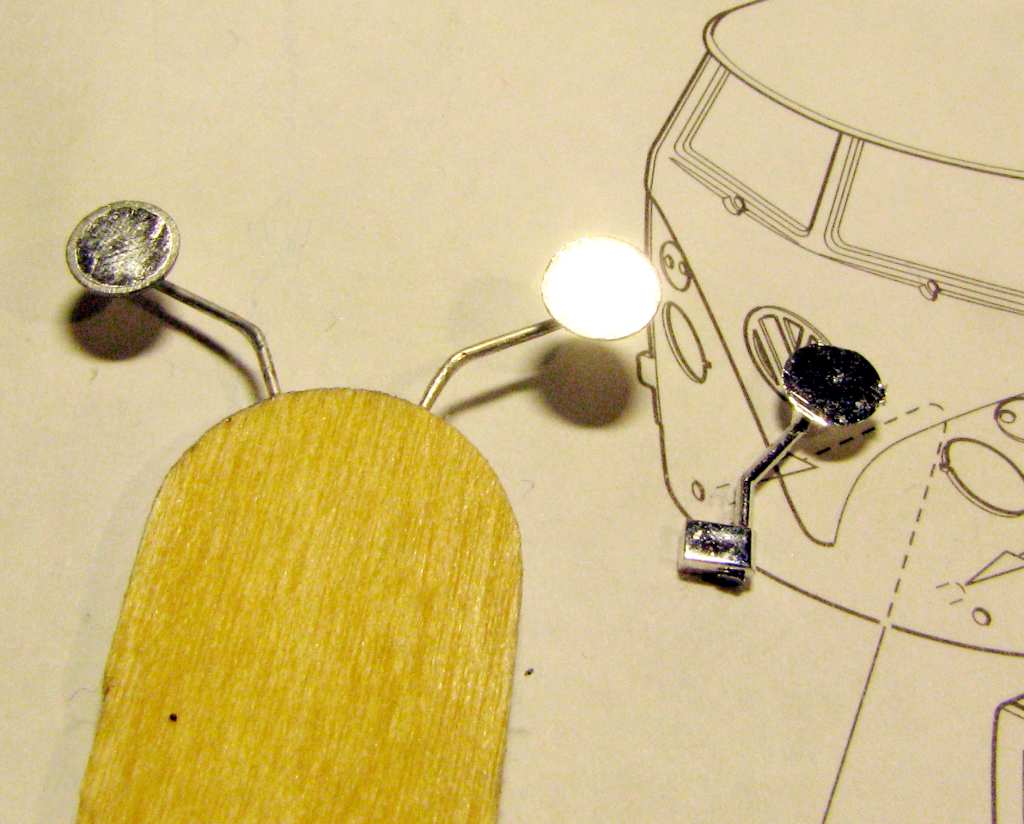
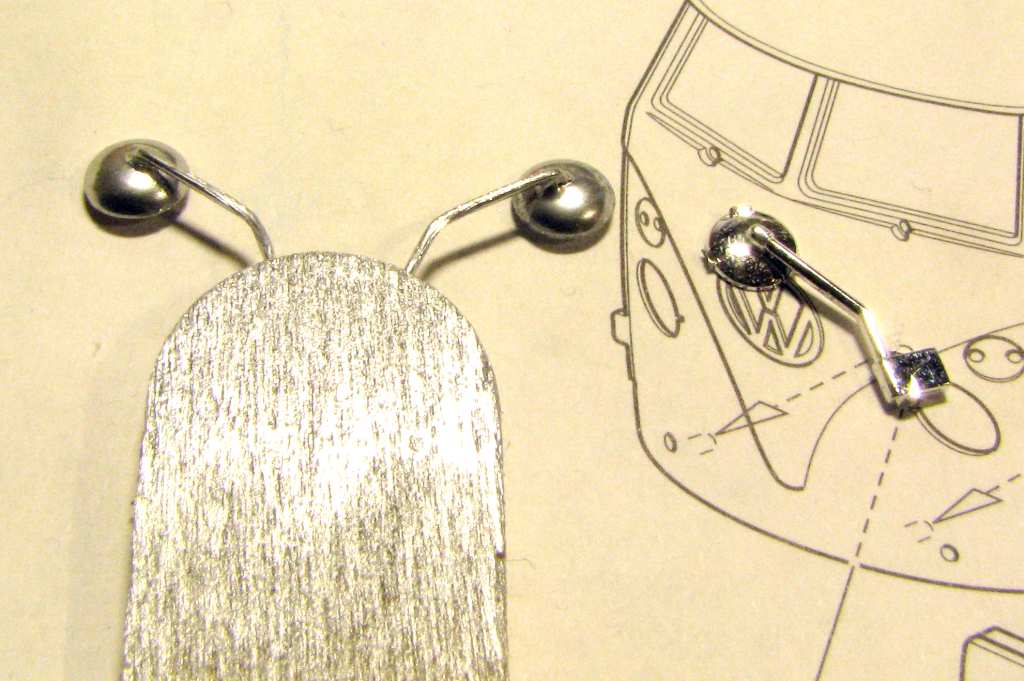
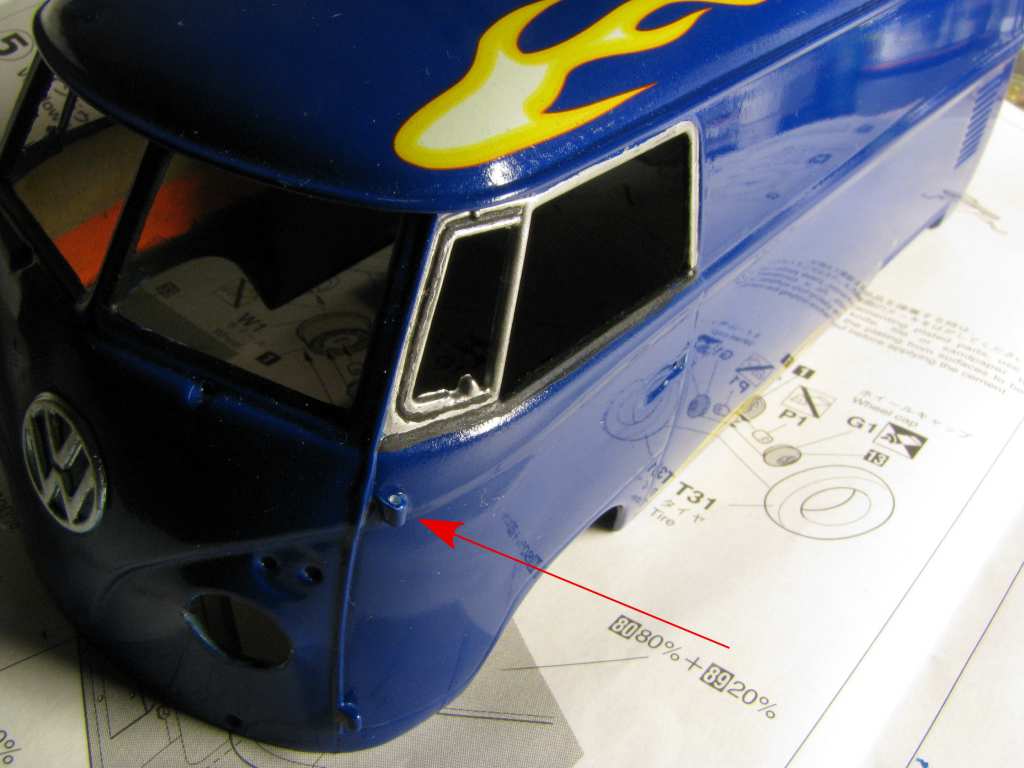
As you can see, the OOB mirror has a nasty sink mark, fairly large sprue attachment point and the worst - there is a hinge/mirror attachment point molded on. This little part should be body colour, not chrome. That's why I built the hinge out of 1,5mm styrene and painted it together with the body. It's pointed to in the picture below by the red arrow. On the same picture you can see the painted door window framing - that's Gunze Mr Metal Color chrome silver and Humbrol 33 black:
I also finally made the exhaust, together with the final muffler. The muffler was painted with a mixture of Humbrol 53 Gun Metal and Humbrol 186 brown. The exhaust pipes are 2mm brass tubing painted with the same cheap spray:
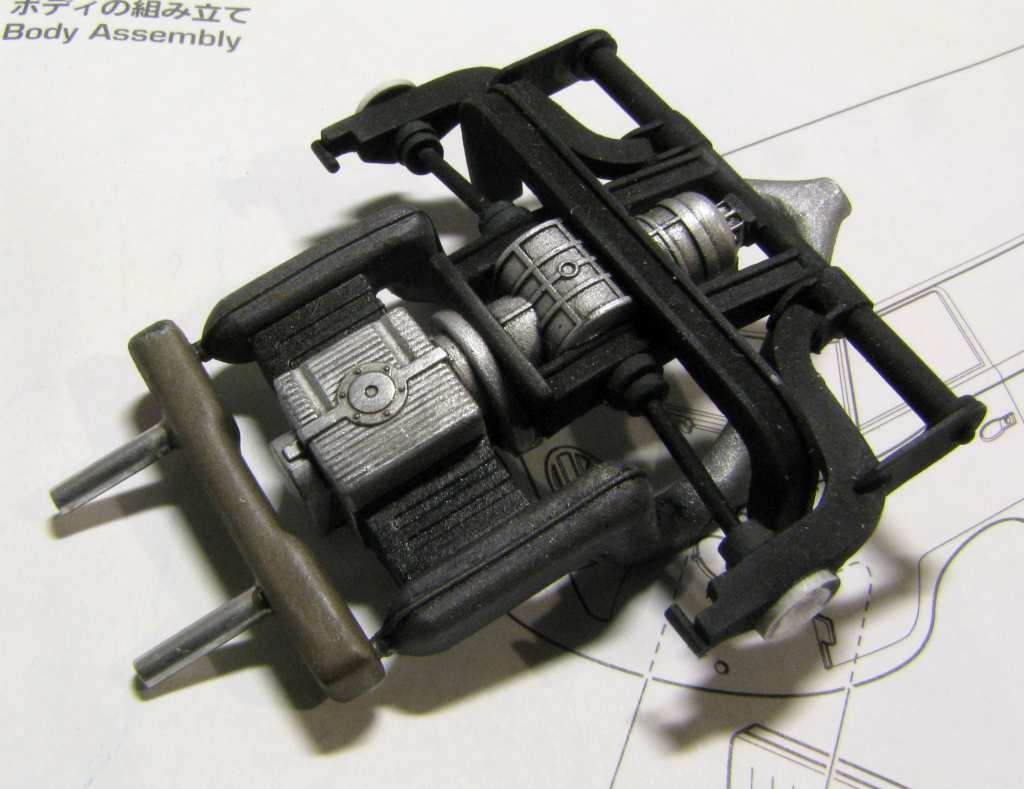
To mount it I had to modify the rear bumper. I didn't want to touch it because of the chrome, but I had to, anyway, because it had really nasty mold seams on its ends. It got the same cheap spray treatment the mirrors and the pipes got, but I think maybe I will have to redo it:

And that's it for now - thanks a lot for reading and have a nice day
Paweł