Okay, progress -- I said I was inspired! Here's the Revell 229 with the gear bays masked. The gear components are all sprayed and decaled: a few touchups, some weathering, paint the shock struts and they can be assembled, which might even happen tomorrow.
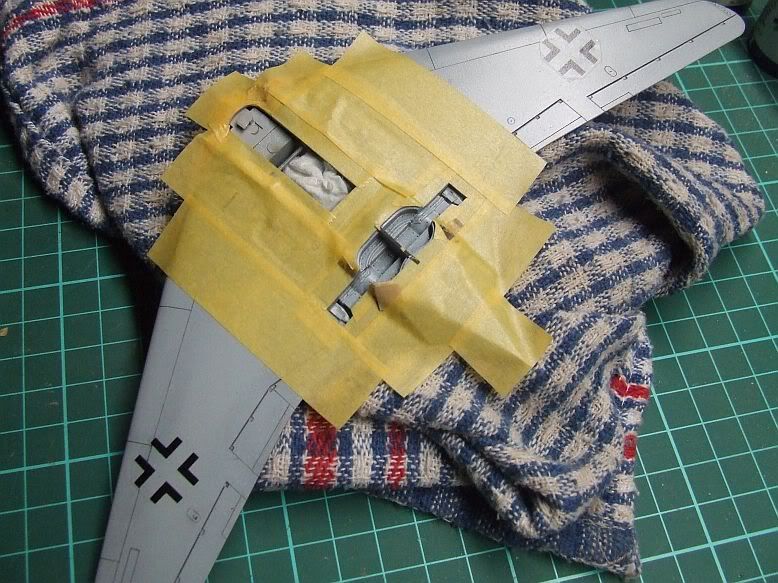
There's not a lot to do after that -- unmask the canopy, reinstall the intake cones, add the gun muzzles and pitot, and decide if I'm having swastikas, dust the landing gear, carbon here and there...
The tropical camo paints are still backordered, so the other 229 is stalled, unfortunately.
Cheers, Mike/TB379